
Measuring and Marking Accurately
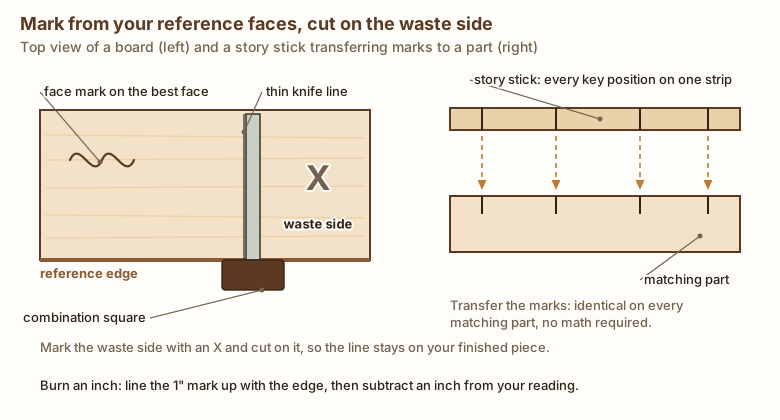
Why your parts don't quite fit, and the simple layout habits — one tape, sharp lines, story sticks, and reference faces — that fix it.
Techniques
Step-by-step how-to for wood prep, joinery, and finishing. Start with measuring and milling, then move into glue-ups, joints, and finish schedules.
Why your parts don't quite fit, and the simple layout habits — one tape, sharp lines, story sticks, and reference faces — that fix it.
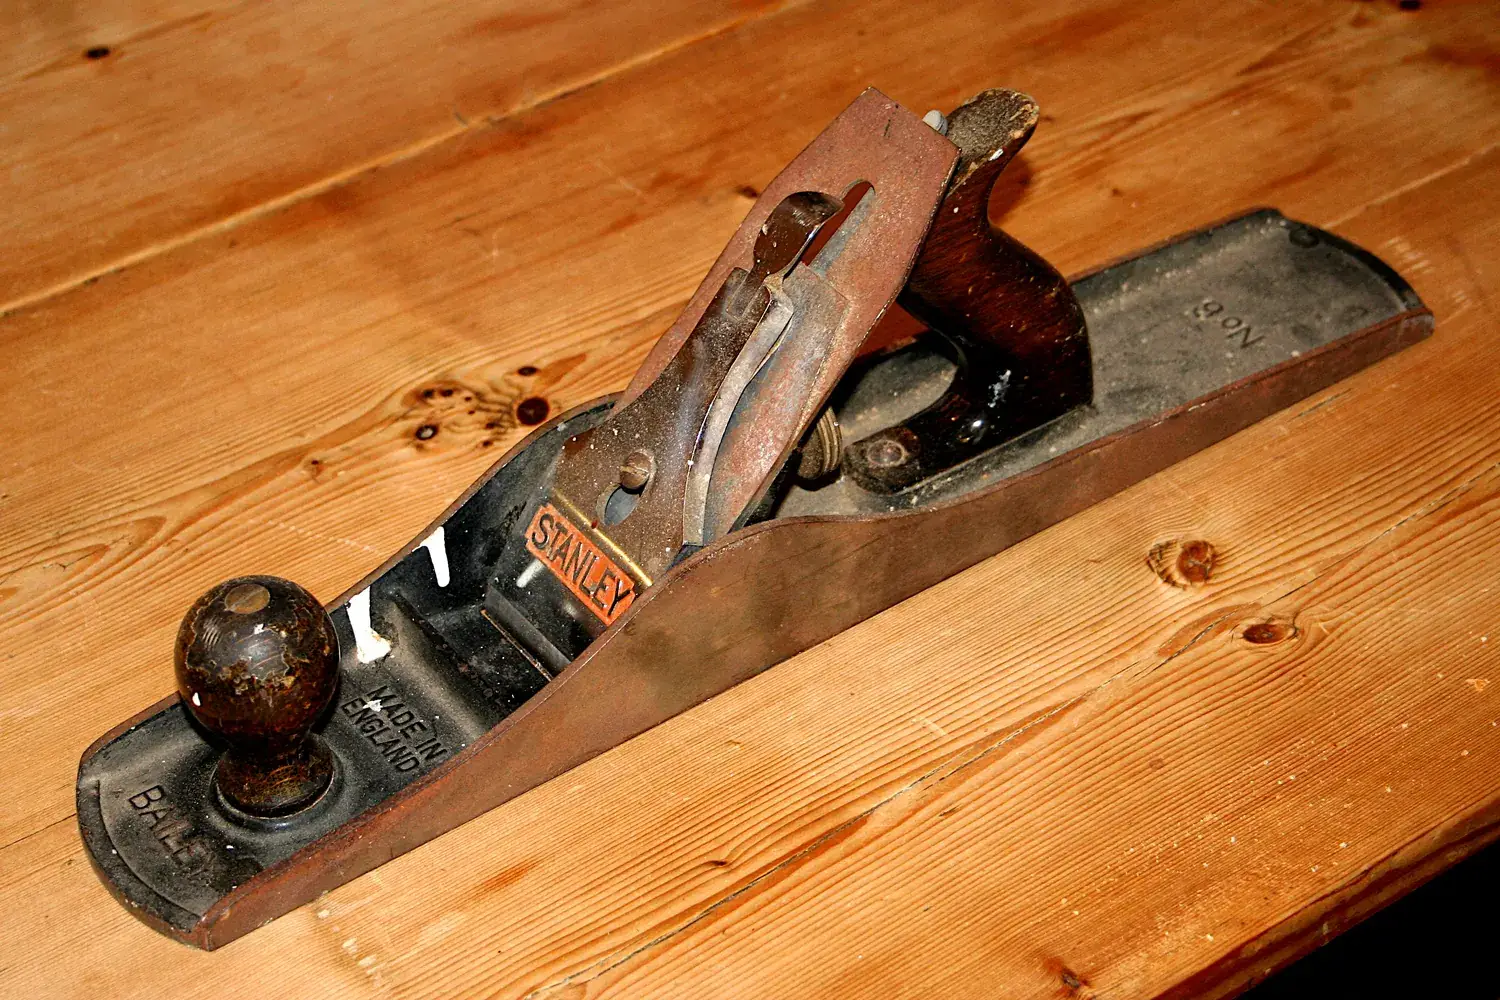
The classic milling sequence that turns rough or warped boards into flat, square parts — with machines or hand planes.
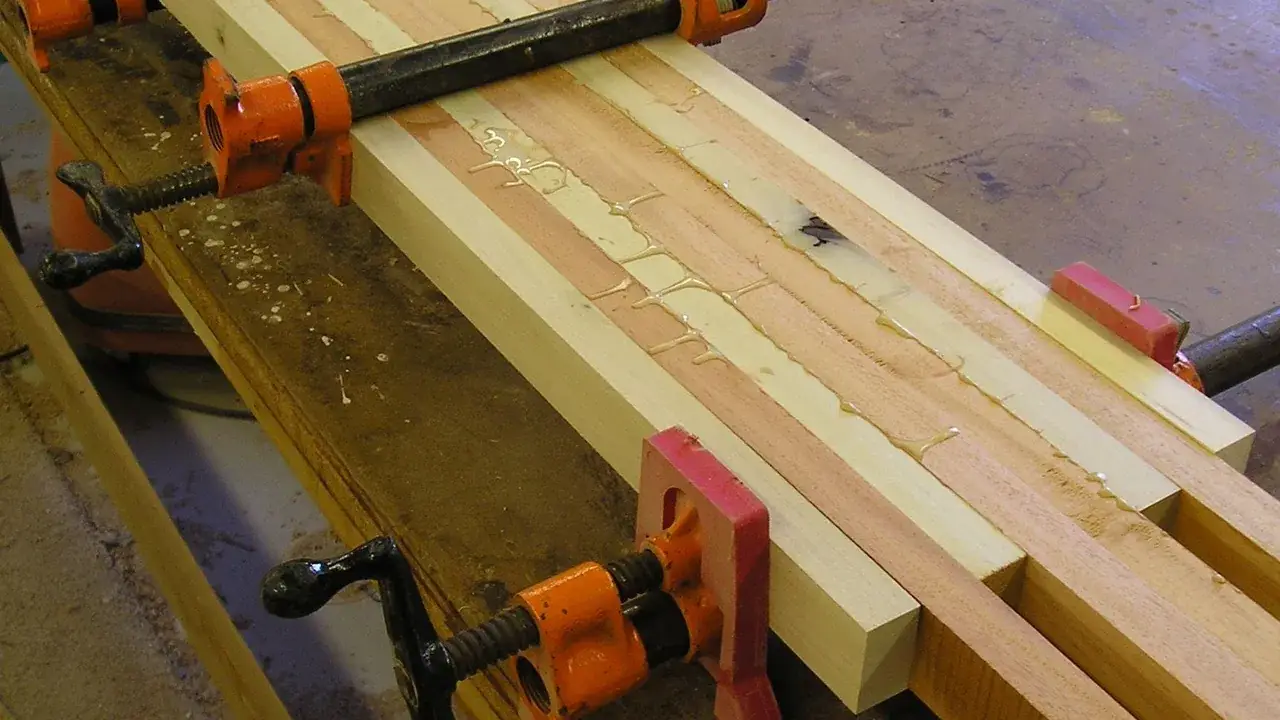
Prep, dry-fit, clamp, and clean up: a calm, repeatable process for panels and assemblies that come out flat and tight.
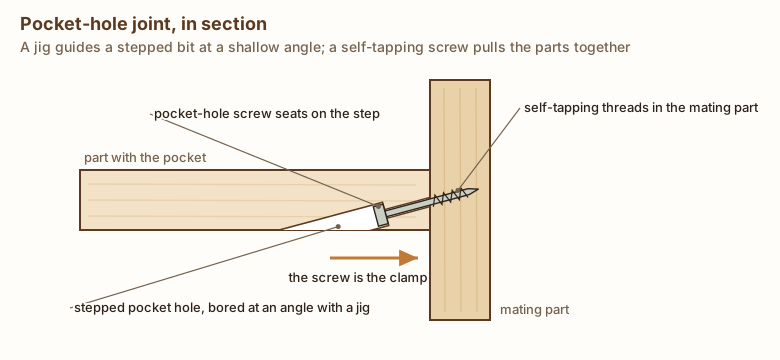
An honest comparison of three popular machine-assisted joints — how each works, where it shines, and where it falls short.
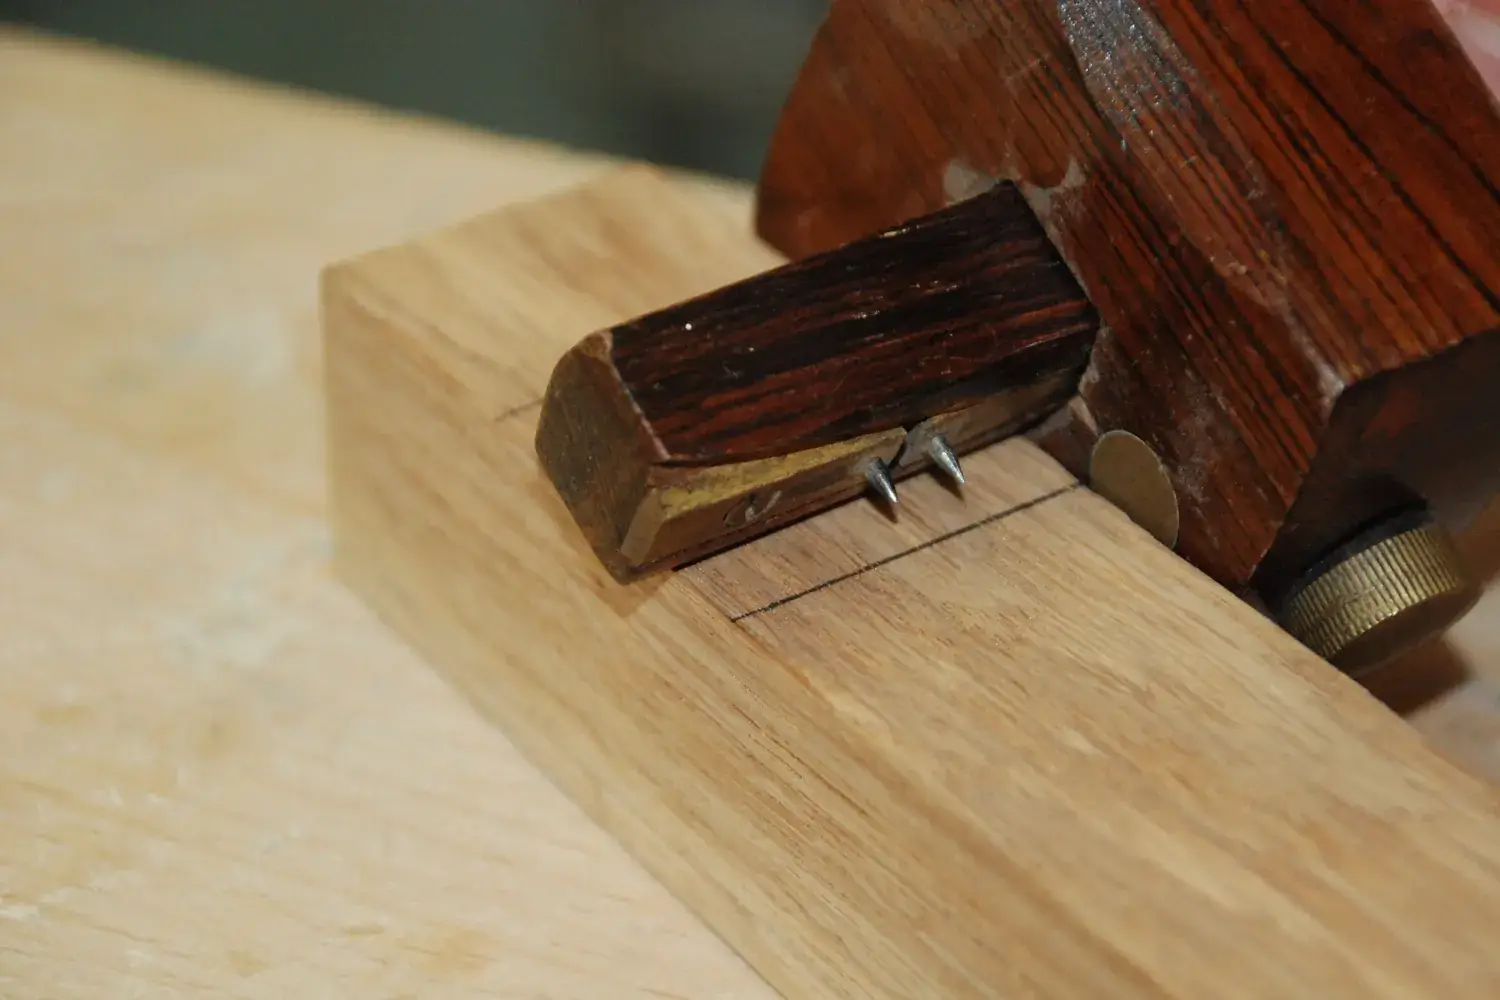
Layout with a mortise gauge, chopping a clean mortise, sawing and fitting the tenon, and drawboring for a joint that stays tight.
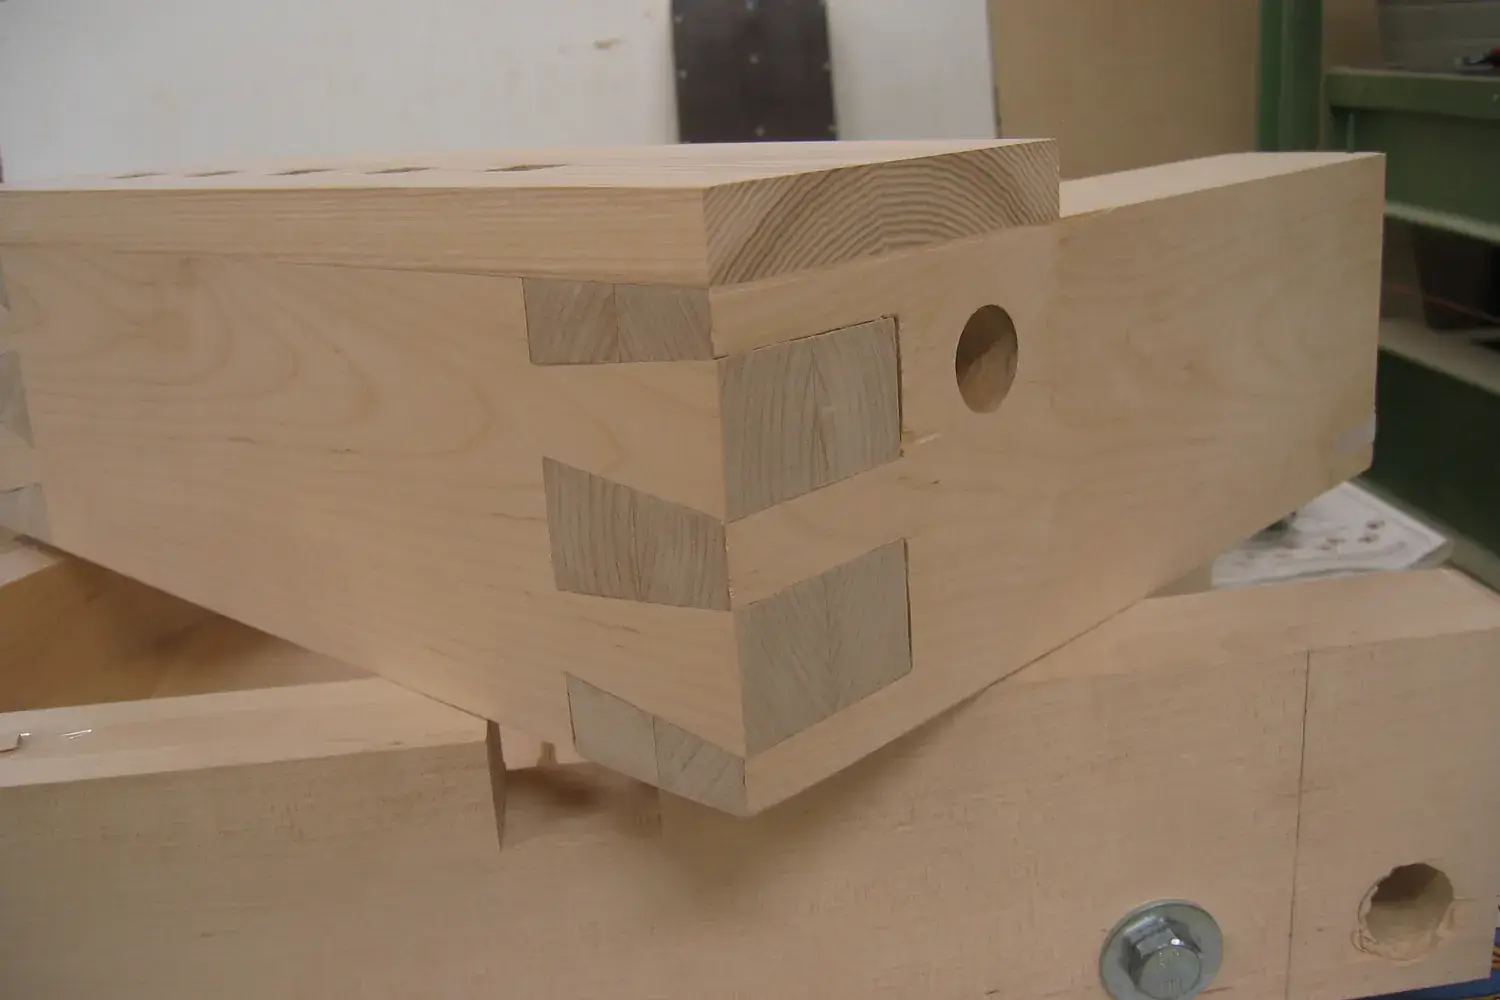
Tails-first layout, sawing to the line, chopping clean baselines, and transferring accurately — a dependable method for through-dovetails.
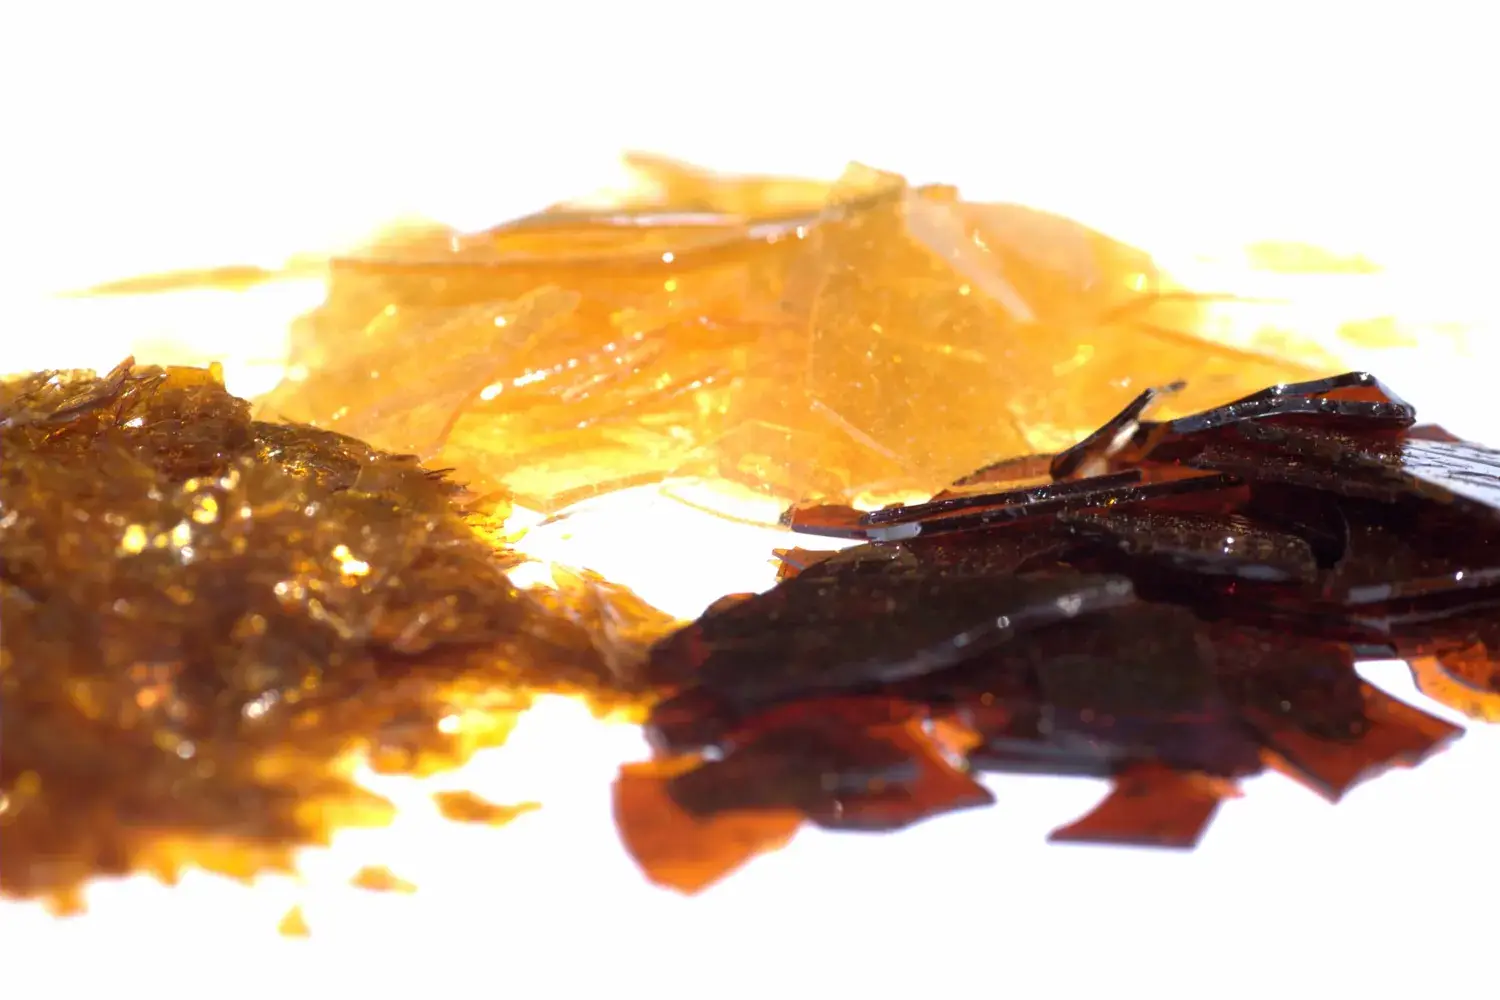
How to plan a finish from bare wood to final coat — with three proven schedules for shellac French polish, oil/varnish blends, and brushed varnish.
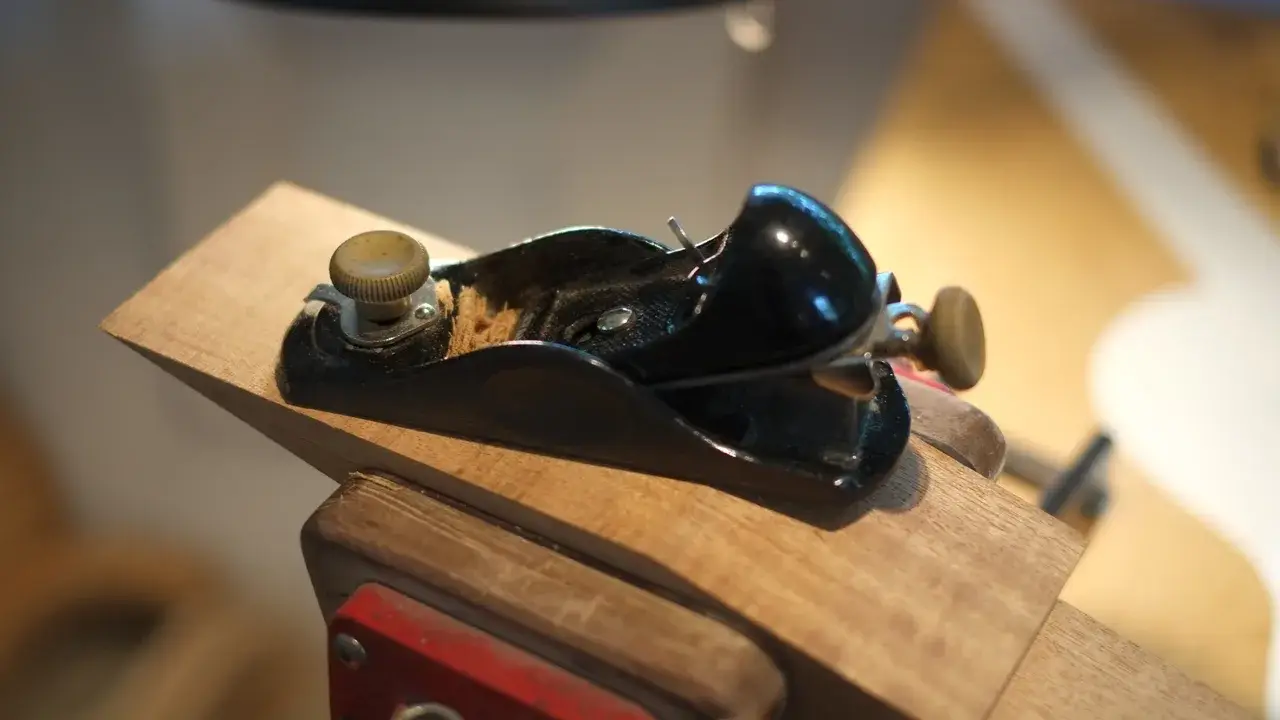
Soften the sharp edges on small gifts with a block plane and a sanding block: mark two pencil lines, plane the end grain first, then the long grain, and finish with a light sanding.
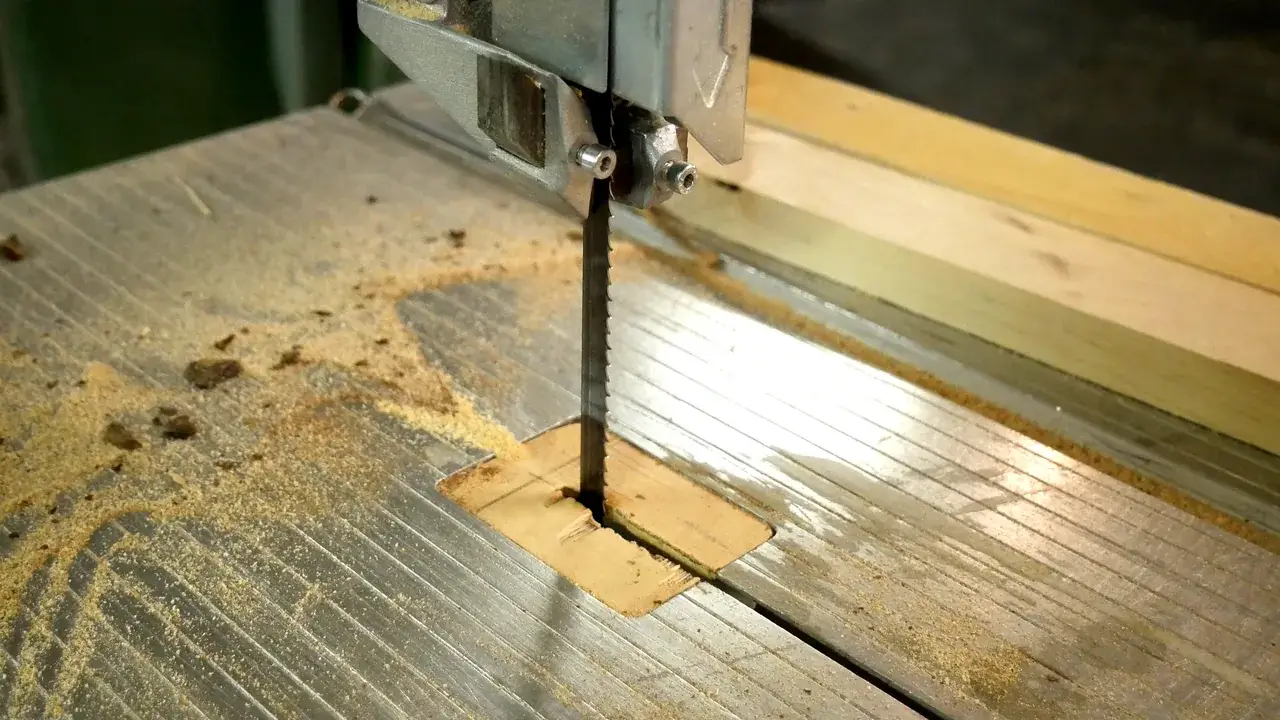
Slice a thick board into thin boards at the band saw for ornaments, tags and small boxes: mark a center line, stand the board on edge against a tall fence, feed slowly, then smooth the sawn faces.
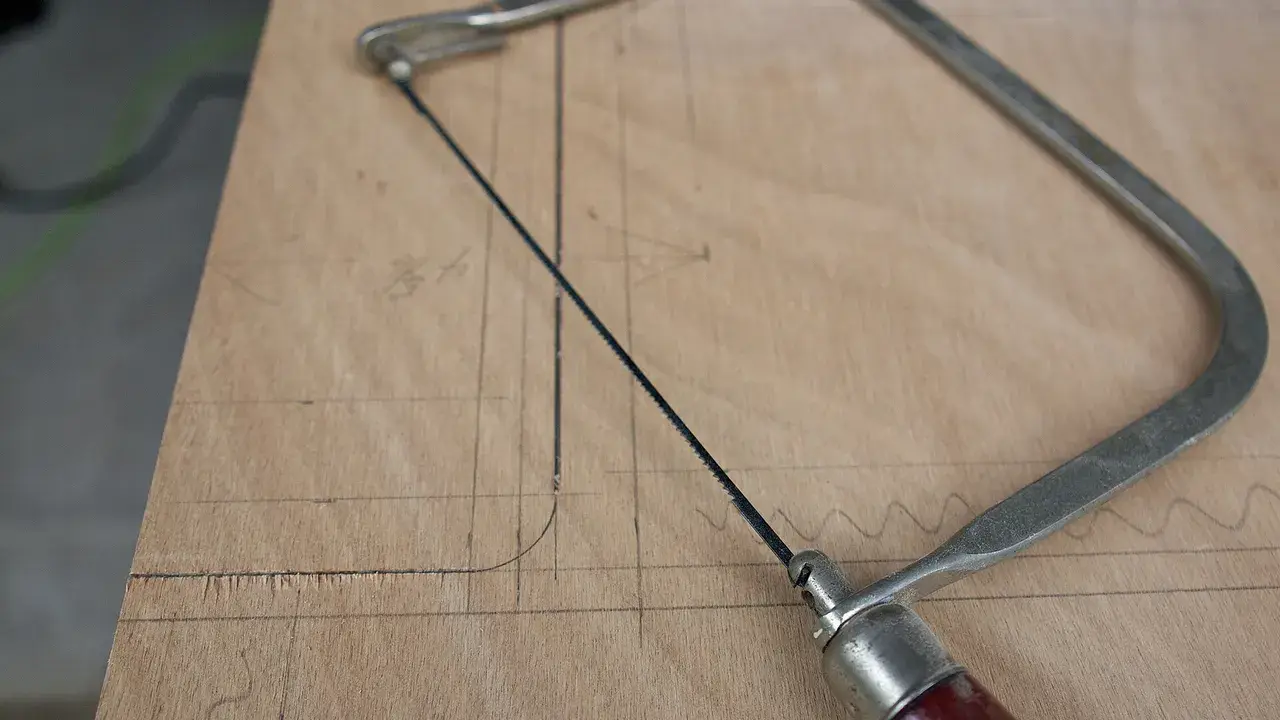
Cut smooth curves and closed inside shapes with a scroll saw, jigsaw, bandsaw or coping saw: pick the saw for the curve, drill blade-entry holes, use relief cuts, and clean up to the line.
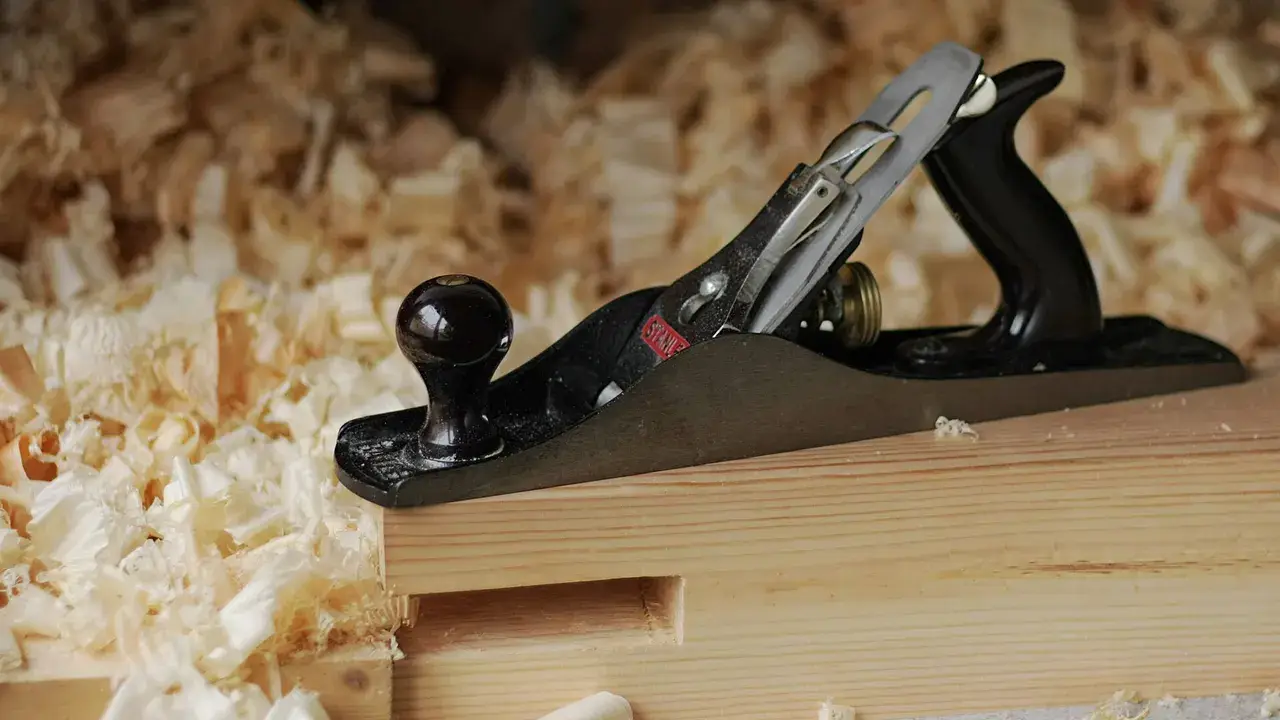
How to flatten warped or cupped stock with a planing sled, router sled, or hand planes and winding sticks—no jointer required.
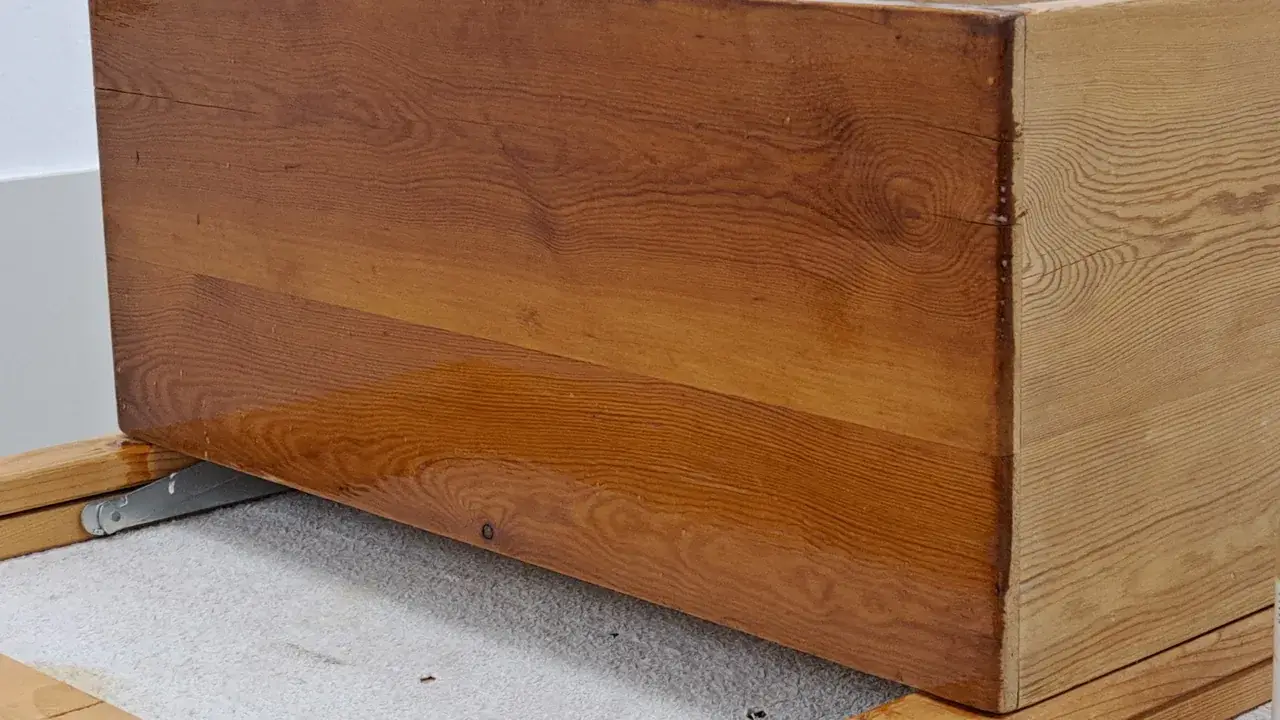
When to wipe on an oil finish versus brush polyurethane on furniture: look, repairability, build time, and how it differs from food-safe board finishes.
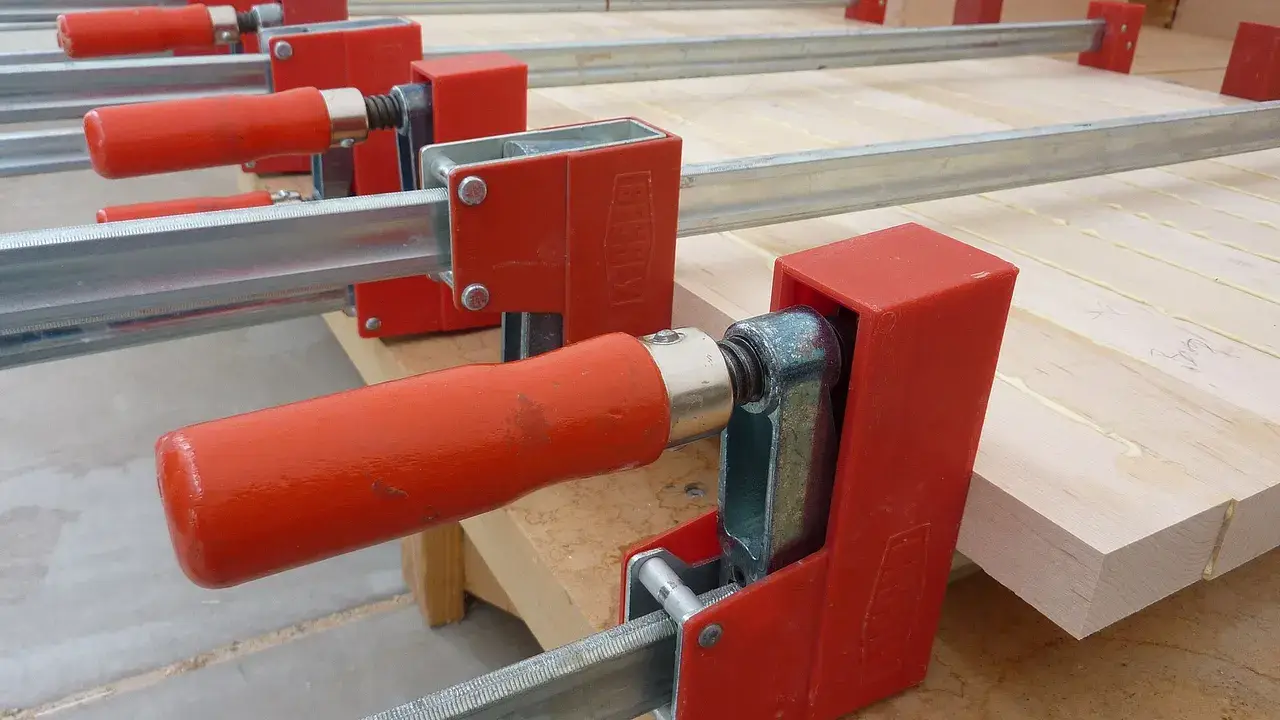
Plan clamp count, pressure, and cauls so glue-ups stay flat and square — without crushing edges or chasing a shifting assembly across the bench.
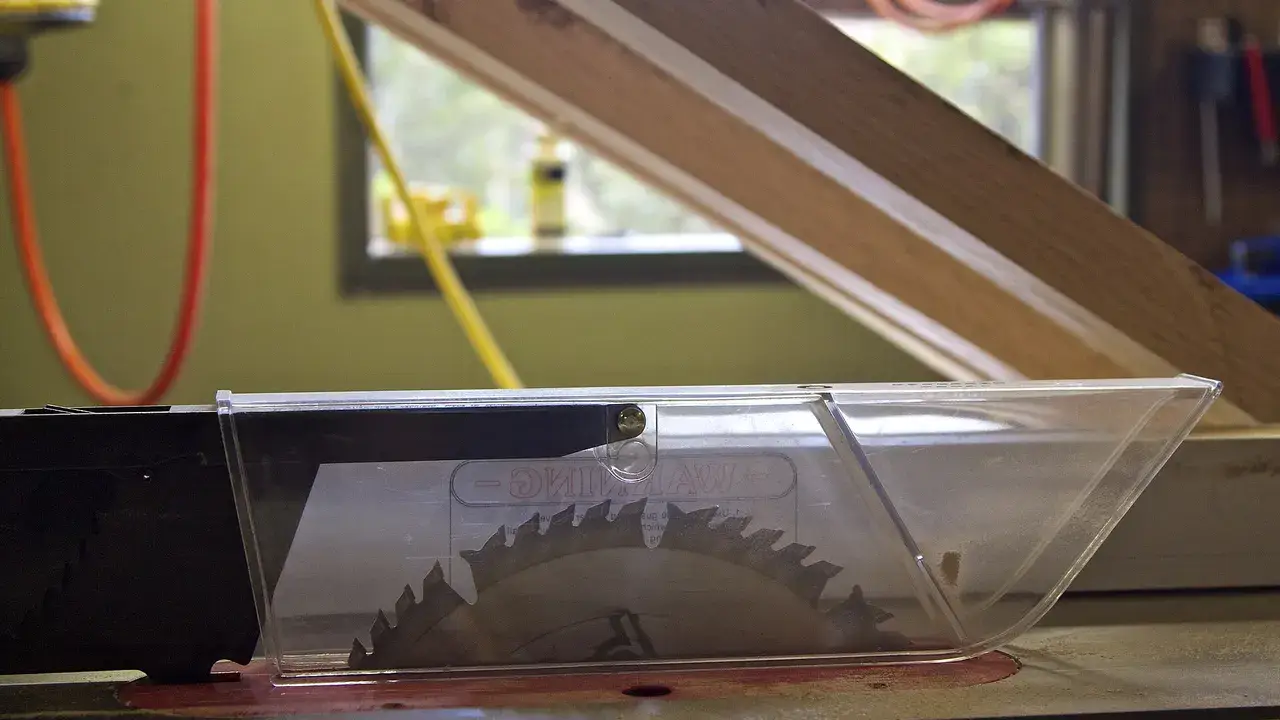
How to choose a crosscut or a rip, set up for straight cuts, and keep parts square — on a table saw, miter saw, or with a circular saw and guide.
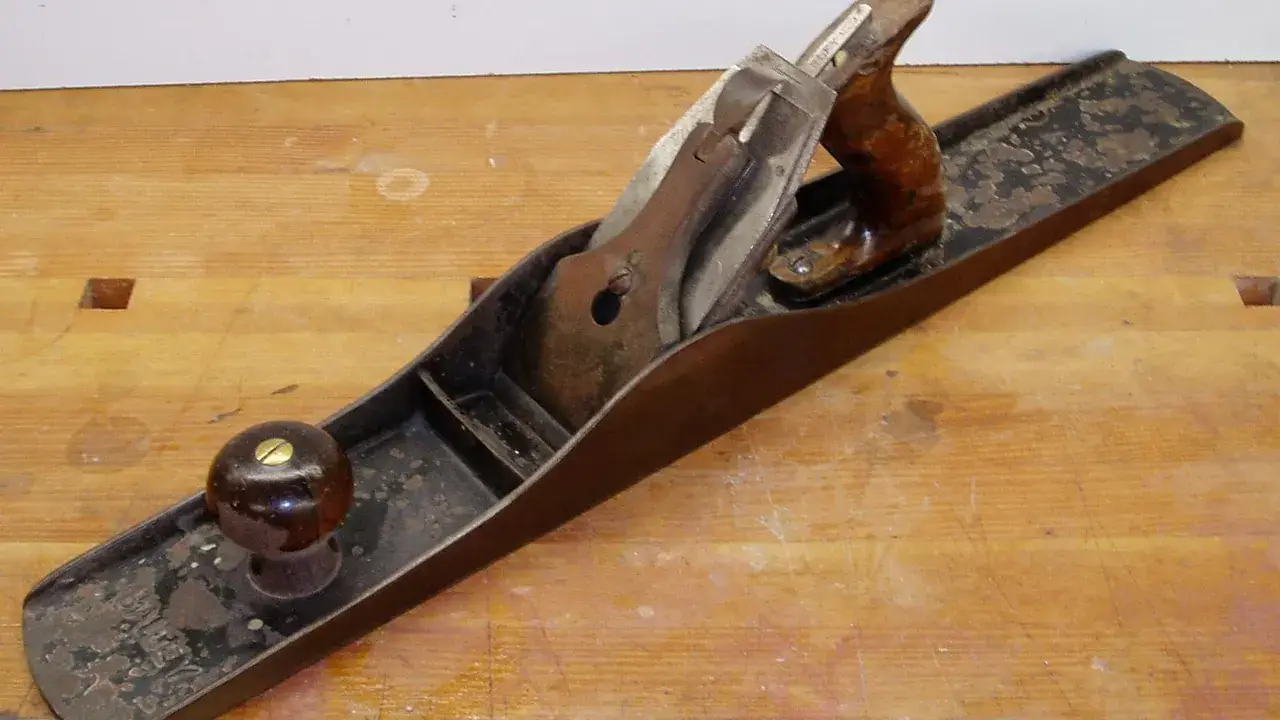
How to get board edges straight and square for gap-free panel glue-ups — with a jointer, a table-saw jointing jig, or hand planes.
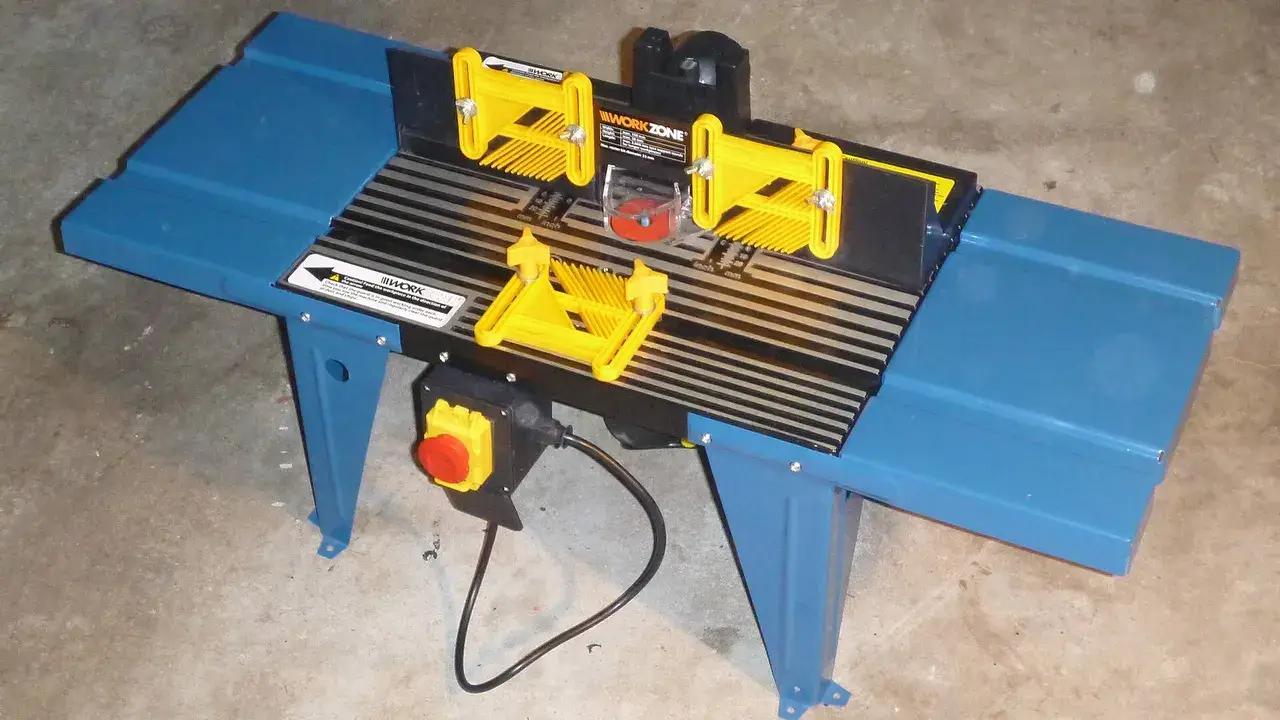
Clean edge profiles with a router: bit choice, depth in light passes, climb vs. conventional feed on outside edges, and simple bearing control.
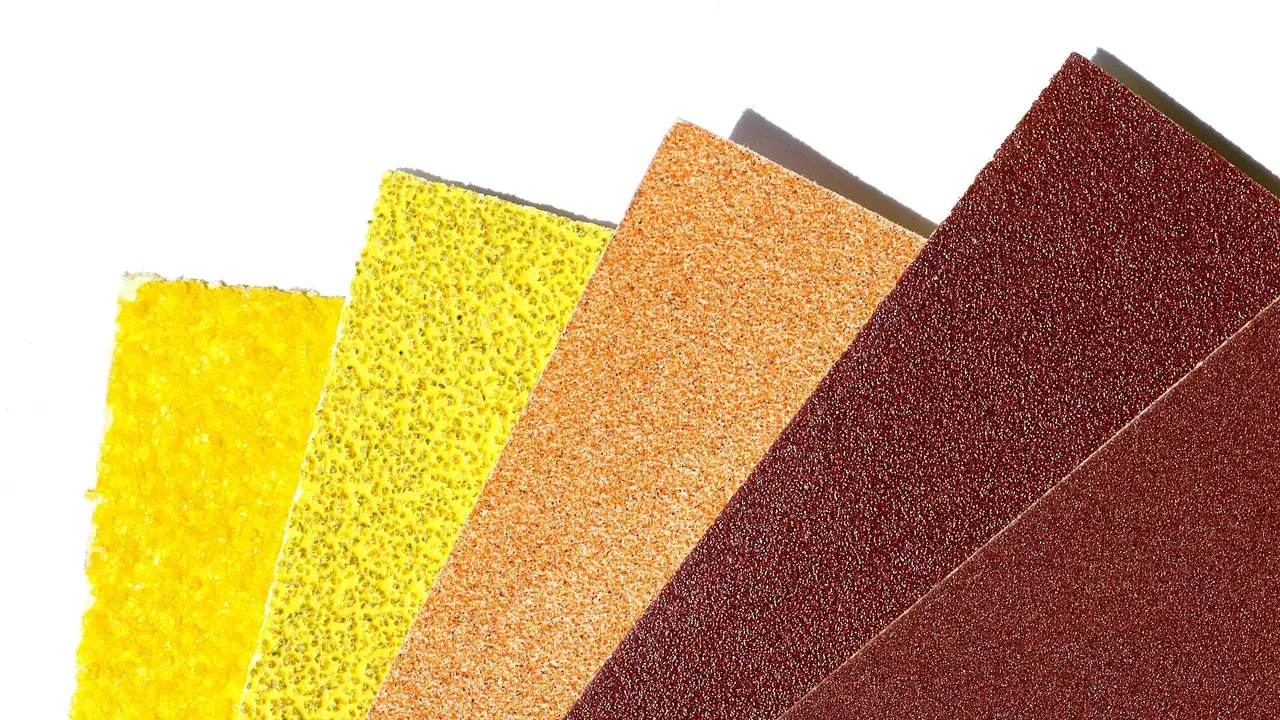
A clear grit ladder from milling marks to finish-ready wood — with random-orbit habits, the pencil trick, and how staining changes where you stop.
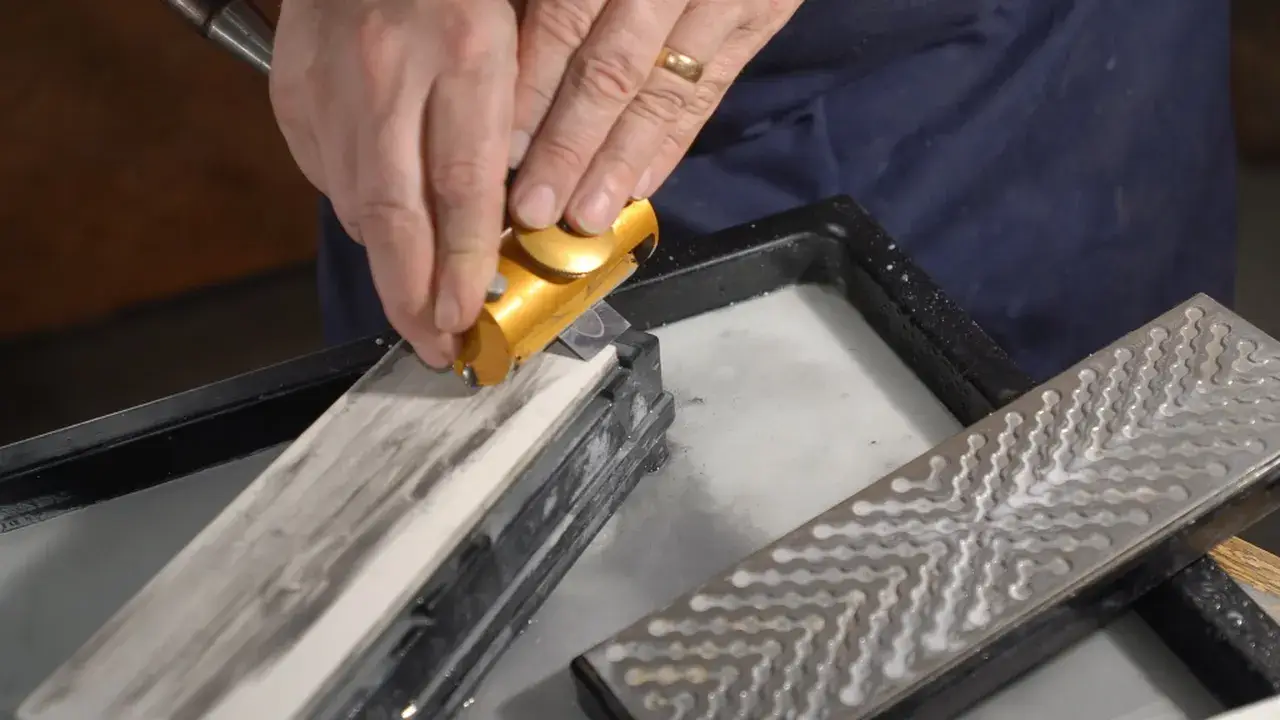
A simple, repeatable sharpening routine: flatten the back, set a bevel, add a microbevel, and know when a tool is actually sharp.
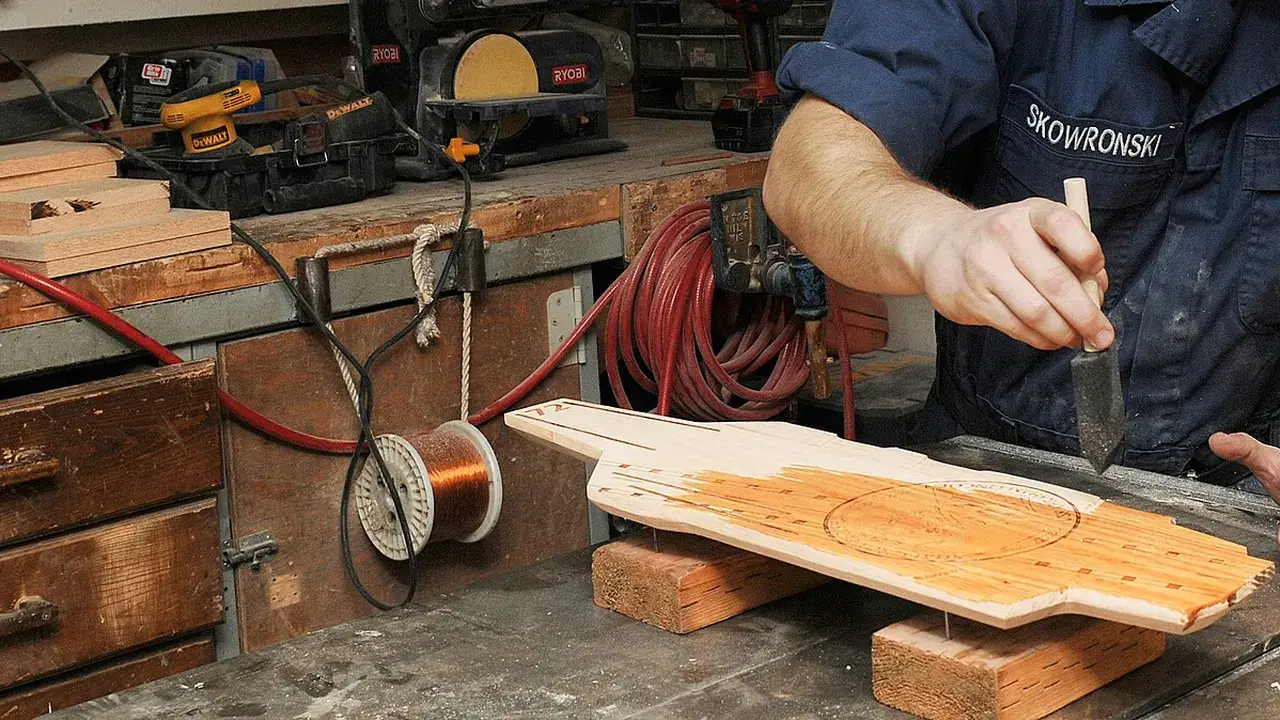
When to stain, when to paint, and how to prep for each — grain showing through color versus a solid film that hides the wood.