
Technique
Resawing Thin Stock for Small Gifts
Slice a thick board into thin boards at the band saw for ornaments, tags and small boxes: mark a center line, stand the board on edge against a tall fence, feed slowly, then smooth the sawn faces.
Made in my shop
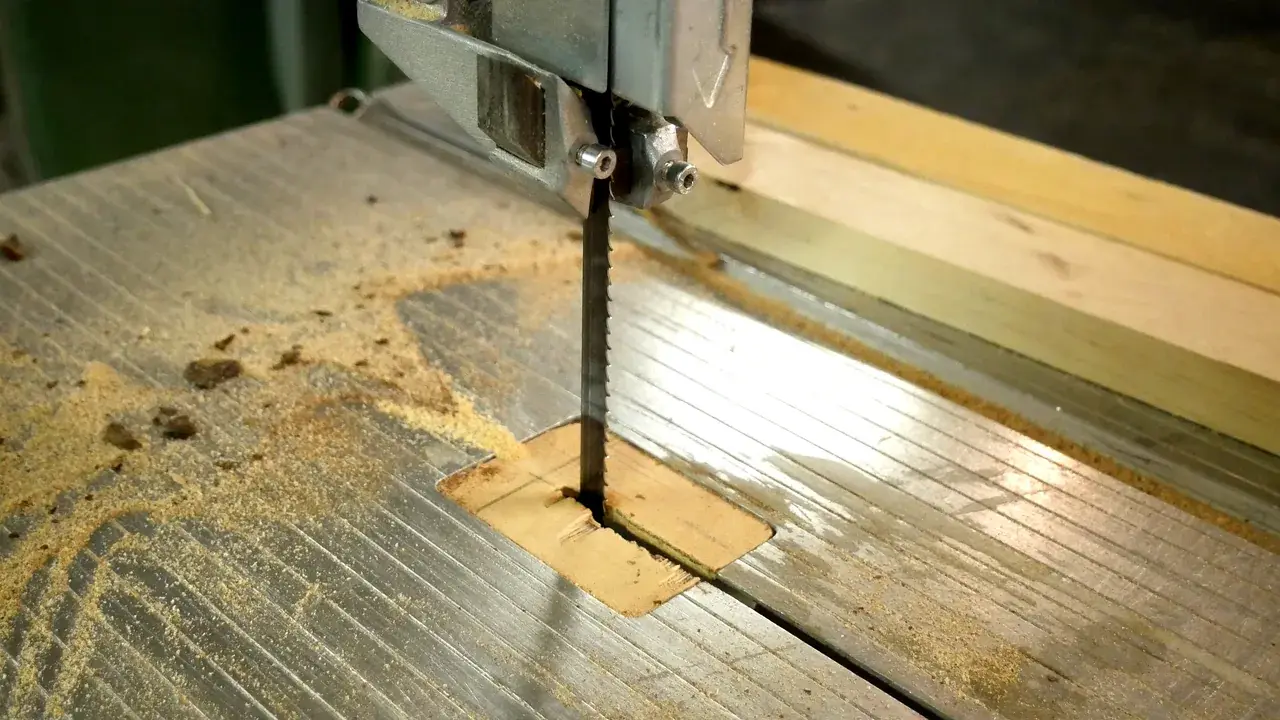
Resawing means standing a board on its edge and cutting it into thinner boards. It turns one nice 3/4 in board into two or three thin ones, which is just what ornaments, gift tags and the sides of a small keepsake box need. It also stretches a small stash of walnut or cherry a lot further. A band saw is the usual tool for it, because its thin blade wastes little wood and cuts deep.
Start with a flat face and a square edge
The board rides on one edge and against one face, so both have to be true. Flatten one face and square one edge to it first; our flattening and squaring tip covers how. A board that rocks on the table will give you a wedge instead of a board.
Mark a line on the top edge
Mark a pencil line down the middle of the top edge, or wherever you want the cut, with a marking gauge or combination square. Leave each piece a little thicker than you need, about 1/16 in, so there is wood to plane or sand away. Two 1/4 in boards from a 3/4 in board still leave room for that extra and the width of the cut.
Use a tall fence and a wide blade
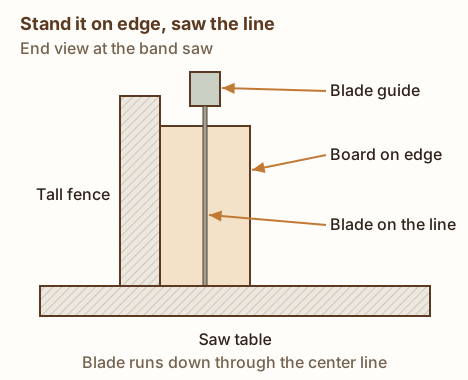
Clamp a tall, straight board to the saw’s fence, or use a resaw fence, so the stock is held square to the saw table. Lower the upper blade guide and guard to just above the board, about 1/4 in. Put the flat face of the board against the fence and the cut line on the blade. A wider blade with fewer teeth cuts straighter and clears sawdust better than a narrow scroll blade.
Swipe sideways to see the whole diagram, or tap it to open full size.
Feed slowly and let the blade cut
Wear eye and hearing protection, and let the blade come up to full speed before the board touches it. Push the board through at a steady, slow pace and let the blade clear the sawdust. A featherboard on the table helps hold the board against the fence. Keep your hands out of the blade’s path and never reach behind it. If the cut starts to drift off the line, slow down rather than steering hard. Finish the last few inches with a push stick or push block, not your fingers. Follow your saw’s manual for guard and blade setup.
Smooth the sawn faces
The sawn face will have blade marks. Plane them off with a block plane or sand them flat with a random orbital sander, working the outside faces too so both sides match. Sticker the thin boards flat overnight before you cut parts from them, since fresh faces can cup a little. Then move on to sanding and finishing.
Choosing a sander? Read our sander for cutting boards guide.
Not sure which push stick or push block to use? Read our push stick and push block guide.
Get new build ideas by email
Free build ideas and tips by email, about twice a month. We'll send a link to confirm. Our emails are sent by Kit, which tracks opens and clicks so we can see what's useful. Unsubscribe anytime. You must be 16 or older. Privacy policy.