Flattening and Squaring Stock: Face, Edge, Thickness, Width, Length
The classic milling sequence that turns rough or warped boards into flat, square parts — with machines or hand planes.
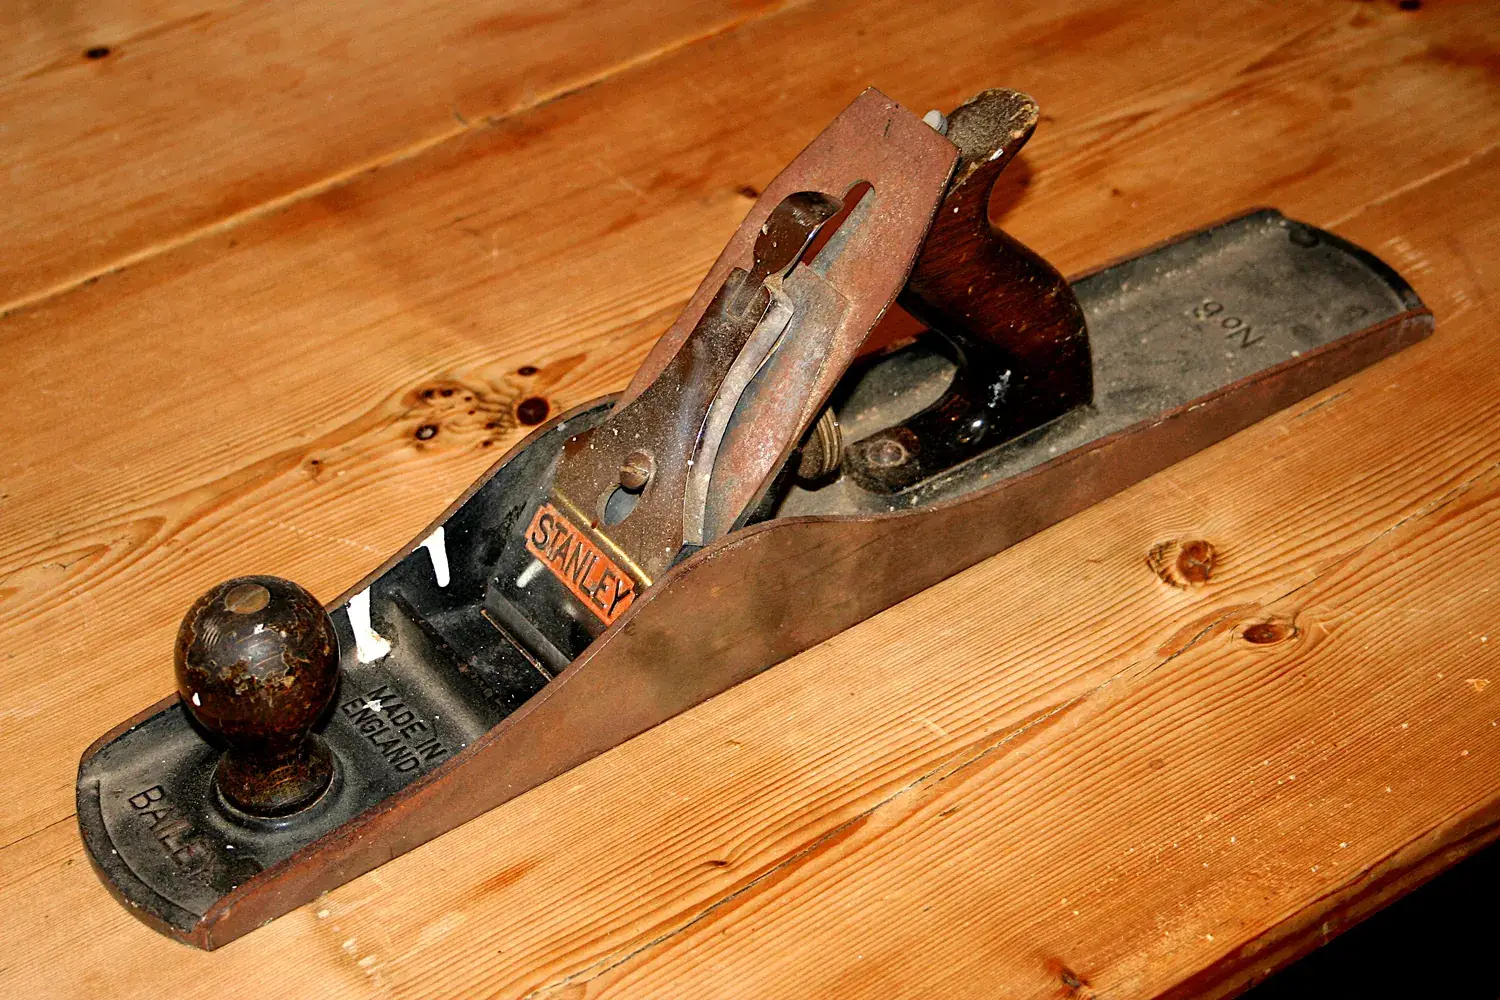
Almost every frustrating fit — gappy joints, wobbly tables, cases that won’t square — traces back to parts that weren’t flat and square to begin with. Getting your stock right first makes every later step easier. The sequence below works whether you use machines, hand planes, or a mix.
The order matters
- Flatten one face (the reference face).
- Square one edge to that face (the reference edge).
- Thickness — make the opposite face parallel to the reference face.
- Rip to width — make the opposite edge parallel to the reference edge.
- Crosscut to length — square the ends.
Some woodworkers — especially with machines — thickness-plane before jointing the edge (face, thickness, edge, width, length). Either order works; what matters is the principle behind it: each step registers off a surface you’ve already made true. A thickness planer, for example, makes the top face parallel to the bottom face — but it won’t remove twist or cup if the bottom face isn’t already flat.
Before you start: rough-cut oversize
Cut boards to rough length and width first (a few inches longer and about 1/4”–1/2” wider than needed). Shorter pieces have less bow and twist to remove, so you’ll keep more thickness. If possible, let the rough-cut pieces sit for a day or two; wood sometimes moves a little after it’s cut.
With machines
- Jointer — face: Put the concave (cupped) side down so the board rests on two edges rather than rocking. Take light passes until the face is flat. Use push blocks and keep guards in place as your jointer’s manual directs.
- Jointer — edge: With the flat face against the fence (check the fence is set to 90°), joint one edge.
- Planer: Reference face down. Take light passes, flipping end-for-end if you’re getting tear-out to change grain direction. Stop when you reach thickness.
- Table saw: Reference edge against the fence; rip to width.
- Crosscut to length with a sled, miter gauge, or miter saw.
No jointer? A planer sled — a flat carrier board with the workpiece shimmed or hot-glued so it can’t rock or flex under the planer’s rollers — lets a planer flatten the first face. A table saw with a straight-line jig can create a reference edge.
With hand planes
- Find the high spots. Use two straight sticks (“winding sticks”) laid across the board at each end. Sight across their tops; if they aren’t parallel, the board is twisted. A straightedge shows hollows and humps.
- Plane the high corners diagonally with a jack or fore plane to remove twist, then plane along the length to remove bow and smooth the surface.
- Check often with the straightedge and winding sticks.
- Square an edge with a longer plane (a jointer plane is ideal), checking with a square from the reference face.
- Mark thickness with a marking gauge run from the reference face around all edges, then plane down to the line.
It’s real work, but it’s quiet, safe, and very satisfying — and it teaches you to read grain.
Checking your work
- Flat: A straightedge laid along, across, and diagonally shows no light underneath.
- Square: Your combination square shows no gap between edge and face.
- Mark your reference surfaces so you lay out from them later.
Common mistakes
- Trying to fix everything at once. Follow the sequence.
- Planing to final thickness immediately. If boards have been stored at a different humidity, leave them a bit thick, let them sit, and take a final pass later.
- Forgetting about snipe. Planers can dip slightly at the ends. Leave parts long and trim the ends off.
Flat, square parts are also the foundation of gap-free glue-ups.
Sources & further reading
- Fine Woodworking — Essential milling machines
- Woodsmith — Top jointer technique
- Your jointer’s and planer’s owner’s manuals for guard use, depth of cut, and minimum stock length