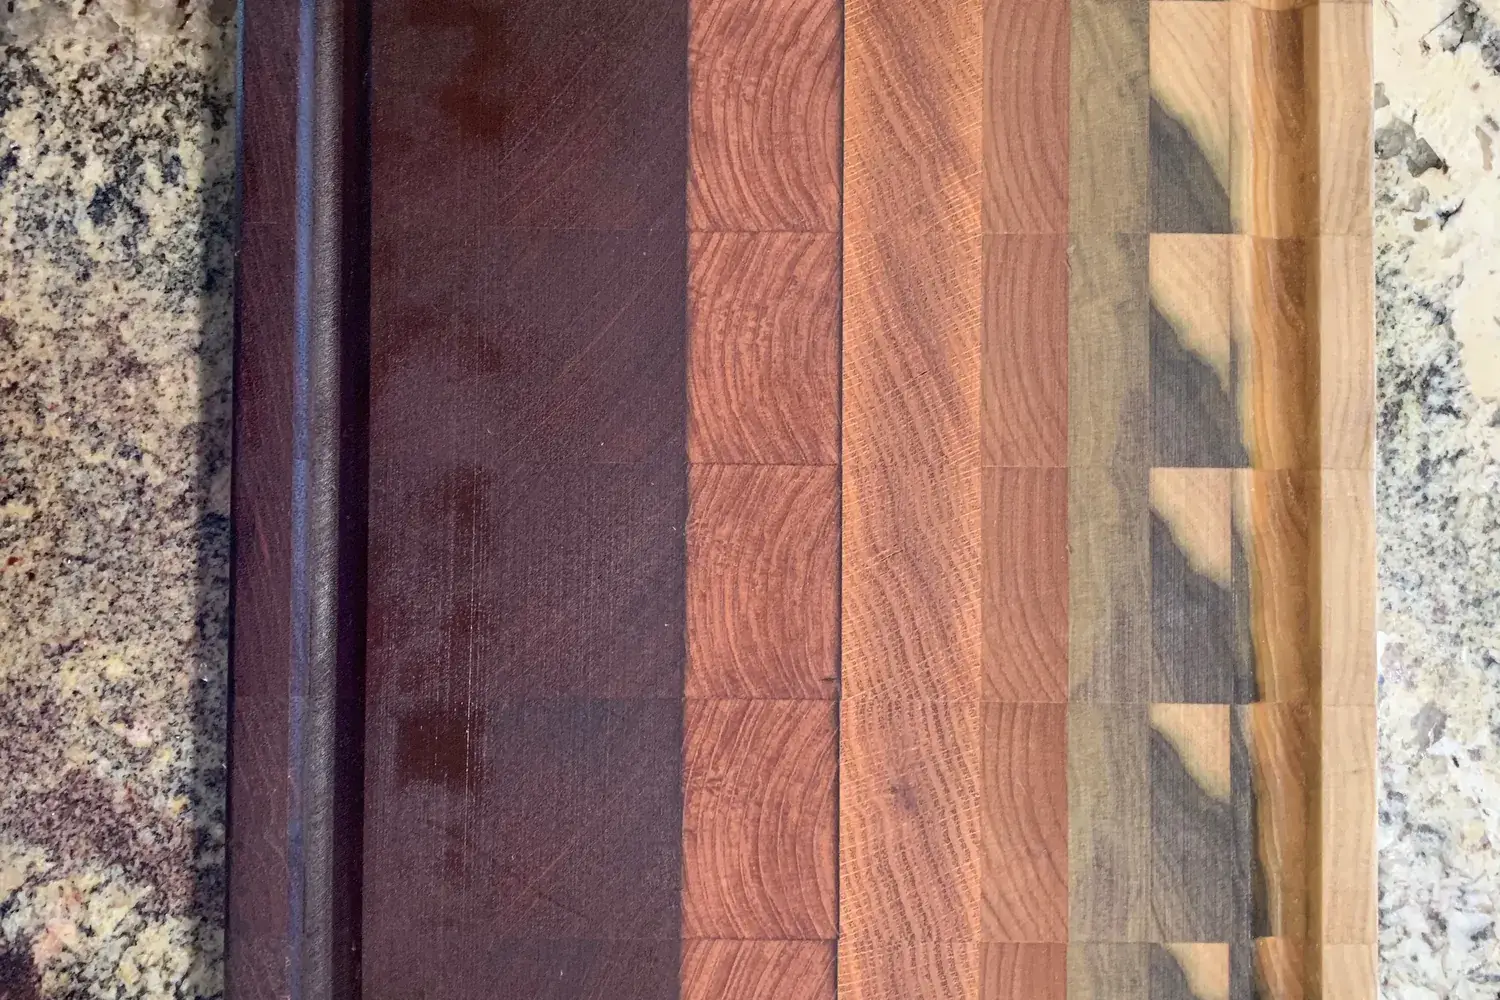
Edge-Grain Hardwood Cutting Board
A beginner-friendly first project built from store-bought hardwood 1x2s — no ripping required. Finished size about 11" × 16".
- Time1 weekend (4–6 hours of work, plus drying time)
- Est. cost$40–$90
Welcome to Sawdust Smart
Friendly, plain-English woodworking tips and step-by-step plans. Whether you just bought your first saw or you're ready for your next build, you're in the right shop.
Safe habits, accurate layout, buying lumber, and first projects you can finish in a weekend.
4 tips · 2 plans
Beginner tips & plans →Stronger joinery, routers, milling stock flat and square, and furniture-grade glue-ups.
4 tips · 2 plans
Intermediate tips & plans →Hand-cut joinery, designing for wood movement, finishing schedules, and heirloom builds.
4 tips · 2 plans
Expert tips & plans →A beginner-friendly first project built from store-bought hardwood 1x2s — no ripping required. Finished size about 11" × 16".
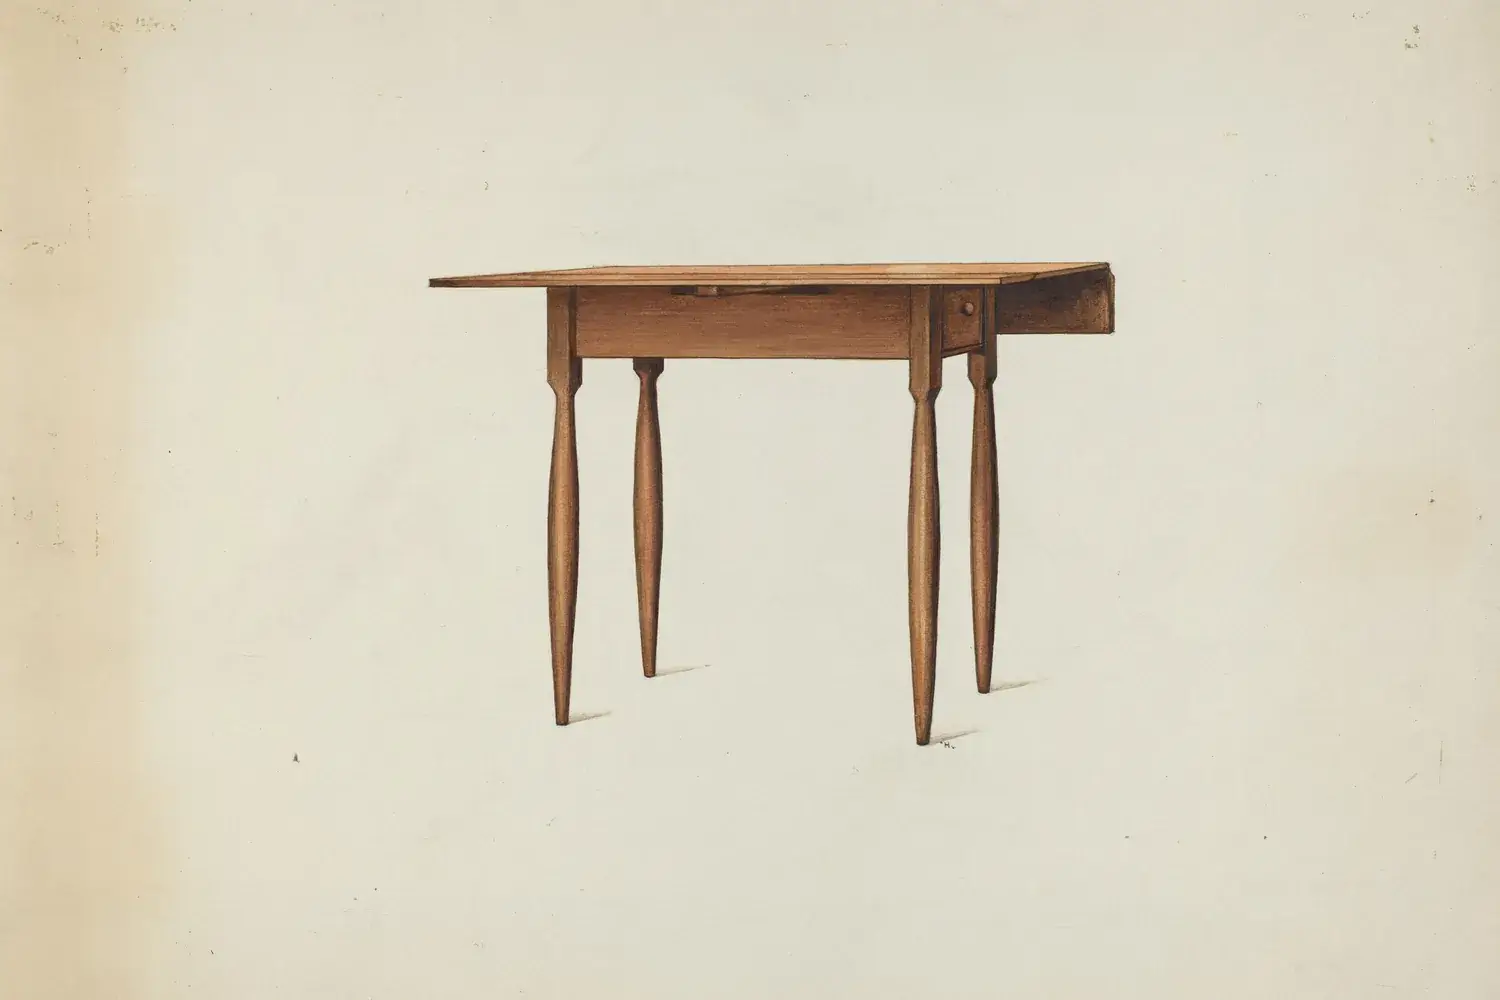
A clean, timeless side table with tapered legs, mortise-and-tenon aprons, and a top that floats on wood buttons. 18" × 18" × 26" tall.
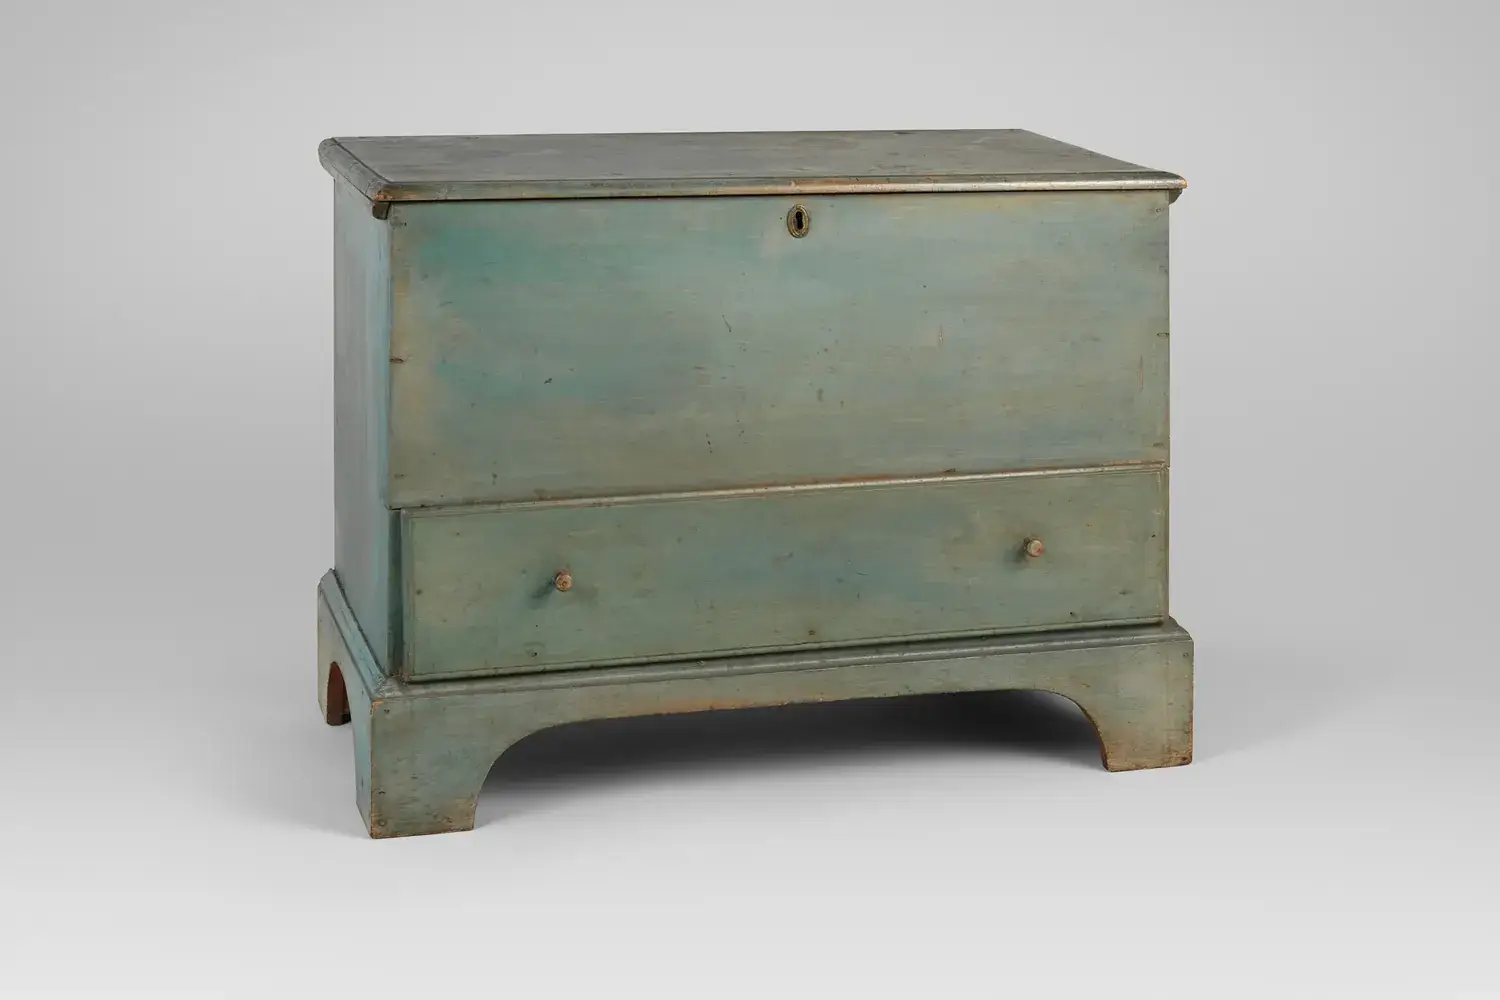
An heirloom chest with hand-cut through-dovetails, a mitered base, and a breadboard-end lid. Case 36" × 18" × 18".

The protective gear, habits, and shop setup that keep you building for years: eyes, ears, lungs, hands, and a clear head.
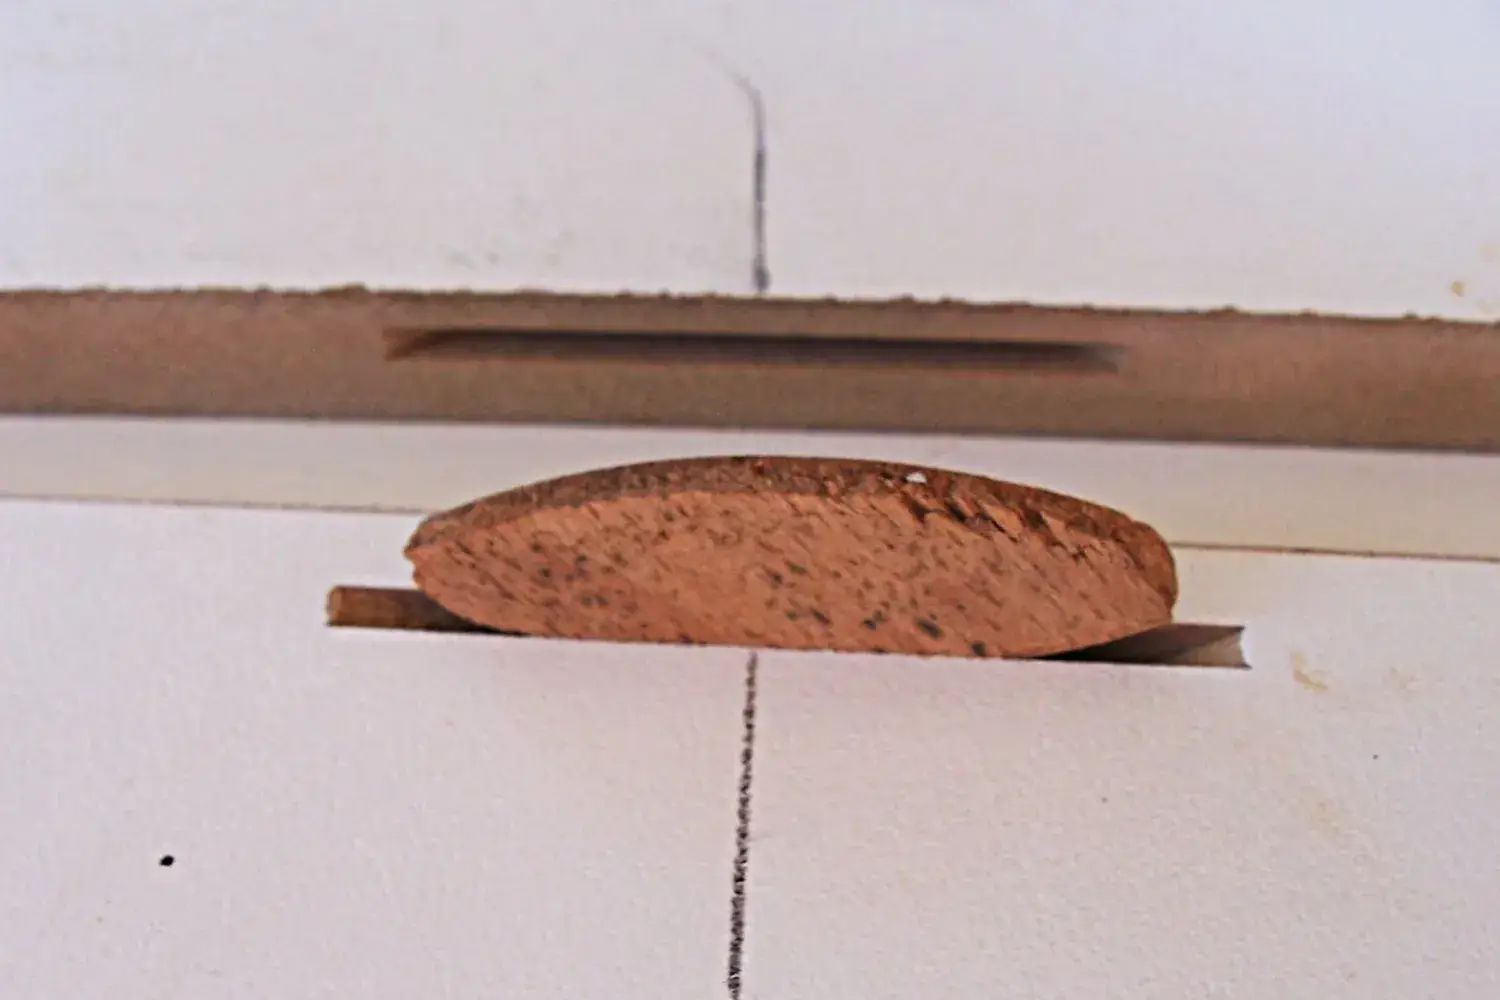
An honest comparison of three popular machine-assisted joints — how each works, where it shines, and where it falls short.
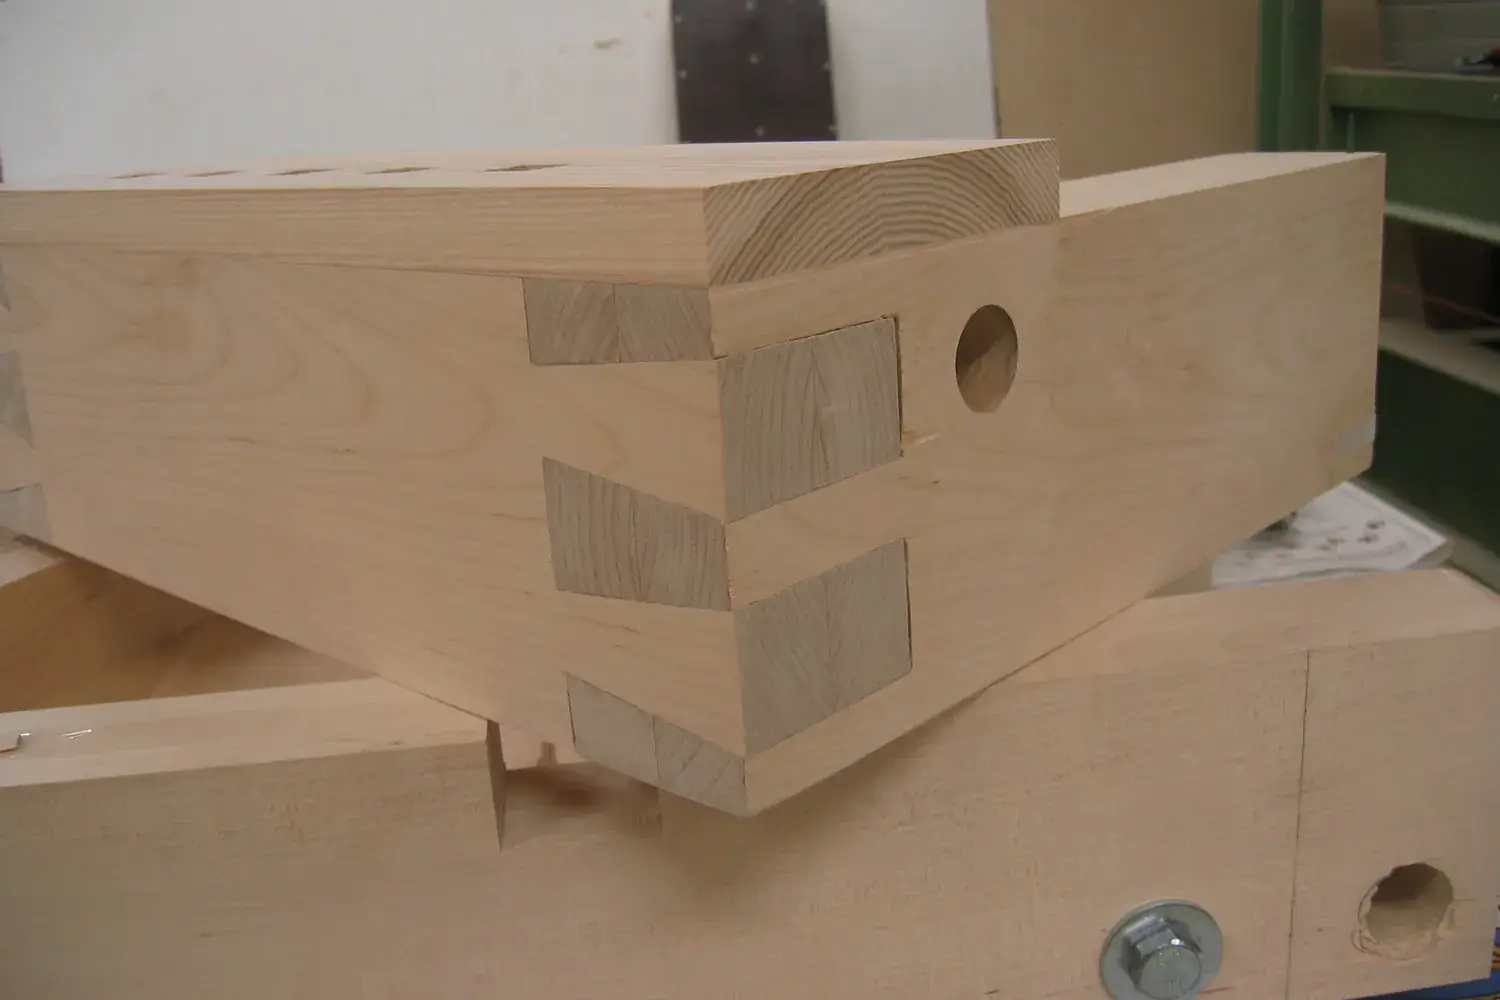
Tails-first layout, sawing to the line, chopping clean baselines, and transferring accurately — a dependable method for through-dovetails.

How to plan a finish from bare wood to final coat — with three proven schedules for shellac French polish, oil/varnish blends, and brushed varnish.
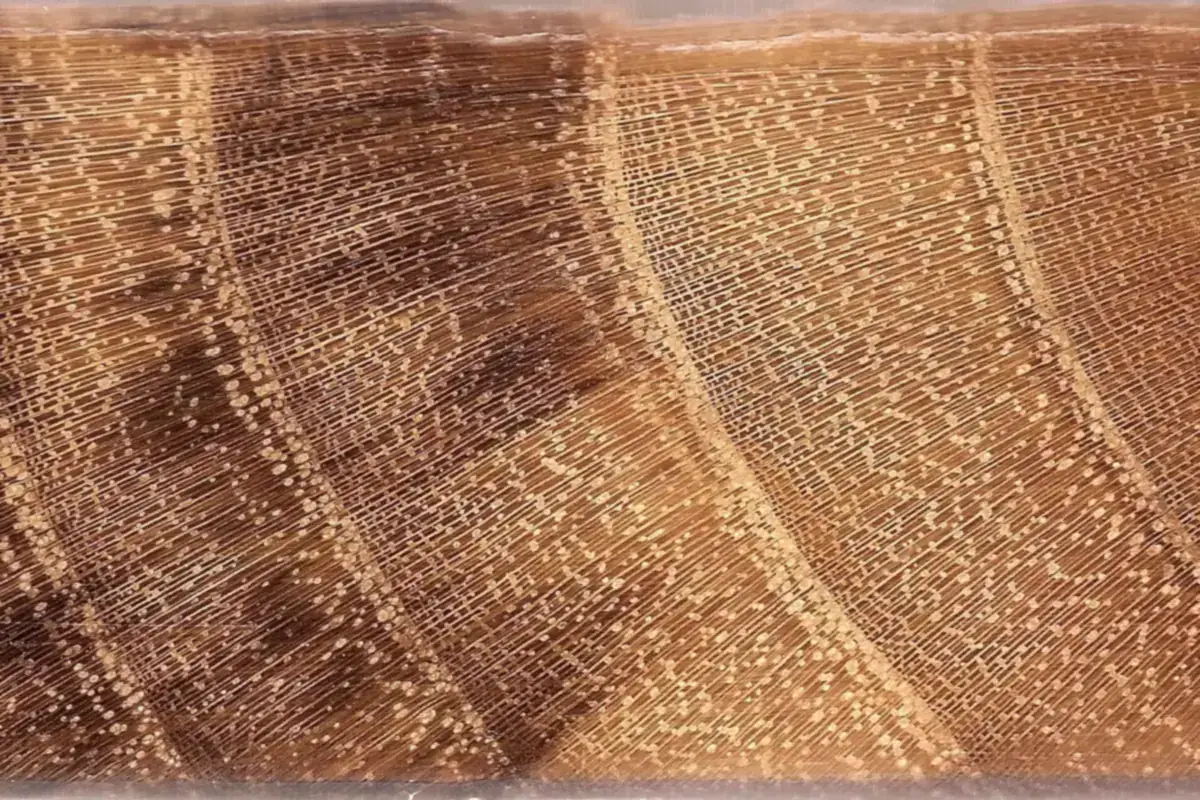
Why wood swells and shrinks across the grain, how to estimate it, and the classic construction details that keep tabletops and panels from cracking.
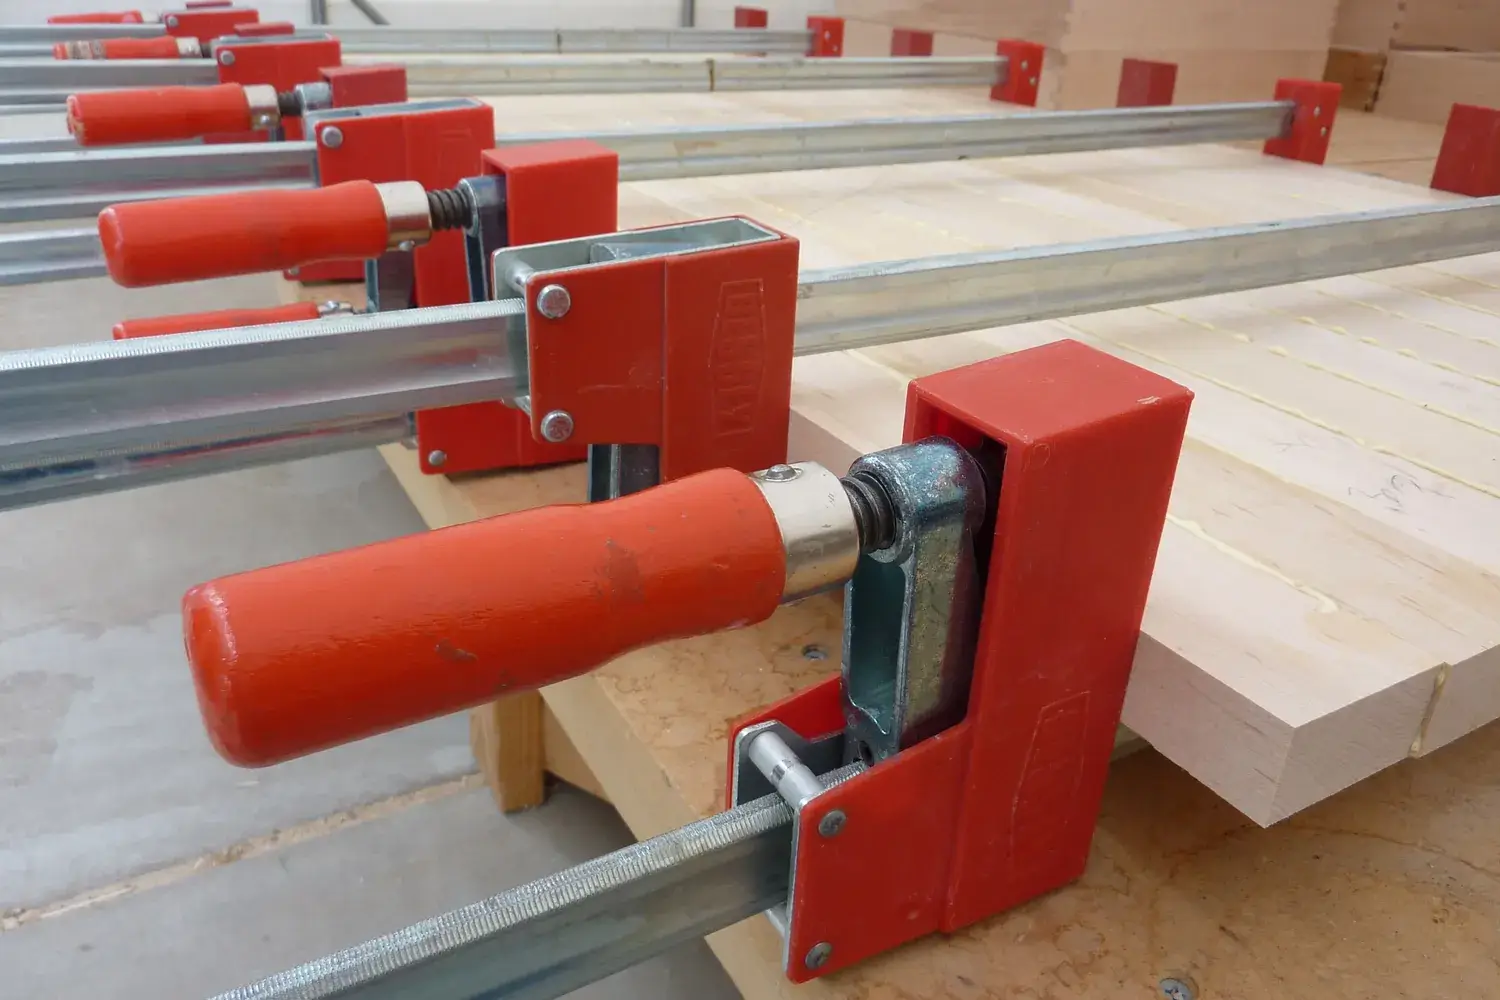
Prep, dry-fit, clamp, and clean up: a calm, repeatable process for panels and assemblies that come out flat and tight.
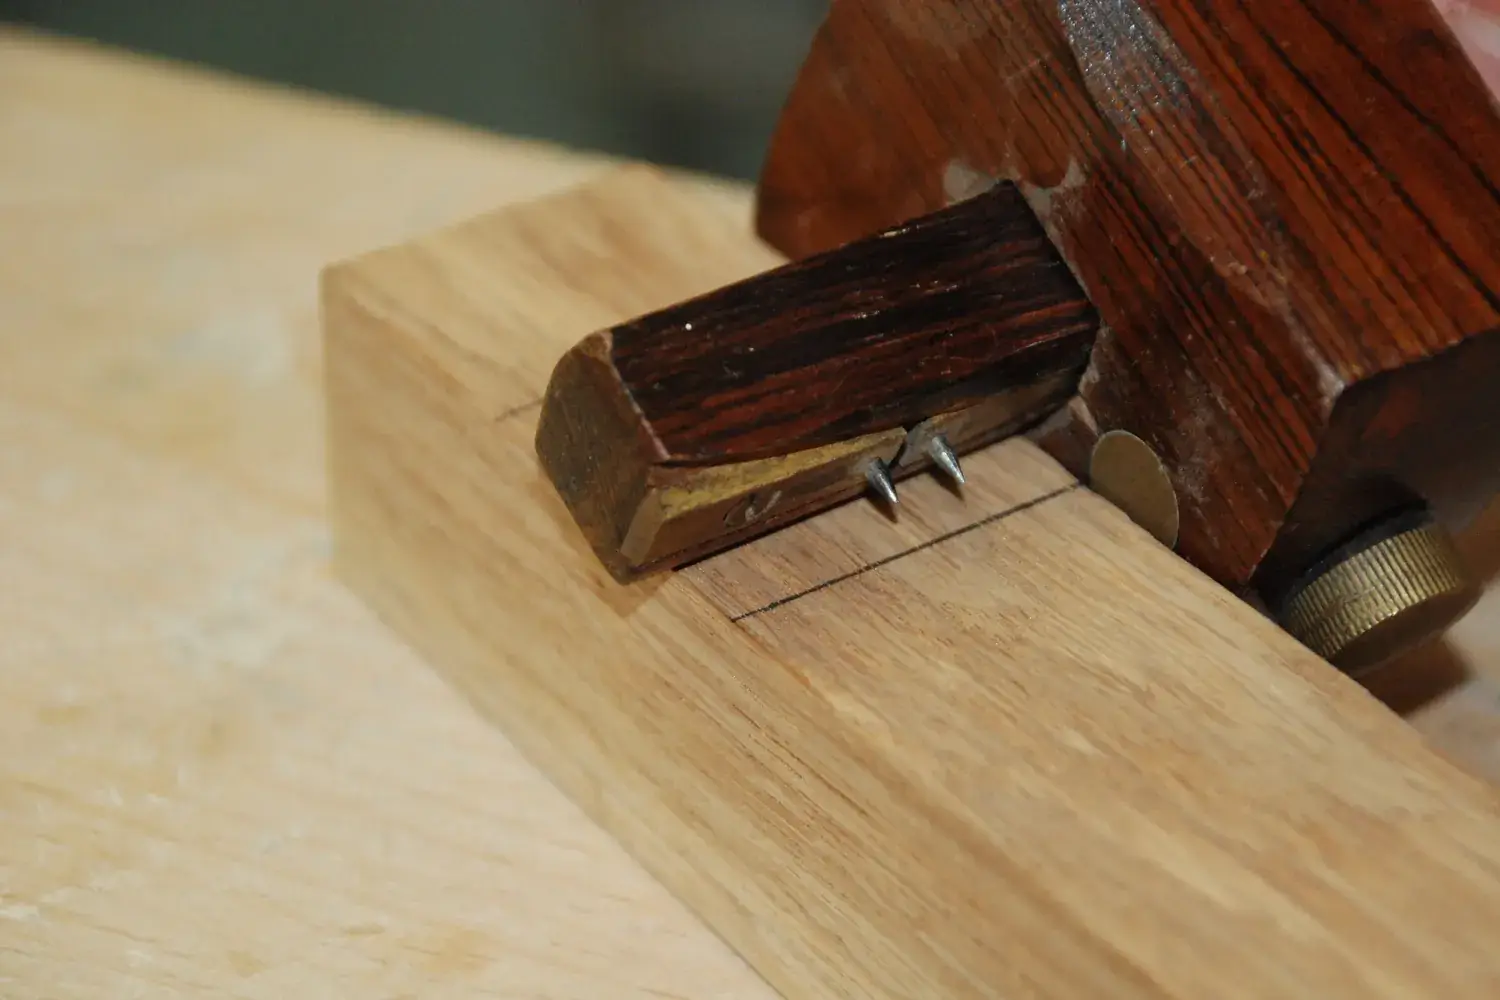
Layout with a mortise gauge, chopping a clean mortise, sawing and fitting the tenon, and drawboring for a joint that stays tight.
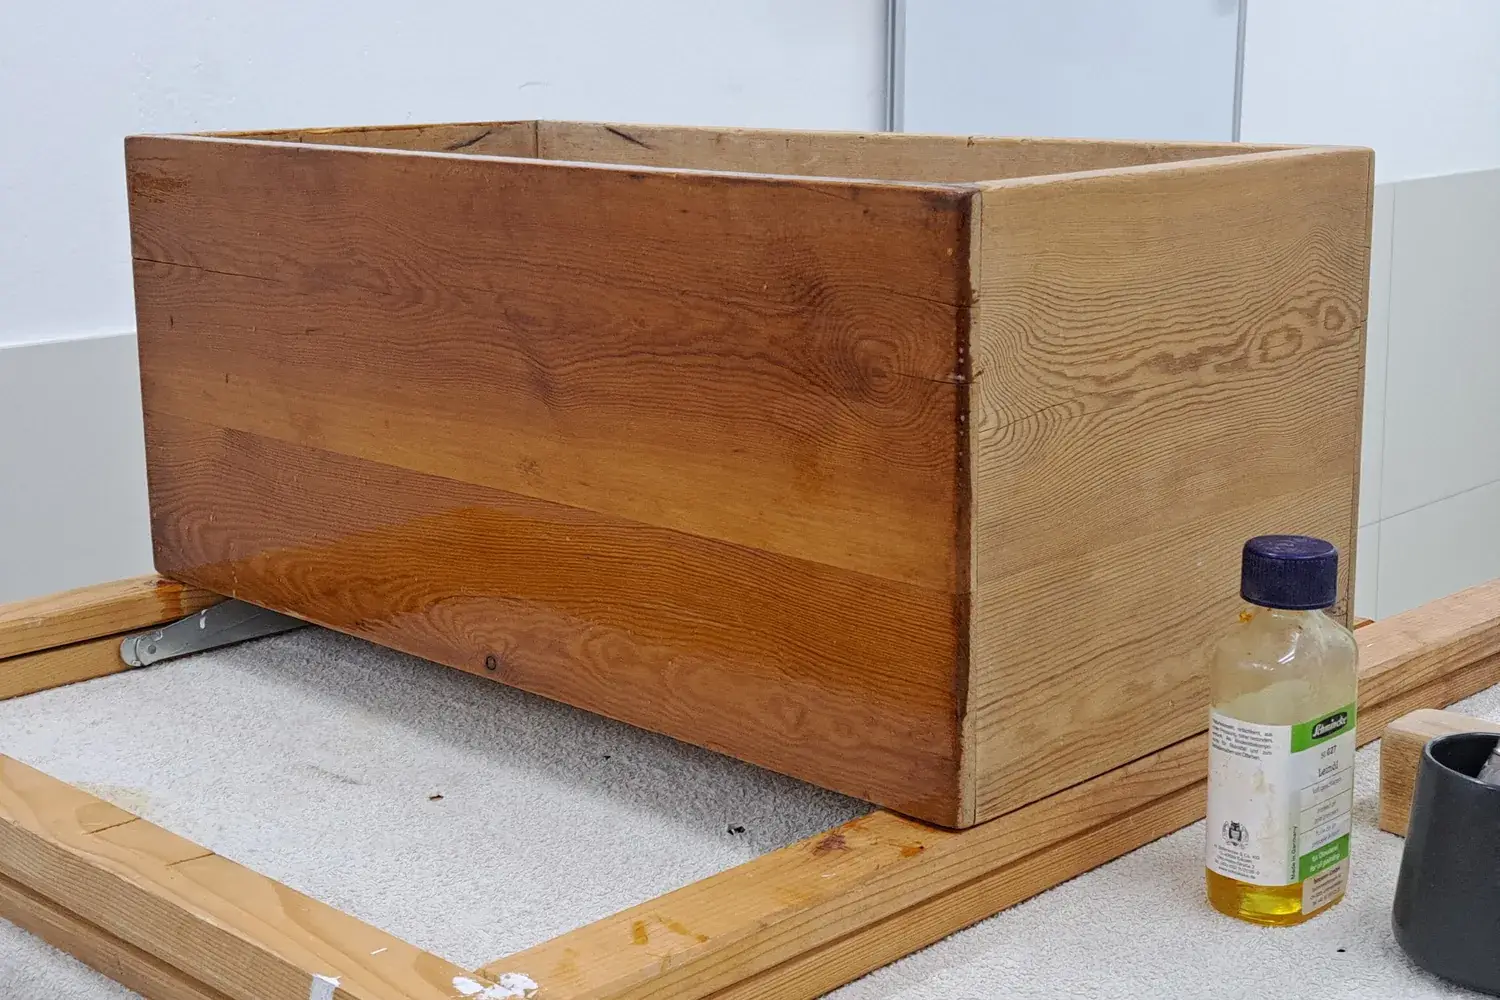
A no-fuss approach to sanding through the grits and choosing a beginner-friendly finish — plus the mistakes that cause blotches and swirl marks.
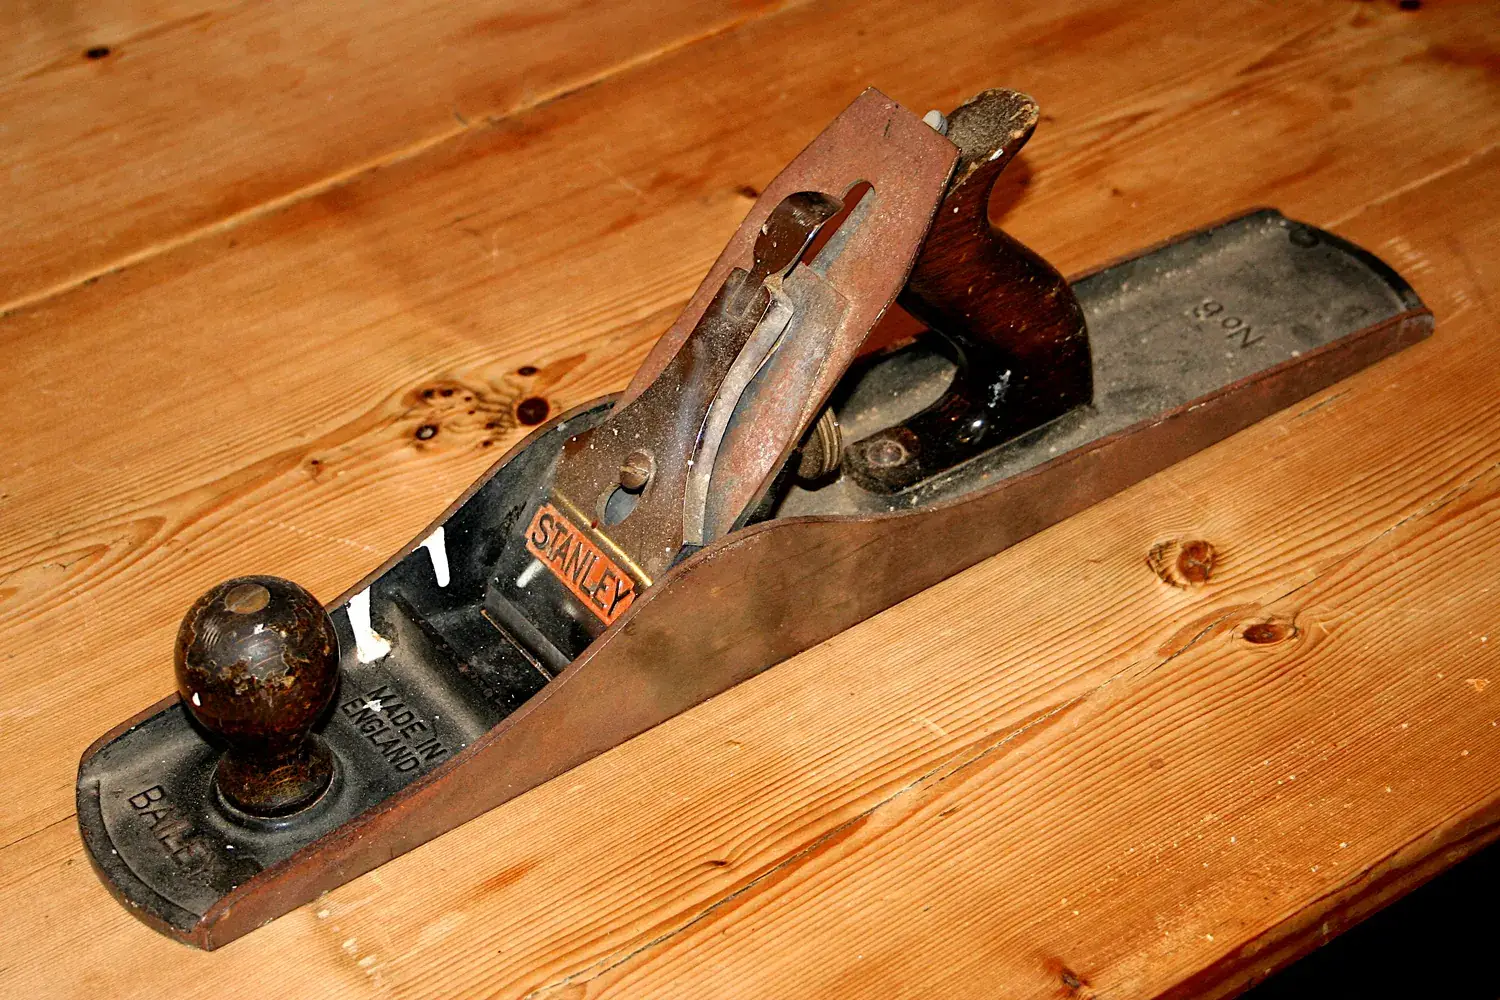
The classic milling sequence that turns rough or warped boards into flat, square parts — with machines or hand planes.
New tips and project plans are added regularly. The easiest way to keep up right now is our RSS feed.
An email newsletter is coming soon.