Project plan
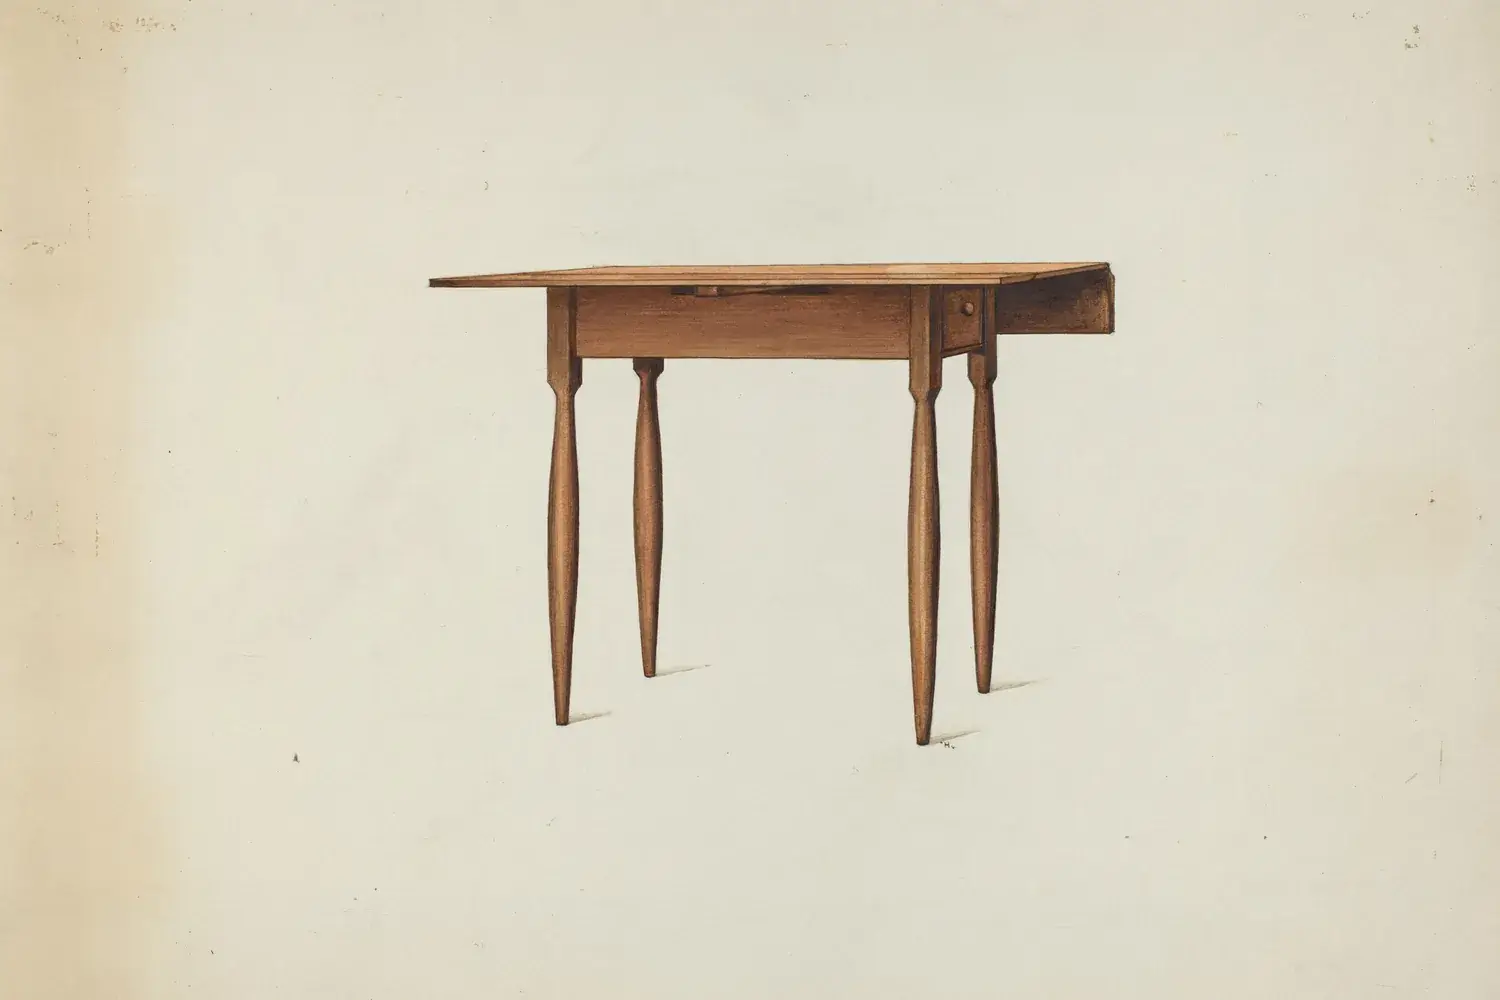
Shaker-Style Side Table
A clean, timeless side table with tapered legs, mortise-and-tenon aprons, and a top that floats on wood buttons. 18" × 18" × 26" tall.
- Difficulty
- Intermediate
- Estimated time
- 15–25 hours over several weekends
- Estimated cost (rough)
- $80–$200
Tools
- Table saw (or bandsaw) for ripping and tapering, with a taper jig
- Jointer and thickness planer, or hand planes (or buy surfaced S4S lumber)
- Router with a 1/4" spiral or straight bit and edge guide (or a 1/4" mortise chisel)
- Tenon saw or table saw with tenoning setup
- Shoulder plane or sharp chisels
- Clamps: at least 4 bar clamps 24" or longer
- Combination square, marking gauge, marking knife
- Random-orbit sander, card scraper
- Safety glasses, hearing protection, dust mask
Materials & cut list
| Part | Qty | Dimensions | Material |
|---|---|---|---|
| Legs Tapered on the two inside faces to 7/8" at the foot, starting 5 1/2" below the top | 4 | 1 1/2" × 1 1/2" × 25 1/4" | Cherry, maple, or walnut (8/4 stock) |
| Aprons 11" between shoulders + 3/4" tenon on each end | 4 | 3/4" × 4 1/2" × 12 1/2" | Same species (4/4 stock) |
| Top boards Glue up to about 18 3/4" wide, then trim to 18" × 18" | 3 | 3/4" × 6 1/4" × 20" | Same species (4/4 stock) |
| Tabletop buttons With a 1/4"-thick tongue to fit the apron groove | 8 | 3/4" × 1 1/4" × 1 1/2" | Any hardwood offcuts |
| Screws for buttons | 8 | #8 × 1 1/4" | — |
| Glue and finish | 1 | — | PVA wood glue; oil/varnish blend or wipe-on varnish |
Where to buy: not sure where to find these tools and materials? See our guide to stores and suppliers, from home centers and hardwood dealers to used-tool sources.
Shaker furniture is all about honest proportions and solid joinery, and this small table is a perfect introduction to furniture-making. It looks simple, which means every joint and edge shows — a great way to level up your accuracy.
What you’ll learn: mortise-and-tenon joinery, tapering legs, gluing up a panel, and attaching a solid top so it can move with the seasons (the subject of Designing Furniture for Wood Movement).
Overall size: 18” × 18” top, 26” tall (25 1/4” legs plus a 3/4” top). The base measures 14” × 14” to the outside of the legs, so the top overhangs 2” on every side.
Joinery alternatives: If you’re not ready for mortise-and-tenon, dowels or shop-made loose tenons work here too — see Pocket Holes vs. Dowels vs. Biscuits. Don’t use pocket screws for the leg-to-apron joints of a table you want to last; they’re better suited to attaching tops.
Lumber: plan on roughly 6–8 board feet of 4/4 and 3–4 board feet of 8/4 stock, including waste. Buying surfaced (S4S) lumber means you can skip much of the milling.
Cost is a rough estimate based on common hardwoods; it can be lower with poplar (painted) or higher with walnut.
Sources & further reading
- USDA Forest Products Laboratory — Wood Handbook, Chapter 4 (why the top needs room to move)
- Titebond — Wood glue FAQs
Steps
Mill the parts
Mill legs to 1 1/2" square and 25 1/4" long, aprons to 3/4" × 4 1/2" × 12 1/2", and top boards to 3/4" thick. Follow a flatten-then-square sequence (see Flattening and Squaring Stock) so everything is flat and square. Label each leg's position (front-left, etc.) and mark its two inside faces.
Lay out and cut the mortises
On the two inside faces of each leg, lay out a mortise 1/4" wide, 3 1/2" long, and 7/8" deep, starting 1/2" below the top of the leg (that leaves a 1/2" shoulder at the top of each apron). Position the mortises so the aprons will sit flush with — or 1/8" back from — the outside faces of the legs: for flush aprons, the mortise's outer wall is 1/4" from the leg's outside face (centered on the apron's thickness); for a 1/8" setback, make it 3/8". Cut with a router and edge guide in several shallow passes, or chop by hand.
Cut the tenons
Cut tenons 1/4" thick, 3 1/2" wide, and 3/4" long on both ends of each apron, using the same gauge setting you used for the mortises. Leave a 1/2" shoulder at the top edge and a 1/2" shoulder at the bottom edge. Fit each tenon to its own mortise and number the joints.
Check that the tenons clear each other
With these dimensions, the two mortises in each leg just miss each other (or barely touch if you set the aprons back), and the 3/4" tenons stop short of the neighboring mortise, so no mitering is needed. Confirm it in the dry fit. If you change the layout — longer tenons, deeper mortises, or mortises moved toward the center of the leg — and the tenon tips would collide, trim a 45° miter on each tenon end so the pair fits with a small gap.
Cut the button groove
On the inside face of each apron, cut a groove 1/4" wide and about 3/8" deep, 1/2" below the top edge, for the tabletop buttons. Make it a stopped groove that ends about 1" short of each shoulder so it doesn't cut into the tenons; a router with an edge guide makes this easy. Do it before assembly.
Taper the legs
Mark the start of the taper 5 1/2" below the top of each leg, on the two inside faces. Taper each of those faces to 7/8" at the foot using a taper jig on the table saw or bandsaw (following your saw's manual and keeping guards in place), or plane to the lines by hand. Clean up the saw marks with a plane or scraper.
Glue up the top
Joint the edges of the three top boards, arrange them for the best grain match, and glue them into a panel about 18 3/4" wide. Use cauls to keep the panel flat. When dry, flatten it and trim to 18" × 18". Optionally, chamfer or round the underside edges to make the top look lighter.
Sand and dry-assemble the base
Sand all parts before assembly; it's much easier now. Dry-fit the whole base to confirm every joint closes and the base is square.
Glue up the base in two stages
First glue two side assemblies (two legs plus one apron each). Check that the legs are parallel and the assembly is flat. When dry, join them with the remaining two aprons, checking that the diagonals are equal and the base stands without rocking.
Attach the top with buttons
Make eight wood buttons with a tongue that fits the apron groove. Place the top upside down, center the base on it (2" overhang all around), and screw two buttons to each apron. On the aprons that run parallel to the top's grain, leave about 1/8" between the button tongue and the bottom of the groove so the top can move with the seasons.
Finish
Break all sharp edges and finish-sand. A wipe-on oil/varnish blend suits cherry beautifully; for more protection on a table that sees drinks, use a brushed or wipe-on varnish. Finish the top's underside too, so both faces exchange moisture evenly.