Designing Furniture for Wood Movement
Why wood swells and shrinks across the grain, how to estimate it, and the classic construction details that keep tabletops and panels from cracking.
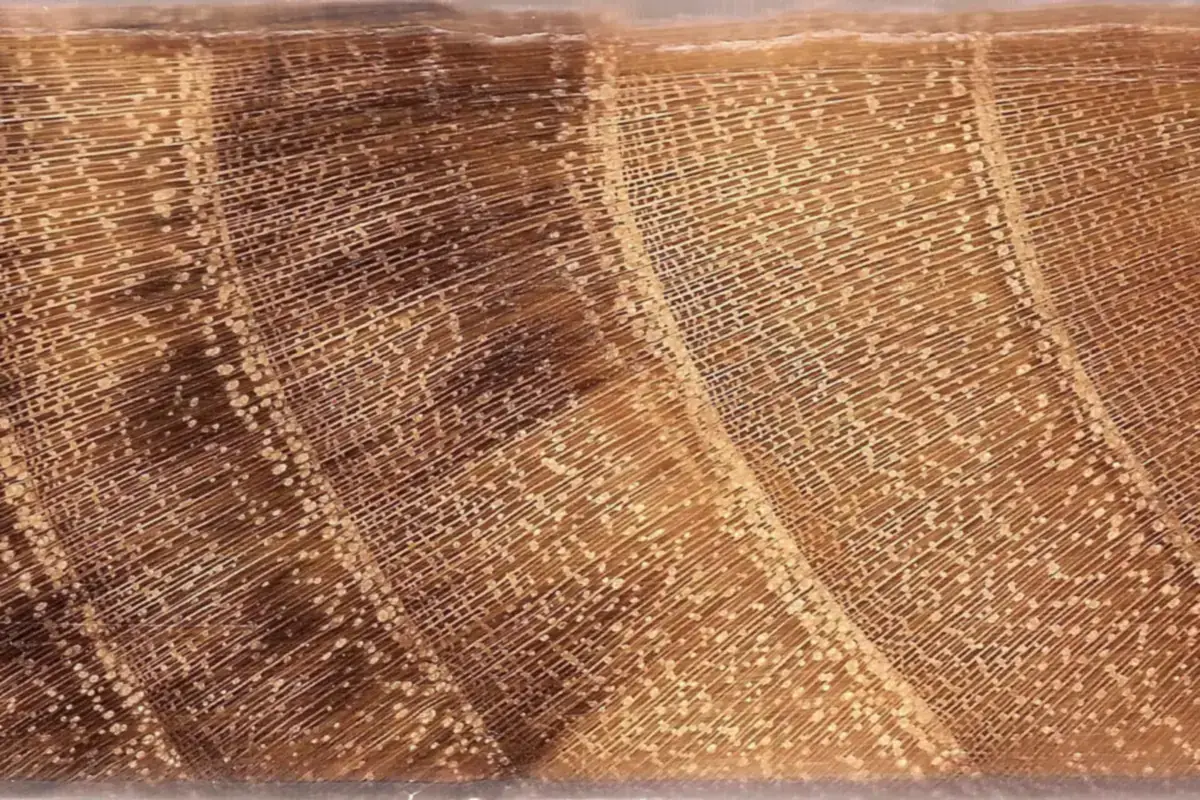
Wood is never truly finished moving. As seasonal humidity rises and falls, boards absorb and release moisture, swelling and shrinking. Ignore that, and a beautiful tabletop can crack or a door can stick in August. Design for it, and your furniture lasts generations.
The basics of movement
- Across the grain (width): This is where nearly all the movement happens. A wide board can change width noticeably between a humid summer and a dry winter.
- Along the grain (length): Movement is negligible for furniture purposes.
- Thickness: Changes too, but it rarely matters in design.
- Grain orientation matters. Flatsawn boards (growth rings arching across the end) move more in width than quartersawn boards (rings roughly perpendicular to the face) — quartersawn stock is noticeably more stable. For most species, wood shrinks about twice as much tangentially (along the growth rings) as radially (across the rings), and only slightly along the grain, according to the USDA Forest Products Laboratory’s Wood Handbook.
- Species matters. Some woods are much more stable than others.
Estimating how much a part will move
You can estimate movement with published shrinkage data for your species (tangential and radial values from sources such as the USDA Forest Products Laboratory’s Wood Handbook), the width of the part, and the expected range of moisture content in your home. Online wood-movement calculators do this math for you.
The exact number varies a lot with species, grain orientation, and climate, so use it as a guide for sizing clearances — not as a precise prediction. When in doubt, allow a bit more room.
The cardinal rule
Never rigidly fix a wide panel across its grain to something that doesn’t move with it. Cross-grain constructions — where the grain of two glued parts runs perpendicular — fight each other with every season. Something has to give, and it’s usually a crack or a failed joint.
Classic solutions
Tabletops: let them float
- Wood buttons that hook into a groove in the apron, screwed to the underside of the top. On aprons that run parallel to the top’s grain, leave a gap between each button’s tongue and the bottom of the groove so the top can move in and out; on aprons that run across the grain, the buttons simply slide along the groove.
- Figure-8 or Z-shaped tabletop fasteners, which pivot or slide.
- Slotted or oversized screw holes through a cleat or apron, with a washer, so screws can move.
Fix the top securely at the center of its width and let the edges move outward and inward from there.
Frame-and-panel construction
Doors and chest sides made as a frame with a floating panel are the textbook answer. The panel sits in grooves, not glued (sometimes a dab of glue or a pin at the center top and bottom keeps it centered). Leave space in the grooves for the panel to expand. Many woodworkers finish the panel before assembly so a bare stripe doesn’t show when it shrinks in winter.
Breadboard ends
A breadboard end caps the end of a tabletop to help keep it flat. The tenon on the top fits into a groove in the breadboard, and pegs pass through. Only the center peg is glued or fixed; outer pegs pass through elongated holes in the tenon so the top can move.
Battens and cleats
Battens across the underside of a wide panel (like a chest lid) should be attached with screws in slotted holes, or fixed only at the center, never glued along their full length.
Drawers and cases
- Drawer bottoms are traditionally solid wood with the grain running side to side, sitting in grooves, with a screw through a slot at the back so the bottom can move front to back.
- Case sides with cross-grain parts: Moldings applied across the grain of a case side are glued only at the front, with the rest attached with slotted screws or sliding dovetails.
Moisture management
- Acclimate your lumber in the space where you’ll work before final milling.
- Finish all sides equally. A finish slows moisture exchange but doesn’t stop it. Finishing both faces of a panel helps it respond evenly and reduces cupping.
- Plan fits by season. A drawer fitted snugly in dry winter may bind in humid summer, so leave a little more clearance in winter.
Quick design checklist
- Which way does the grain run in every part?
- Where do two parts meet with perpendicular grain? Is one free to move?
- How wide is each solid-wood panel, and how much clearance did I leave?
- Are panels finished on both faces?
Design with movement in mind and you’ll avoid the most common way handmade furniture fails. The dovetailed blanket chest uses breadboard ends on its lid for exactly this reason.