Finishing Schedules: French Polish, Oil, and Varnish
How to plan a finish from bare wood to final coat — with three proven schedules for shellac French polish, oil/varnish blends, and brushed varnish.
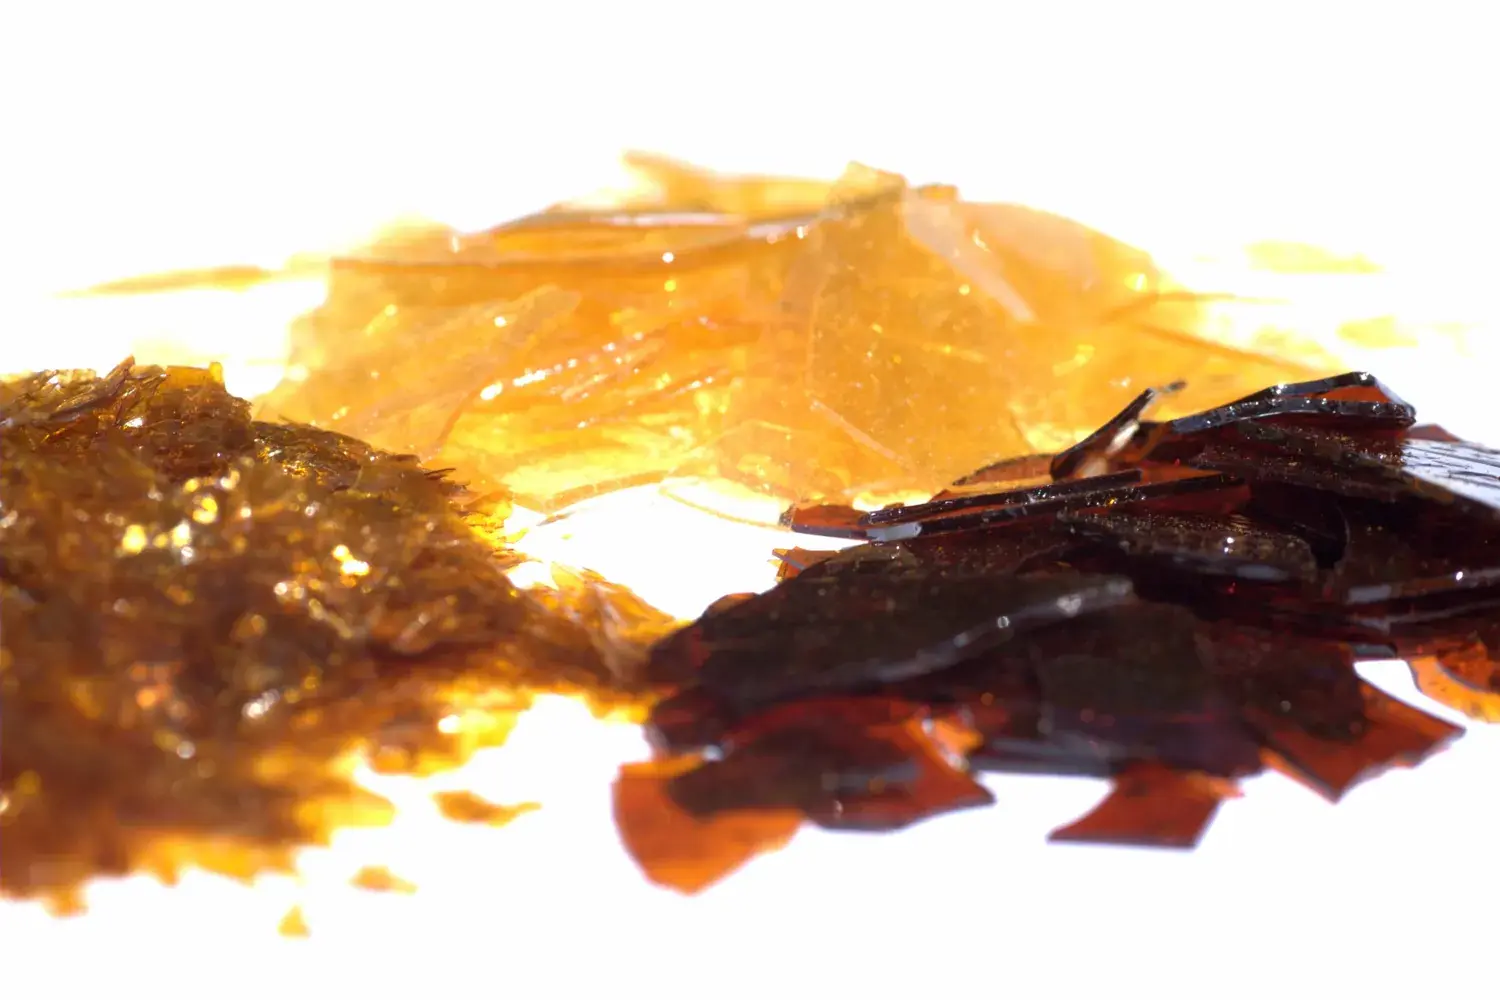
A finishing schedule is your finish recipe: every step from bare wood to the last rub-out, written down before you open a can. It makes results repeatable and lets you test the whole sequence on a sample board first. Here’s how to think about it, plus three proven schedules.
Always follow the product labels for dry and recoat times, application temperatures, ventilation, and respirator recommendations. Times below are general guidance — your products and climate will vary.
Plan by asking three questions
- How much protection does the piece need? A dining table needs a tougher film than a jewelry box.
- What look do you want? Close to the wood (in-the-wood oil look), a thin satin film, or a deep, glossy film.
- How will it be repaired? Shellac and oil finishes are easy to repair; catalyzed and some polyurethane finishes are harder to touch up invisibly.
Then always do a sample board — same wood, same sanding, every step — before the real piece.
Schedule 1: Shellac French polish
French polishing builds a very thin, brilliant shellac film with a pad. It’s beautiful on figured woods and small pieces, but it isn’t very resistant to heat, water, or alcohol, so it’s not the best choice for a dining table.
Materials: dewaxed shellac (flakes dissolved in denatured alcohol, or a fresh premixed product), a pad (“rubber”) made of a cotton or wool core wrapped in lint-free cotton or linen, a few drops of mineral oil or similar as lubricant, very fine abrasives.
- Prepare the surface to a fine grit and remove all dust.
- Grain filling (optional): For a glass-smooth surface on open-pored woods like mahogany or walnut, fill the pores — traditionally with pumice and shellac worked into the grain, or with a paste grain filler compatible with shellac.
- Bodying: Charge the pad with a thin cut of shellac (many polishers use roughly a 1- to 2-pound cut). Apply in overlapping circles and figure-eights, keeping the pad moving and never stopping on the surface. Add a tiny drop of oil to the pad face when it starts to drag. Build thin layers over several short sessions, letting the shellac dry between sessions.
- Leveling: Once a film has built up and cured for a day or so, lightly level dust nibs with very fine abrasive.
- Spiriting off: With a nearly dry pad and very little alcohol, use long, straight strokes along the grain to remove the oil streaks and bring up the gloss. Too much alcohol will soften the film — go lightly.
This is a technique that rewards practice. Start on small, flat pieces.
Schedule 2: Oil/varnish blend (wipe-on)
A mix of oil, varnish, and thinner, wiped on and off. It produces a natural, low-luster look and is very easy to apply and renew. Protection is modest, because the film is thin.
- Sand to about 180–220 grit.
- First coat: flood it on, keep the surface wet for several minutes, then wipe off all excess.
- Let it cure fully (often overnight or longer — check the label).
- Following coats: lightly scuff with a very fine abrasive pad or 320–400 grit, wipe on a thin coat, and wipe off the excess.
- Repeat for several coats until the sheen is even. Optionally, apply paste wax once cured.
Safety: Oily rags can spontaneously combust. The NFPA advises spreading them out or hanging them outdoors to dry, away from buildings, then storing them in a metal container with a tight lid filled with water and a little detergent until you can take them to a hazardous-waste collection site. Follow the can’s disposal directions too.
Schedule 3: Brushed varnish (durable film)
For tabletops and high-wear surfaces, a film-building varnish (oil-based or water-based polyurethane, or a traditional alkyd varnish) gives the most protection.
- Sand to about 180 grit; remove all dust.
- Seal coat (optional): a thin coat of dewaxed shellac or a thinned first coat of varnish helps reduce blotching on some woods and seals in resinous knots. Check compatibility with your topcoat.
- Build coats: apply thin, even coats with a quality brush, tipping off with the brush lightly along the grain. Thinning the varnish slightly can help it flow — check the label.
- Sand between coats once dry, using the grit the label recommends (often 220–320), to level dust nibs and give the next coat some grip. Remove the dust each time.
- Apply enough coats to get the build you want; tabletops generally get more coats than chair parts.
- Rub out (optional): after the final coat has cured fully (often a week or more), level with very fine abrasive and rub to an even sheen with rubbing compound, steel wool and wax, or abrasive pads.
Combining finishes
Finishes can be layered — for example, an oil coat to enrich the grain, a shellac seal coat, then a varnish topcoat. The key rule: make sure each layer is compatible with the next and fully dry before you add the next. Dewaxed shellac is often used as a barrier coat because most finishes adhere well to it. When unsure, test on your sample board.
Write it down
Keep a card for each project: wood, sanding grits, products used (with cut or thinning ratio), number of coats, and dry times. Next time, you’ll be able to repeat the result — or improve on it.
The dovetailed blanket chest and Shaker-style side table are both perfect candidates for an oil/varnish blend or a brushed varnish.
Shellac flakes and specialty finishes can be hard to find locally; Where to Buy Tools & Materials lists a few suppliers.