Shop Safety Essentials for New Woodworkers
The protective gear, habits, and shop setup that keep you building for years: eyes, ears, lungs, hands, and a clear head.
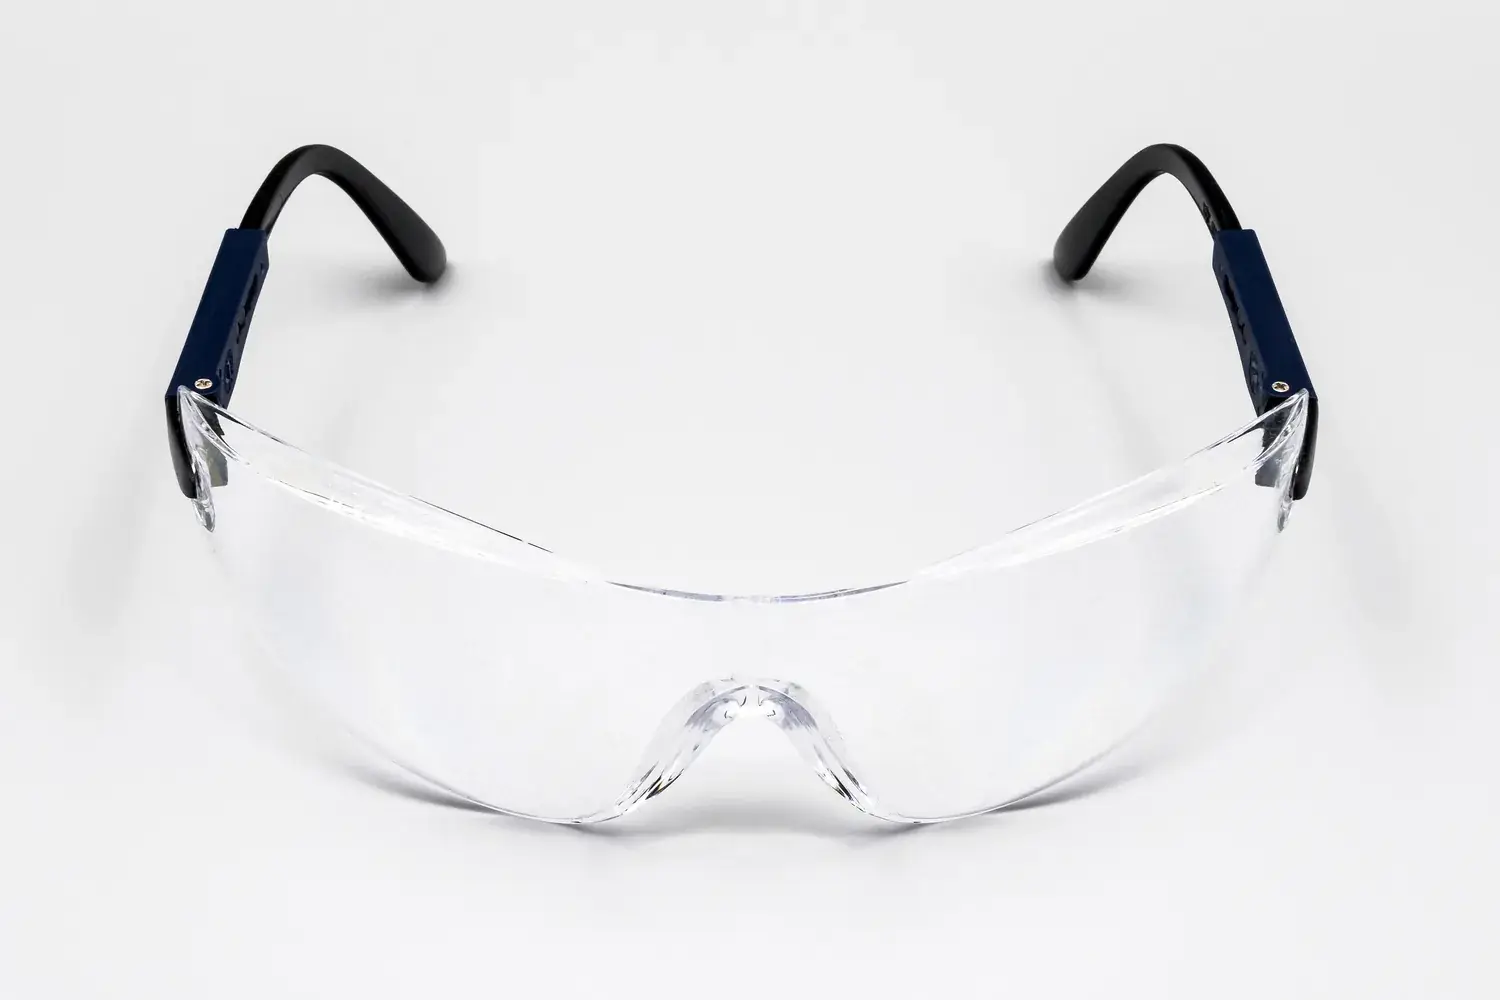
Woodworking is a wonderful hobby, and it’s also one where a single careless second can change your life. The good news: most shop injuries come from a short list of predictable causes, and the habits that prevent them are simple. Build them now, while everything is new, and they’ll become automatic.
The golden rule: read the manual for every tool before you use it, and follow it. Manufacturers’ instructions on guards, setup, and operation beat any general advice — including ours.
Protect your eyes, ears, and lungs every time
- Eyes: Wear safety glasses (look for ANSI Z87.1 marking in the US) whenever a tool is running or you’re striking, chiseling, or sanding. Regular prescription glasses aren’t safety glasses; get prescription safety glasses or over-glasses.
- Ears: Routers, planers, and table saws are loud enough to damage hearing over time. Earmuffs or foam plugs are cheap and comfortable — keep them hanging right next to the tool so you actually use them.
- Lungs: Fine dust is the stuff you can’t see, and it’s the stuff that matters. Collect dust at the source when you can (a shop vacuum on your sander is a big step up) and wear a well-fitting respirator or dust mask rated for fine particles during dusty work. Sweeping kicks fine dust back into the air; vacuuming is better.
Dress for the machines
Loose sleeves, dangling drawstrings, jewelry, and long hair can get caught by spinning blades and bits. Roll up or button your cuffs, take off rings and watches, and tie back long hair. Don’t wear gloves around spinning blades, bits, or drill presses — a glove can be grabbed and pull your hand in. Gloves are fine for handling rough lumber or applying finishes.
Respect the big-three hazards
- Kickback. On a table saw, wood that binds between the blade and fence can be thrown back at you with real force. Keep the riving knife or splitter and blade guard installed as your saw’s manual describes, never cut freehand (use the rip fence for rips and the miter gauge or a sled for crosscuts — never the fence and miter gauge together on the same cut, unless the fence only carries a stop block positioned ahead of the blade), and stand slightly to the side of the blade’s path.
- Hands near cutters. Decide where your hands will be before you switch on. Use push sticks and push blocks for narrow rips and small parts. If a cut puts your fingers close to the blade, find another way to make it.
- Unsecured work. Clamp the workpiece down for drilling, routing, and chiseling. A part that spins or slides is how hands get hurt.
Set up a shop that helps you
- Light: Good, even lighting lets you see your layout lines and the blade.
- Floor: Keep it clear of offcuts and cords. Tripping into a running tool is a real risk.
- Power: Use an extension cord rated for your tool’s current draw, and unplug tools (or remove the battery) before changing blades or bits.
- Fire: Rags used with oil-based finishes (especially linseed oil and oil/varnish blends) can heat up and ignite as they cure. The National Fire Protection Association advises spreading them out or hanging them outdoors to dry, away from buildings, then storing them in a metal container with a tight-fitting lid filled with water and a little detergent, and disposing of them through your local hazardous-waste program. Follow the finish label’s disposal directions too. Keep a fire extinguisher by the door.
- First aid: Keep a basic kit in the shop and your phone within reach.
Habits that matter more than gear
- Don’t work tired, rushed, or distracted. Most “it happened so fast” stories start with “I was just trying to finish.”
- Let the blade stop before reaching near it to clear offcuts.
- Do a dry run of any new cut with the tool off, so you know where your hands, the workpiece, and the offcut will go.
- If a cut feels sketchy, stop. That feeling is usually right. There’s almost always a safer way — a jig, a different tool, or a hand saw.
Safe habits aren’t about fear; they’re what let you enjoy the craft for decades. Once these are in place, you’re ready for accurate measuring and marking.
Safety glasses, hearing protection, and respirators are sold at home centers and woodworking stores; see Where to Buy Tools & Materials.