Measuring and Marking Accurately
Why your parts don't quite fit, and the simple layout habits — one tape, sharp lines, story sticks, and reference faces — that fix it.
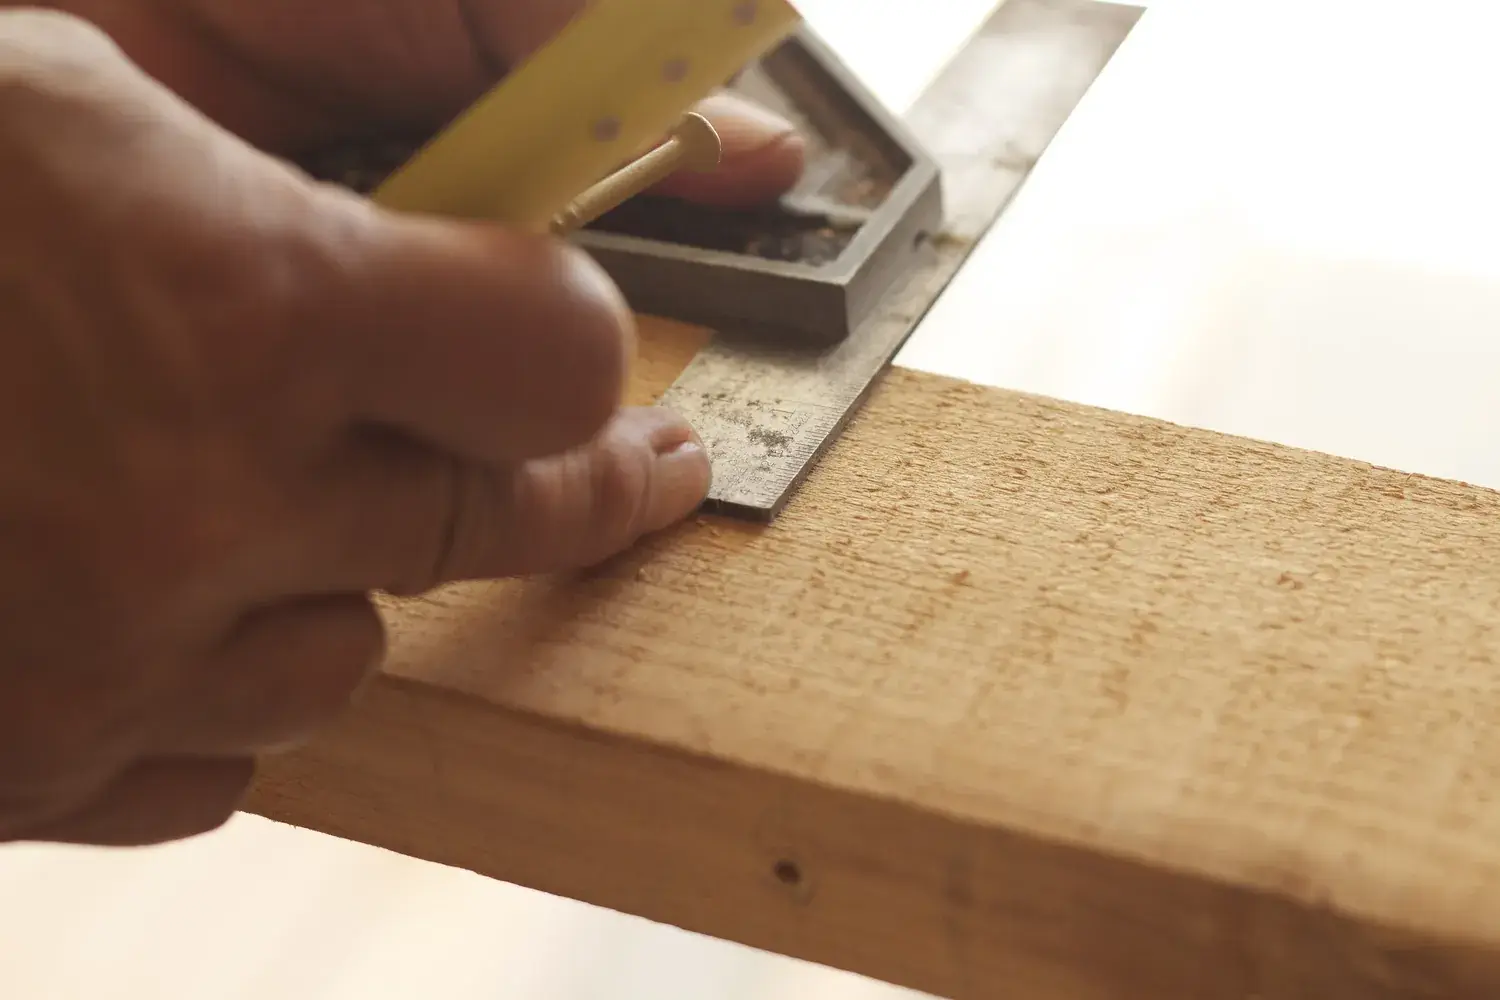
When a project’s joints don’t close or a box comes out out-of-square, the culprit is usually not the saw — it’s the layout. The good news is that accurate layout is mostly a handful of habits, not expensive tools.
The core kit
- Tape measure for rough lengths.
- Steel rule (12” or 6”) for precise measurements and setting tools.
- Combination square for marking square lines, checking 90° and 45°, and transferring measurements.
- Sharp pencil (a mechanical 0.5 mm pencil is great) and, for joinery, a marking knife.
- Marking gauge for lines parallel to an edge (very handy once you start cutting joints).
Habit 1: Use the same measuring tool for the whole project
Two tape measures can disagree by a sixteenth or more — the hook on the end can be bent or loose (it’s designed to slide a little to account for its own thickness on inside vs. outside measurements). Pick one tape and stick with it from start to finish. For precise work, measure with the steel rule.
Tip: For accuracy, “burn an inch.” Line the 1” mark up with the edge instead of using the hook, then subtract an inch from your reading. Just don’t forget to subtract!
Habit 2: Make thin, crisp lines — and know which side to cut on
A fat carpenter’s pencil line can be 1/32” wide or more. Sharpen your pencil often or use a mechanical one. For joinery, a marking knife leaves a fine line that also gives your chisel or saw a place to register.
Mark the waste side of the line with an X, and cut on the waste side so the line remains on your finished piece. Then you can sneak up on the line with a plane or sanding block if you need to.
Habit 3: Measure less, transfer more
Every time you read a number off a ruler and write it down, there’s a chance to be off. Whenever you can, mark parts directly from each other instead:
- Hold a shelf up to the opening it’ll go into and mark it.
- Use a story stick — a scrap strip where you mark all the key positions for a project (shelf heights, for example) — and transfer the marks to each part. Identical marks on matching parts, no math required.
- Cut matching parts at the same time using a stop block on your miter saw or crosscut sled so they come out identical, even if they’re not exactly the number on the plan.
Habit 4: Pick reference faces and stick with them
Wood isn’t perfectly square. Choose the best face and best edge on each board and mark them (woodworkers often use a “face mark” squiggle). Always run your square and your marking gauge off those reference surfaces. That way small errors don’t accumulate.
Habit 5: Check your square
A combination square that’s out of square will quietly ruin everything. To check: draw a line along the blade with the head against a straight edge, flip the square over, and draw again from the same point. If the two lines are parallel and overlap, it’s square. If they diverge, your square is off by half the gap. Some squares can be adjusted; check the manufacturer’s instructions.
Habit 6: Mark the parts, not just the cuts
Label each part (left side, top, front edge) with a pencil triangle or letters so they go back together the way you laid them out. It feels fussy, but it’s the cheapest insurance you can buy.
Get these habits down and your next project — maybe the edge-grain cutting board — will go together with far less fiddling.