Project plan
Edge-Grain Hardwood Cutting Board
A beginner-friendly first project built from store-bought hardwood 1x2s — no ripping required. Finished size about 11" × 16".
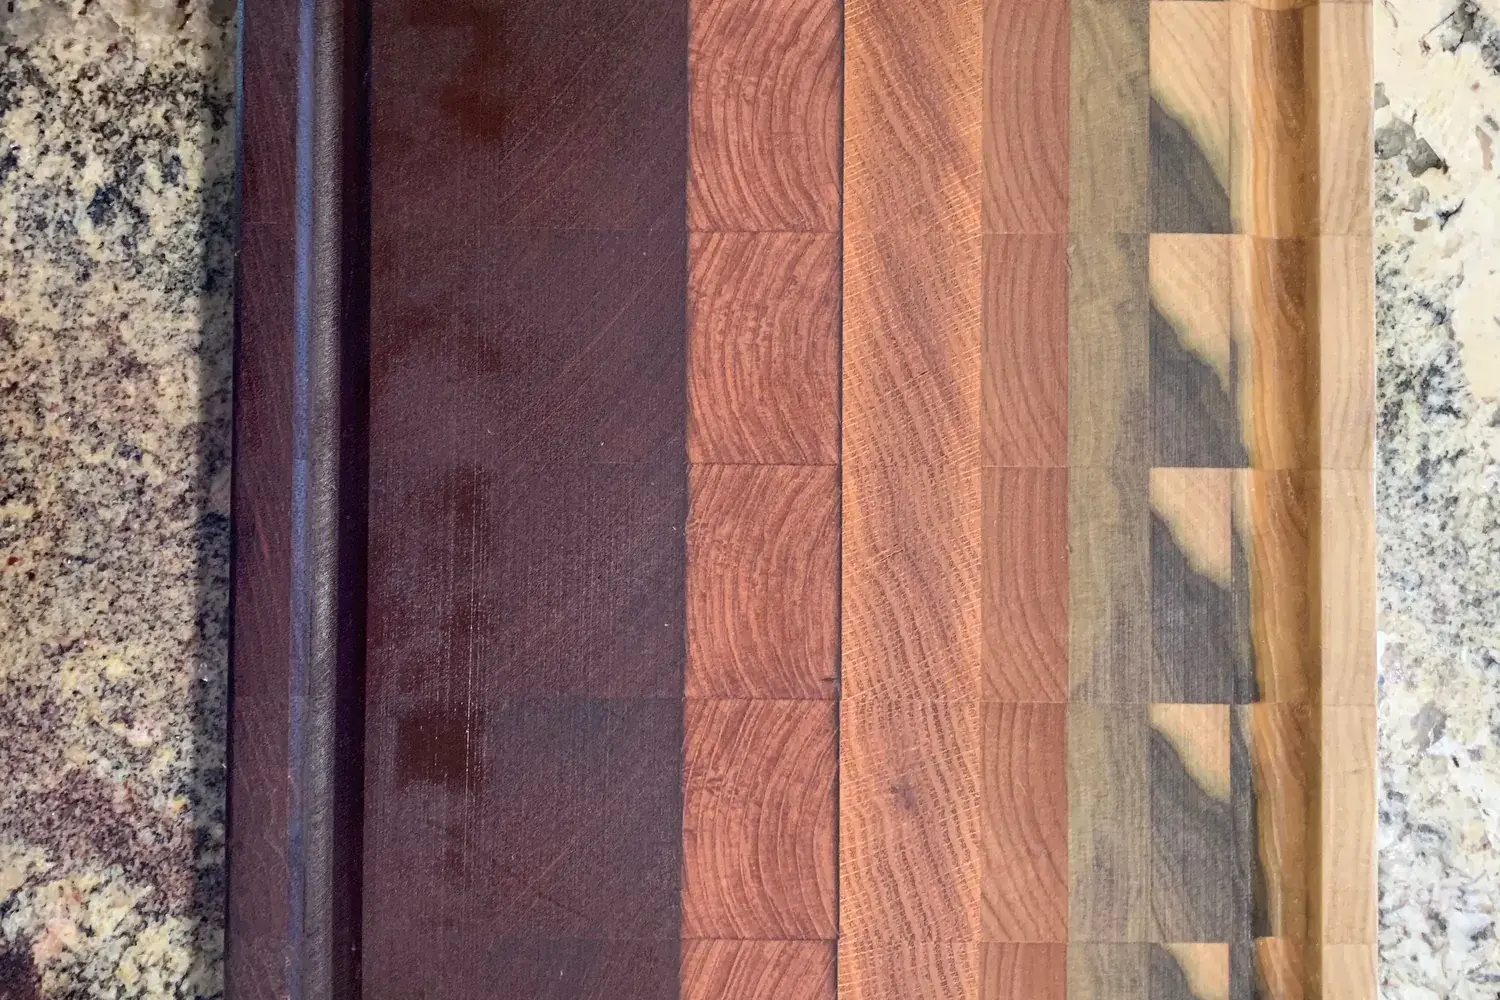
- Difficulty
- Beginner
- Estimated time
- 1 weekend (4–6 hours of work, plus drying time)
- Estimated cost (rough)
- $40–$90
Tools
- Miter saw, circular saw with a guide, or hand saw with a miter box
- 4 bar or pipe clamps with at least 14" capacity
- Random-orbit sander and/or hand plane
- Sandpaper: 80, 120, 150, and 180 grit
- Tape measure, combination square, pencil
- Scraper or old chisel for glue squeeze-out
- Safety glasses, hearing protection, dust mask
Materials & cut list
| Part | Qty | Dimensions | Material |
|---|---|---|---|
| Hardwood strips Cut from four 6-ft 1x2s (four 17" strips per board, 16 total; one spare). Mix species for stripes. | 15 | 3/4" × 1 1/2" × 17" | Hardwood 1x2 (e.g., hard maple, cherry, walnut) |
| Glue Choose one rated for indirect food contact — Titebond, for example, says Titebond II and Titebond III both are, and recommends them for cutting boards | 1 | — | Water-resistant PVA wood glue |
| Finish | 1 | — | Food-grade mineral oil, or a mineral oil and beeswax board butter |
| Rubber feet (optional) | 4 | — | Small screw-on rubber feet with stainless screws |
Where to buy: not sure where to find these tools and materials? See our guide to stores and suppliers, from home centers and hardwood dealers to used-tool sources.
A cutting board is the classic first woodworking project: it’s useful, it makes a great gift, and it teaches the fundamentals of careful cutting, glue-ups, sanding, and finishing.
This version is designed so you don’t need a table saw. Instead of ripping your own strips, you buy hardwood 1x2s at the home center (actual size is about 3/4” × 1 1/2”) and stand them on edge. That gives an edge-grain board — tougher than a thin face-grain board and simpler to build than an end-grain checkerboard.
Before you start: read Shop Safety Essentials and Sanding and Finishing Basics. Measure your 1x2s: if yours are a slightly different size, the finished board will be too, and that’s fine.
Cost is a rough estimate and depends heavily on species and local prices.
Sources & further reading
- Titebond — Wood glue FAQs (food-contact approval, clamp and cure times, sunken glue joints)
- America’s Test Kitchen — How to care for your wood or bamboo cutting board
- Woodsmith — Making an edge-grain top
Steps
Pick your boards
At the store, choose straight, flat hardwood 1x2s with clean edges and no cracks. Closed-grain woods like hard maple, cherry, and walnut are classic cutting-board choices; many woodworkers avoid open-pored woods like red oak for boards that get wet. Sight down each board and leave behind any with twist.
Cut the strips
Square one end of each 1x2, then cut four 17" strips from each board. Use a stop block so every strip comes out the same length. You'll have 16 strips; set aside the least attractive one as a spare.
Arrange the pattern
Stand the strips on edge so the 3/4" edges face up and the 1 1/2" faces touch their neighbors. Each strip adds 3/4" to the width, so 15 strips make a board about 11 1/4" wide and 1 1/2" thick. Shuffle the order until you like the look, then draw a big V across the top so you can restore the order.
Dry-fit and clamp check
Lay the clamps on a flat surface, set the strips on them, and close the clamps lightly. Make sure every joint closes without force and the strips sit flat. Fix any problem now, before there's glue involved.
Glue up
Roll the strips on their sides and spread an even coat of glue on one 1 1/2" face of each joint. Stand them back up, align the ends, and clamp with moderate pressure, alternating clamps above and below the board to keep it flat. Tap strips down to keep their tops level. Scrape off squeeze-out once it turns rubbery, then leave the board clamped for the time on the glue label (overnight is a safe habit). Let it sit unclamped for the rest of a full day before flattening: glue makers note that planing or sanding a joint before its moisture has dried out can leave slightly sunken glue lines.
Flatten the faces
Scrape off any remaining dried glue. Flatten both faces with a hand plane or a random-orbit sander starting at 80 grit, checking with a straightedge. Expect to end up about 1 3/8" thick. An edge-grain board like this one can go through a thickness planer if it's longer than your planer's minimum length — take very light passes with sharp knives, and check your planer's manual. Never run an end-grain board through a planer; it can tear apart and be thrown from the machine.
Trim to final size
Cut about 1/2" off each end to remove any uneven ends, bringing the board to 16" long. Lightly sand or plane the long edges straight, giving a width of about 11".
Round the edges and sand
Ease all edges with sandpaper or a router with a small roundover bit so the board is comfortable to handle. Sand both faces through 120, 150, and 180 grit. Wipe with a damp cloth to raise the grain, let it dry, and give it a final light sanding at 180.
Finish
Flood the board with food-grade mineral oil, let it soak in for 15–30 minutes, and wipe off the excess. Repeat over a day or two until the wood stops absorbing much oil. Add rubber feet if you like. Re-oil whenever the board looks dry. Let the final coat soak in overnight and wipe off any excess before the board's first use. Hand-wash with soap and water and dry it standing on edge; don't soak it or put it in the dishwasher.