Sanding and Finishing Basics
A no-fuss approach to sanding through the grits and choosing a beginner-friendly finish — plus the mistakes that cause blotches and swirl marks.
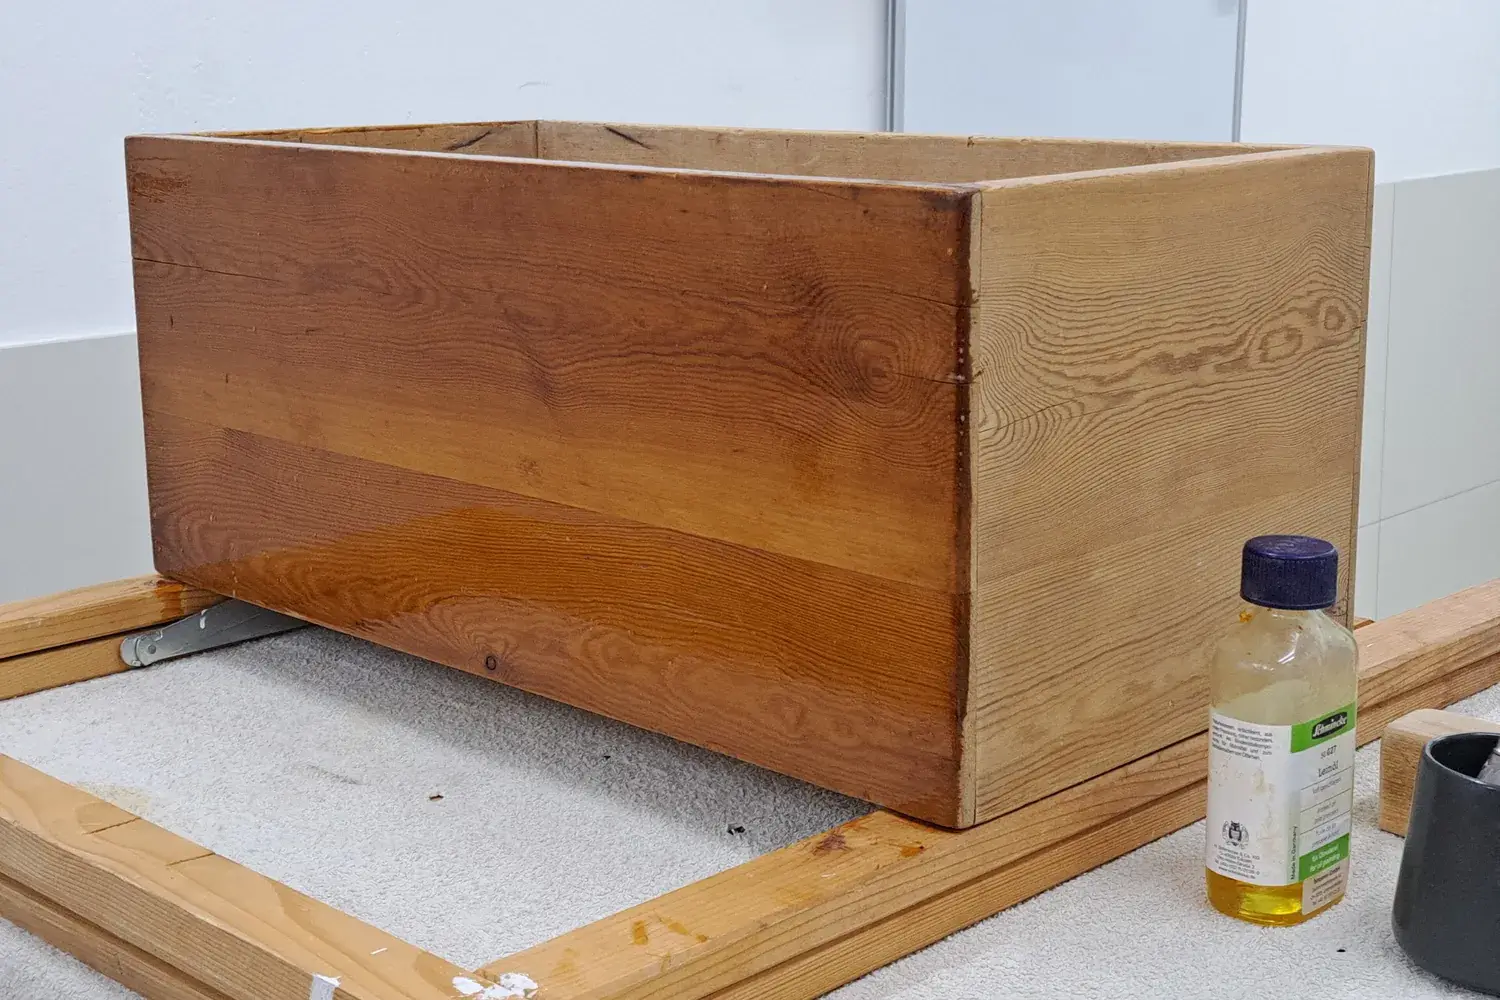
The finish is what people see and touch, so it’s worth getting right. The secret isn’t fancy products — it’s careful surface prep and patience between coats.
Sanding: work through the grits
Start with the finest grit that will remove the marks you have, then step up without skipping too far:
- 80 grit: only for heavy flattening or removing deep marks. Many projects don’t need it.
- 120 grit: removes milling marks and small scratches.
- 150 grit: refines the 120 scratches.
- 180 grit: a good stopping point for most furniture under a film finish. If you’re staining, sanding much finer can make the stain take lighter, so follow the stain maker’s grit recommendation and test on a sanded scrap.
Each grit’s job is to remove the scratches from the previous one. If you jump from 80 straight to 180, you’ll spend ages sanding, and the deep scratches often show up as soon as finish hits them.
Tips that make a real difference
- Let the sander do the work. With a random-orbit sander, light pressure and slow movement give a better result than bearing down. Keep it flat; tipping it rounds edges and gouges.
- Hand-sand with the grain for the final pass, using a sanding block, to remove any tiny swirl marks.
- Check with a raking light. Hold a flashlight low across the surface — scratches and glue spots jump out.
- Pencil trick: Scribble light pencil lines across the surface before each grit. When they’re gone, you’ve sanded evenly.
- Find glue squeeze-out before finishing. Dried glue blocks stain and finish, leaving pale spots. Wiping the surface with mineral spirits (in a ventilated area) temporarily shows what the finish will look like and reveals glue.
- Clean off the dust with a vacuum and a lint-free cloth before you finish.
Choosing a first finish
You don’t need a whole shelf of cans. For a beginner, these are forgiving choices:
| Finish | Good for | Notes |
|---|---|---|
| Wipe-on oil/varnish blend or wiping varnish | Furniture, shelves, boxes | Wipe on, wipe off excess. Builds slowly with little risk of runs. |
| Water-based polyurethane | Light-colored woods, kids’ furniture | Low odor, dries fast, stays clear. Raises the grain, so lightly sand after the first coat (the label will give the grit). |
| Oil-based polyurethane | Tabletops and high-wear surfaces | Durable, adds an amber tone. Longer dry times. |
| Mineral oil / board butter | Cutting boards and wooden utensils | Easy to renew. Not a protective film; reapply periodically. |
Whatever you choose, read the can. Recoat times, temperature ranges, sanding between coats, and ventilation needs vary by product.
How to apply a wipe-on finish
- Test on a scrap of the same wood first. Always.
- Apply a generous coat with a lint-free cloth, let it soak in for a few minutes, then wipe off the excess thoroughly.
- Let it dry as directed, then lightly scuff with very fine abrasive (e.g., 320 grit or a fine non-woven pad) and remove the dust.
- Repeat for several coats until the sheen looks even.
Avoiding blotches
Pine, cherry, birch, and maple can stain unevenly (“blotch”). If you want to stain these woods, try a pre-stain conditioner or a gel stain on a test scrap first — or skip the stain and enjoy the wood’s natural color under a clear finish.
Safety note
Oily finishing rags can self-heat and catch fire as they cure. Spread them out or hang them outdoors to dry, away from buildings, then store them in a metal container with a tight lid filled with water and a little detergent and dispose of them through your local hazardous-waste program — and follow the disposal directions on the can. Finish in a well-ventilated area and follow the label’s directions for respirators and gloves.
Next, put this into practice on the edge-grain cutting board, which uses a simple, food-safe oil finish.
Looking for finishing supplies? See the finishes section of Where to Buy Tools & Materials.