Glue-Ups Without Gaps
Prep, dry-fit, clamp, and clean up: a calm, repeatable process for panels and assemblies that come out flat and tight.
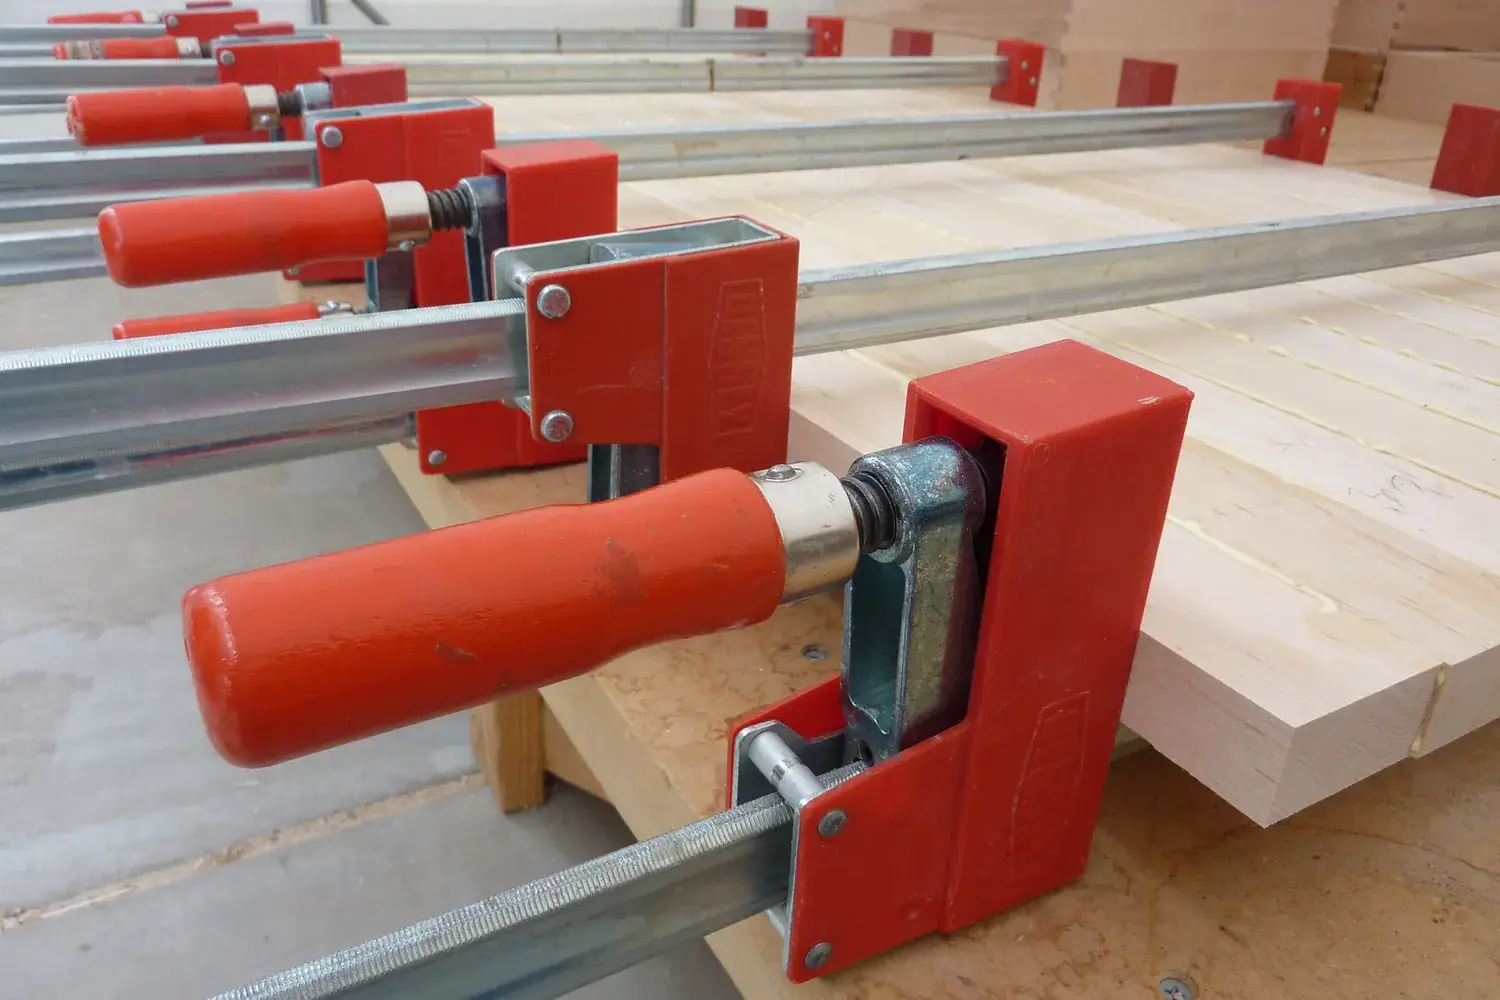
Glue-ups are where a project becomes real — and where things can go sideways fast. Glue starts to set while you’re still hunting for a clamp. The fix is a calm, planned process.
Start with good joints
Glue isn’t a gap filler. Standard woodworking glues (PVA “yellow” glue, for example) are strongest in thin, tight, long-grain joints. If edges don’t meet without force, fix the edges — don’t count on clamps to close them.
Edge-joint test: Stand two boards edge-to-edge on your bench. They should meet along the full length with no light showing and no rocking. Some woodworkers deliberately plane a very slight hollow in the middle of long edges (a “spring joint”) so one clamp in the center closes the joint and the ends stay tight; if you try it, keep the hollow tiny.
Dry-fit everything
A dry run — the full process with no glue — is the single best way to avoid panic:
- Set out every clamp you’ll need, pre-opened to roughly the right size.
- Practice the clamping order and see where cauls or pads are needed.
- Check diagonals on frames and boxes (equal diagonals = square).
- Mark the parts with a triangle or numbers so they go back in the right order.
Know your glue’s working time
Every glue lists an open time (how long you have after spreading it) and a clamp time, and they vary a lot between products — Titebond, for example, lists about 4–6 minutes of open time for Titebond Original and about 8–10 minutes for Titebond III at 70°F and 50% relative humidity, and heat and dry air shorten it. Read the label, and choose a glue with a longer open time — or split the job into smaller sub-assemblies — for complex glue-ups.
Spreading glue
- Apply an even, thin coat to the mating surface — enough that you’ll see a small, even bead of squeeze-out along the joint when clamped.
- A small roller, brush, or old card helps spread it evenly.
- For end grain, which soaks up glue, some woodworkers apply a thin “sizing” coat first, let it soak in briefly, then apply more.
Clamping a flat panel
- Alternate clamps over and under the panel to balance the forces and reduce bowing.
- Use moderate, even pressure. Enough to close the joint and produce an even bead of squeeze-out. Glue makers do publish target pressures (Titebond suggests roughly 100–150 psi for softwoods, 125–175 psi for medium-density woods, and 175–250 psi for hardwoods), but you don’t need to measure it — well-fitted joints close with ordinary hand pressure on the clamps, and cranking down hard mostly bows the panel and forces out more glue than necessary.
- Space clamps evenly, close enough that the zones of pressure overlap — many woodworkers start at about 8”–12” apart, with the end clamps a couple of inches from the ends.
- Keep it flat with cauls: straight boards clamped across the panel (with tape or wax on the face so they don’t stick) keep the boards aligned. Slightly curved (“cambered”) cauls apply pressure in the middle too.
- Check flatness with a straightedge before walking away.
Clamping a frame or box
- Clamp in the same order you rehearsed.
- Check for square by measuring diagonals. If they’re unequal, angle a clamp slightly along the long diagonal to pull it in.
- Make sure clamp pressure is centered on the joint so it doesn’t pull the assembly out of square.
Squeeze-out: two schools of thought
- Wait until it’s rubbery (how long that takes depends on the glue, temperature, and humidity — test a bead with a fingernail; it should peel or pare off in a strip rather than smear) and pare it off with a chisel or scraper.
- Wipe immediately with a clean rag and plenty of water, rinsing the rag often — but glue thinned and smeared into the grain can block stain and finish later, so check carefully before finishing.
Either way, find all of it before finishing. Taping along inside corners before glue-up is an easy way to catch it.
After the clamps come off
Follow the label for clamp time and cure time. For Titebond’s PVA glues, for example, the maker suggests clamping unstressed joints for about 30–60 minutes and waiting 24 hours before putting the joint under stress. Give a glued panel time for the moisture to leave the joint before planing or sanding it flush; if you flatten it too soon, the glue lines can sink as they finish drying. Then scrape or plane joints flush and get on with the fun part.
Once your glue-ups are dependable, you’re ready for bigger panels like the top of the Shaker-style side table.
Sources & further reading
- Titebond — Wood glue FAQs
- Titebond Original — product specifications (open time and clamping pressure)
- Titebond — Wood glues brochure with open/clamp times (PDF)