Hand-Cut Dovetails: A Practical Workflow
Tails-first layout, sawing to the line, chopping clean baselines, and transferring accurately — a dependable method for through-dovetails.
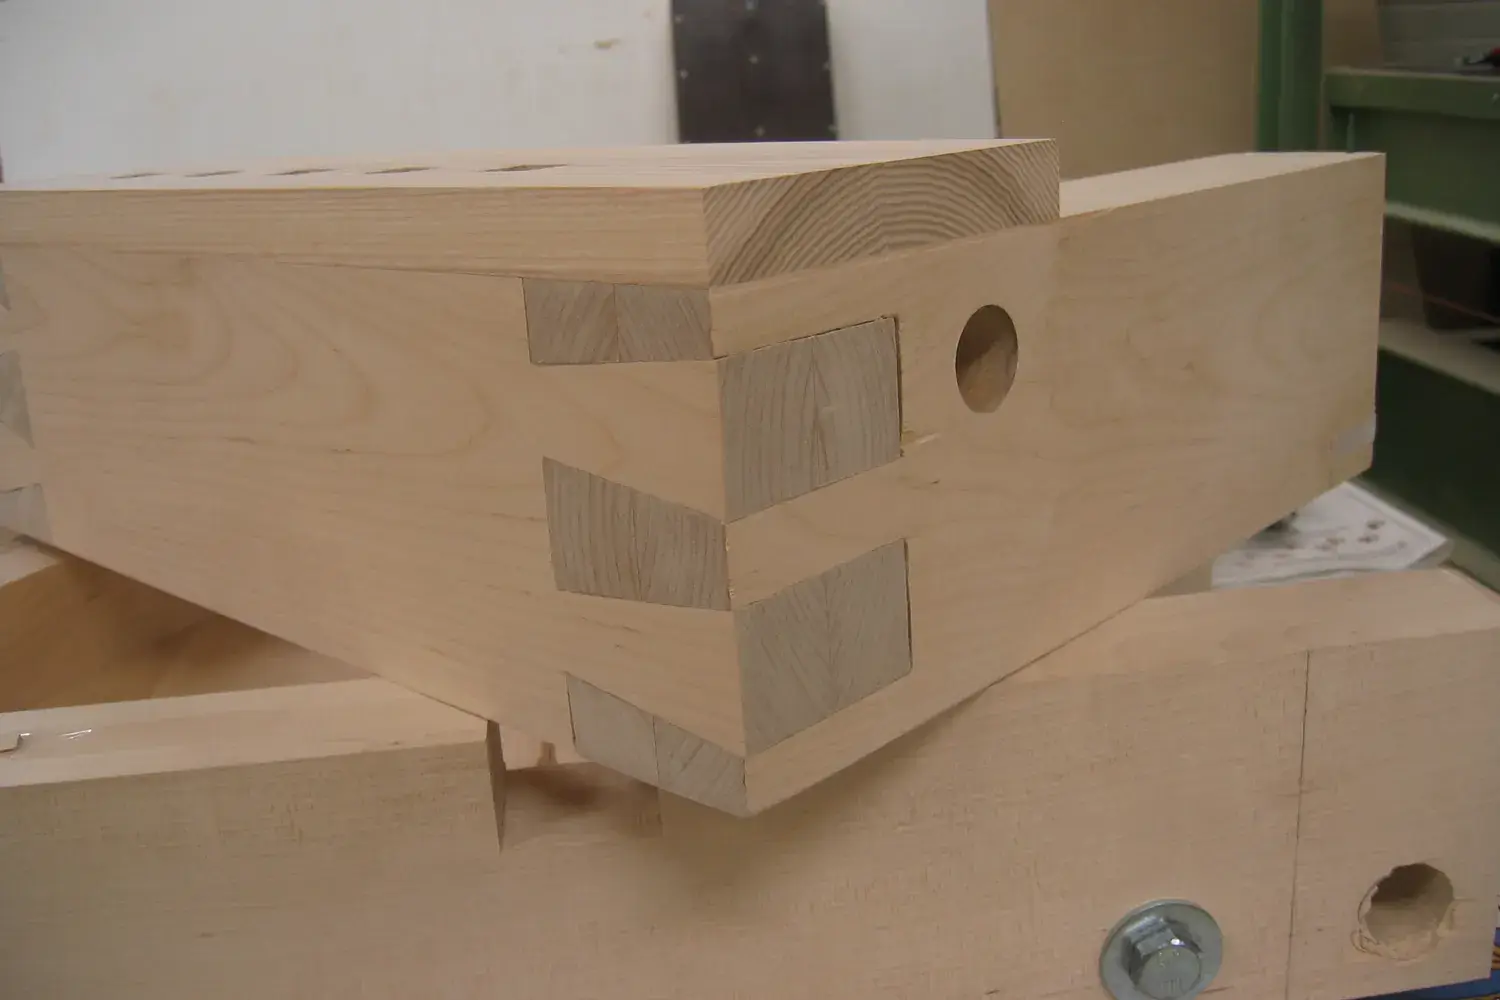
Hand-cut dovetails have a reputation for being difficult, but the joint is really a series of simple operations done carefully. What makes them work is a consistent process, sharp tools, and practice on scrap. This is a tails-first workflow for through-dovetails, one of the most common approaches.
Tools
- Dovetail saw (a fine-toothed backsaw; rip-filed teeth are ideal)
- Marking gauge (a wheel or knife gauge)
- Marking knife
- Dovetail marker or sliding bevel
- Bevel-edge chisels in a few widths, sharp
- Mallet
- A coping or fret saw (optional, for waste removal)
1. Prepare the stock
Both boards must be flat, square, and of consistent thickness. Square the ends carefully — any error in the end shows up as a gap in the joint. Mark the inside faces and the mating edges so you don’t mix them up.
2. Gauge the baselines
For through-dovetails, the baseline on the tail board is set by the thickness of the pin board, and the baseline on the pin board by the thickness of the tail board. When both boards are the same thickness, one gauge setting does both. (Some woodworkers set the gauge a hair over thickness so the pins and tails stand slightly proud and get planed flush after glue-up.) Scribe the baseline around both faces and edges of each board’s end.
3. Lay out the tails
- Choose a slope. Common ratios are about 1:6 (roughly 9.5°) to 1:8 (roughly 7°). A traditional guideline is the steeper 1:6 for softwoods and 1:8 for hardwoods, but antique work shows a wide range and the choice is largely aesthetic — just avoid a slope so steep the tail corners are fragile or so shallow the joint has little mechanical lock.
- Start with a half-pin at each edge, then divide the space for the tails and pins. Narrow pins with wider tails look classic; even spacing is more forgiving.
- Mark the angled lines on the face with your marker and a knife or sharp pencil, and square them across the end grain.
- Mark the waste with an X. Always.
4. Saw the tails
Hold the board vertically in the vise. Tilting the board so the cut is plumb can make it easier to saw accurately. Saw on the waste side of the line, keeping the kerf just touching it, and stop exactly at the baseline on both faces. Light grip, relaxed stance, let the saw do the work.
5. Remove the waste and chop to the baseline
- Saw out most of the waste with a coping saw, staying 1/16” or so above the baseline.
- Place your chisel in the gauge line (the line gives you a positive start), with the bevel facing the waste, and chop down about halfway, holding the chisel vertical. Pare in from the end to remove a chip.
- Flip the board and repeat from the other face. Chopping from both sides keeps you from blowing out the back face.
- Undercut very slightly at the center if you like — it helps the joint seat — but don’t cut past the baseline at the faces.
6. Transfer the tails to the pin board
This step makes or breaks the fit:
- Clamp the pin board vertically in the vise, end flush with a plane or block laid flat on the bench.
- Lay the tail board on top, its baseline aligned exactly with the inside face of the pin board, and its edges aligned.
- Hold it firmly (a clamp or weight helps) and knife around the tails onto the pin board’s end grain.
- Square the lines down the faces to the baseline, and mark the waste.
7. Saw and chop the pins
Saw on the waste side of the knife lines — the line should remain on the pins. Remove waste and chop to the baseline as before, working from both faces.
8. Test-fit gently
Push the joint together partway by hand. Look for shiny, burnished spots where it binds and pare those carefully. Don’t force it home on a test-fit — a too-tight dovetail can split the board. Most trimming should be on the pins.
Common problems and fixes
- Gaps at the baseline: Usually chopping past the line, or end grain not cut square. Practice chopping to the gauge line.
- Gaps beside the pins: Sawing on the wrong side of the line, or sawing at an angle. Practice straight, plumb cuts on scrap; a few minutes of warm-up sawing goes a long way.
- Joint won’t close: Look for burnish marks; pare a little at a time.
Practice plan
Cut a practice joint in a softwood that’s easy to work — then do another. Saw a row of plumb and angled cuts to your lines as a warm-up before cutting a real joint. Your accuracy will improve quickly.
When you’re ready for a real project, the dovetailed blanket chest puts these skills to work on a grand scale.
Need a dovetail saw or good chisels? Where to Buy Tools & Materials lists woodworking stores and hand-tool makers, plus tips for buying used.