Mortise and Tenon by Hand
Layout with a mortise gauge, chopping a clean mortise, sawing and fitting the tenon, and drawboring for a joint that stays tight.
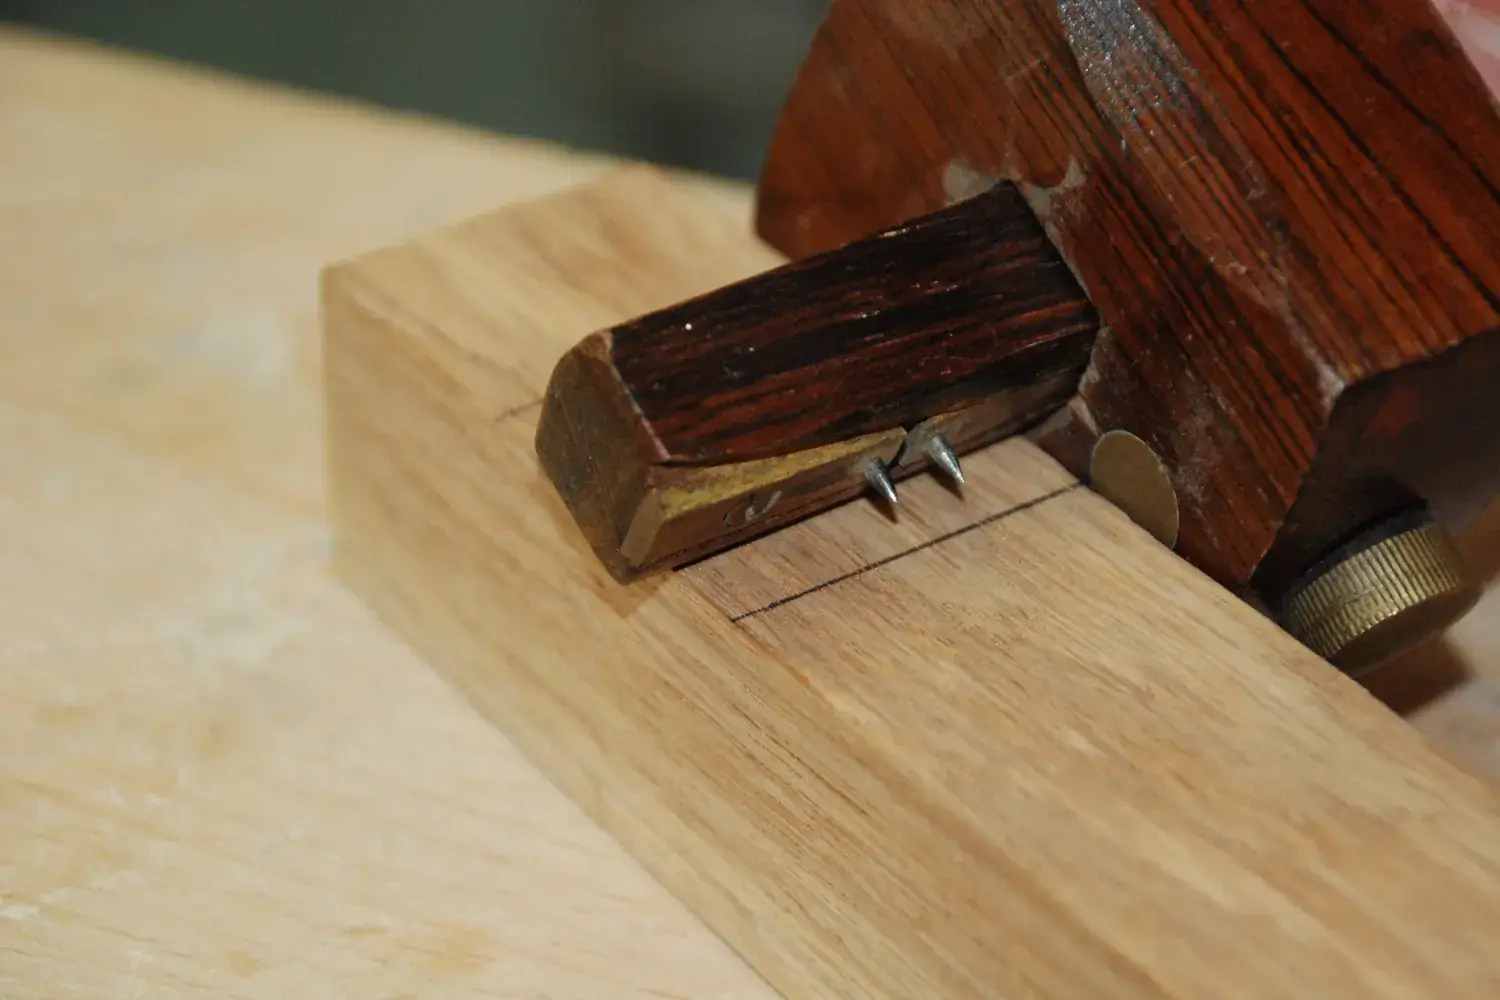
The mortise-and-tenon is the backbone of furniture joinery — tables, chairs, doors, and workbenches all rely on it. Cut by hand, it’s mostly about layout discipline and working to your lines. Here’s a reliable approach for a standard blind (stopped) mortise and tenon.
Proportions to start from
These are common rules of thumb, not hard laws:
- Tenon thickness: about one-third of the thickness of the rail. For 3/4” stock, a 1/4” tenon is common. Practically, match the tenon to the width of your mortise chisel.
- Tenon length: as long as the leg allows, often about 1”–1 1/4” in table legs, leaving enough wood at the back of the mortise. Where two mortises meet at a corner, miter the tenon ends so they don’t collide.
- Shoulders: a small shoulder (often about 1/4”–1/2”) on the top edge of a rail hides the mortise and keeps it from running out the top of the leg.
1. Lay out the mortise
- Mark the mortise length on the leg with a square and knife or pencil.
- Set a mortise gauge (it has two pins) to the width of your chisel, and set the fence so the mortise is positioned where you want it. Scribe between the length marks.
- Use the same gauge setting for the tenon. That shared setting is what makes the parts match.
2. Chop the mortise
- Clamp the leg over a solid part of the bench, not over a vise jaw or gap.
- Start near the middle of the mortise, chisel held vertical and its bevel facing the direction you’re going to travel. Chop straight down, move the chisel about 1/8” along, and chop again, working toward one end and stopping about 1/16” short of the end line. Lever the loosened waste out against the area you’ve already chopped, never against the finished end walls.
- Turn the chisel around and work toward the other end the same way. Repeat in layers until you reach depth, clearing waste as you go.
- When you’re at depth, pare the end walls back to the lines last, with the flat of the chisel facing the end wall and held vertical.
- Methods vary — some woodworkers start at one end and chop toward the other, and mortise-chisel and bevel-edge-chisel techniques differ a little. Whatever the method, keep the chisel vertical and do your heavy levering away from the walls that will show.
- Mark the depth on your chisel with tape so you can tell when you’ve reached it.
Some woodworkers drill out most of the waste first with a brace or drill press and then pare the walls. Either way, keep the walls parallel to the leg’s faces — sight along the chisel, or stand a small square nearby as a visual guide.
3. Saw the tenon
- Using the same gauge setting, scribe the tenon cheeks around the end and edges of the rail, registered from the same face as the mortise.
- Knife the shoulder lines all the way around with a square.
- Saw the cheeks on the waste side of the line. A good method: saw diagonally from one corner, flip and saw from the other corner, then saw straight down to the shoulder line.
- Saw the shoulders. A small knife-wall chiseled into the waste side of the shoulder line gives the saw a clean start.
4. Fit the tenon
- Aim for a fit you can push together with firm hand pressure — not loose, not needing a mallet.
- Trim fat tenons with a shoulder plane, router plane, or careful paring. Take a little off both cheeks evenly to keep the tenon centered.
- Check that the shoulders seat fully on both faces; if one side gaps, pare the shoulder that’s holding it off.
5. Drawboring (optional, very strong)
Drawboring pulls a joint tight with a wooden peg and adds mechanical strength even if the glue fails:
- Bore a hole through the mortise cheeks (with the tenon removed).
- Insert the tenon, mark the hole’s center on it, then remove the tenon.
- Bore the hole through the tenon, offset slightly toward the shoulder — on the order of 1/16”–3/32” is common for furniture-scale joints in hardwoods; heavier work sometimes uses a little more, and the right amount depends on the wood and peg size.
- On assembly, drive a tapered, straight-grained peg through. The offset pulls the shoulders tight.
Practice on scrap first: too much offset can split the tenon or bend and break the peg.
Common problems
- Mortise walls not parallel: pare carefully with a wide chisel, using the gauge lines as a guide.
- Tenon twisted: usually from sawing out of square; check your cheek cuts before cutting the shoulders.
- Gappy shoulders: knife the shoulder lines deeply and pare to them.
Put these skills to work on the Roubo-style workbench — a big, forgiving project full of mortises and tenons.