
Technique
Sanding Progression: Grits, Pressure, and When to Stop
A clear grit ladder from milling marks to finish-ready wood — with random-orbit habits, the pencil trick, and how staining changes where you stop.
Made in my shop
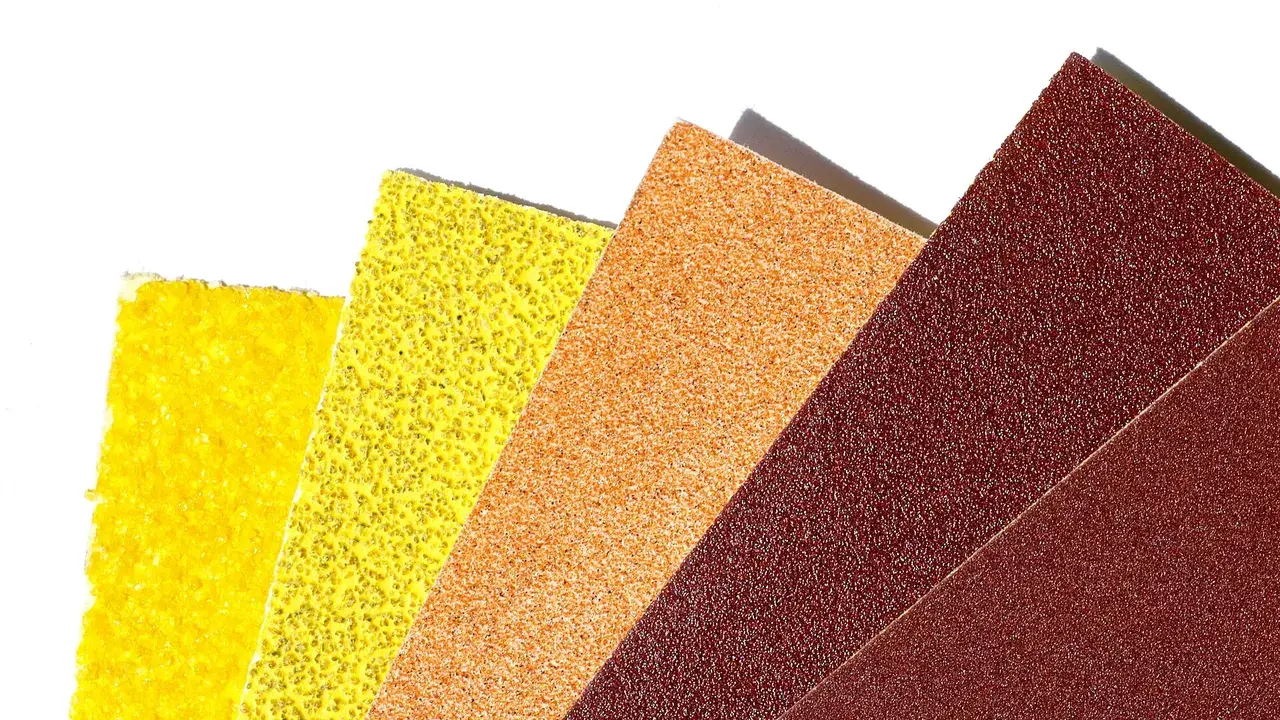
Sanding is mostly about removing the scratches from the previous grit — not about pressing harder. A simple progression, checked under a raking light, beats a long session with one disc.
For a shorter overview that also covers first finishes, see sanding and finishing basics.
A practical grit ladder
Start with the finest grit that still removes the marks you have, then step up:
| Grit | Job |
|---|---|
| 80 | Heavy flattening or deep scratches only. Skip it when you can. |
| 100–120 | Remove milling marks, glue ridges, and pencil layout. |
| 150 | Erase the 120 scratches. |
| 180 | Good stop for many film finishes (polyurethane, varnish). |
| 220 | Optional last pass for oil finishes or very smooth touch; often too fine before pigment stain. |
Jumping from 80 to 180 leaves deep scratches that disappear until finish hits them — then they telegraph as dark lines.
Random-orbit sander habits
- Light pressure. Let the pad cut; leaning on it makes swirl marks and clogs the disc.
- Keep it flat. Tipping rounds arrises and digs edges.
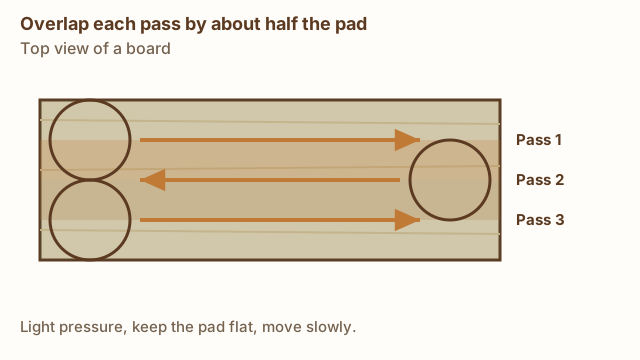
- Move slowly and overlap each pass by about half the pad.
- Change discs when cutting slows. A loaded disc burnishes instead of cutting.
- Hook up dust collection or a shop vac if your sander supports it; clear dust sanding cuts better and shows scratches sooner.
Swipe sideways to see the whole diagram, or tap it to open full size.
The pencil trick
Scribble a light pencil grid across the surface before each grit. Sand until the grid is gone everywhere — edges and middle. Then wipe off the dust and move to the next grit. If pencil remains in a hollow, that grit isn’t done.
Hand-sand with the grain for the last pass
After the final machine grit, take a sanding block and a fresh sheet of that same grit (or one step finer) and sand with the grain. That cleans up the tiny arcs a random-orbit pad leaves. On moldings and inside corners, fold paper or use a foam pad so you don’t round crisp profiles unless you mean to.
Where to stop before stain vs. clear finish
- Pigment stain: many makers suggest stopping around 150–180. Sanding much finer can close the surface so pigment takes lighter and blotchier. Always test on a scrap sanded the same way as the project.
- Dye stain: often tolerates a finer surface; follow the product label and your sample board.
- Clear film finish: 180 is a solid default; 220 is fine if you want a smoother touch.
- Oil / oil-varnish blends: many woodworkers stop at 180–220, then raise the grain with a damp cloth, dry, and scuff before the first coat.
Between coats
After the first coat of finish is dry, scuff with 320 (or a fine abrasive pad) just enough to knock down dust nibs — you’re not sanding back to bare wood. Remove dust before the next coat. Details vary by finish; finishing schedules walks through full recipes.
Check before you finish
- Raking light: flashlight low across the surface shows swirls and glue.
- Mineral spirits wipe (ventilated area): temporarily previews the finished color and reveals glue spots and missed scratches. Let it evaporate fully before staining or finishing.
- Find and remove dried glue; it blocks stain and looks pale under clear coats.
Common mistakes
- Skipping grits after a coarse start.
- Bearing down on the ROS.
- Staining without a same-wood, same-grit sample.
- Leaving dust in pores — vacuum and wipe before finish.
Sources & further reading
- Fine Woodworking — All about sandpaper
- Your stain and finish labels for recommended final grit and recoat times
Our tool picks for this tip: Random orbital sanders
Choosing a sander? Read our sander for cutting boards guide.
Dust collector or shop vac? Read our guide.
Get new build ideas by email
Free build ideas and tips by email, about twice a month. We'll send a link to confirm. Our emails are sent by Kit, which tracks opens and clicks so we can see what's useful. Unsubscribe anytime. You must be 16 or older. Privacy policy.