
Shop tip
How to Finish Small Wood Gifts Before the Holidays
Sanding and finishing small wood gifts like ornaments, gift tags, place card holders and card stands in a batch, so they're dry and ready to wrap before Thanksgiving and Christmas.
Made in my shop
- Reading time
- About 3 min
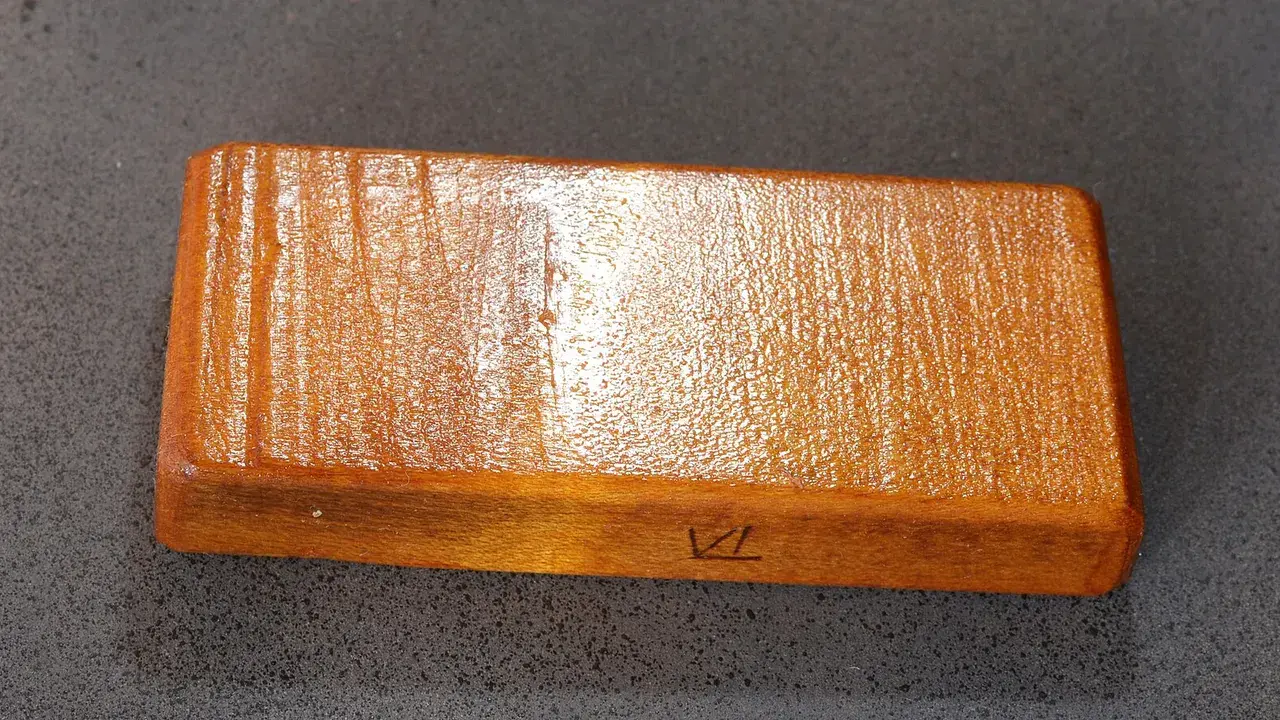
Small gifts are quick to cut and slow to finish well. Ornaments, gift tags and place card holders have more edges than faces, they’re hard to hold while you sand, and a finish that hasn’t cured yet doesn’t belong in wrapping paper. The steps below work for a batch of small pieces from our build ideas, and they leave time for the finish to dry before Thanksgiving (Thursday, November 26, 2026) or Christmas.
Sand before you cut the pieces apart
When you can, sand the faces while the parts are still one long strip or one sheet. A strip is easier to hold flat than a dozen 3” blocks, and every piece gets the same surface.
- Walnut place card holders start as one long strip with the kerf cut down its length, then get crosscut into matching blocks. Sand the strip’s faces first, then ease the edges on each block.
- Walnut holiday card stand is one blank. Sand it after the grooves are cut, so the saw doesn’t leave fresh marks on a finished surface.
- DIY wooden sled ornaments come out of a scrap strip. Batching several from the same strip keeps grain and color matched.
Work up through the grits rather than jumping, and hand-sand the last pass with the grain on a sanding block. Our sanding and finishing basics and sanding progression cover the grit steps.
Ease the edges on small pieces
On a small gift, the edges are most of what a hand touches. A sanding block or a block plane softens each edge with a few strokes. Keep the same amount of rounding on every piece in a batch so they look like a set.
For laser-cut pieces like the personalized laser-engraved walnut ornaments and laser-cut walnut gift tags, sand lightly. Thin stock and shallow engraving don’t leave much to sand through, so a few passes on a block is usually enough to clean the faces without softening the engraved lines.
Pick one finish for the whole batch
Most of our small-gift build ideas call for a wipe-on oil or clear finish. A wipe-on finish suits small parts: you wipe it on, wipe off the excess, and it builds slowly with little risk of runs. The table in sanding and finishing basics compares the common choices, and oil finish vs. polyurethane goes further on the two.
A few things to match to the gift:
- Coasters from the laser-engraved coaster set are for cups, not food. Seal them with a water-resistant finish.
- Anything for a cutting surface is a different job. See finishes for cutting boards.
- Walnut shows its grain under a clear oil, which is why so many of these ideas use it with no stain.
Test the finish on an offcut from the same board first, and read the can for recoat and cure times. Those vary by product.
Finish a batch without handling wet pieces
Small parts are fiddly to coat on all sides. A few ways to keep them moving:
- Hang ornaments and tags by their twine hole on a length of string or wire while the finish dries, so no face sits on the bench.
- Coat one face, let it dry, then turn the piece for blocks like place card holders.
- Wipe off the excess right away. Small pieces collect drips on their edges, and a thin coat dries more evenly.
Rags used with linseed, tung, Danish oil or other oil-based finishes can heat up and catch fire on their own: right after use, lay them flat to dry outdoors away from buildings, or put them in a metal can filled with water with a tight lid, then dispose of them as the label and local rules say.
Give it time to cure before you wrap
Twine, ribbon and tissue can stick to a finish that’s dry to the touch but not cured. Go by the can’s cure time, not how the surface feels, and count back from the day you’ll hand the gift over. A batch finished in early November is a comfortable margin for both holidays.
If you’re making a few extra to sell, see Christmas gift projects to make (and maybe sell) and pricing handmade woodwork. For more small pieces to finish, see Thanksgiving wood projects and scrap wood projects.
Looking for more ideas? Browse all our build ideas.
Get new build ideas by email
Free build ideas and tips by email, about twice a month. We'll send a link to confirm. Our emails are sent by Kit, which tracks opens and clicks so we can see what's useful. Unsubscribe anytime. You must be 16 or older. Privacy policy.