
Technique
Clamping Strategy for Panels and Assemblies
Plan clamp count, pressure, and cauls so glue-ups stay flat and square — without crushing edges or chasing a shifting assembly across the bench.
Made in my shop
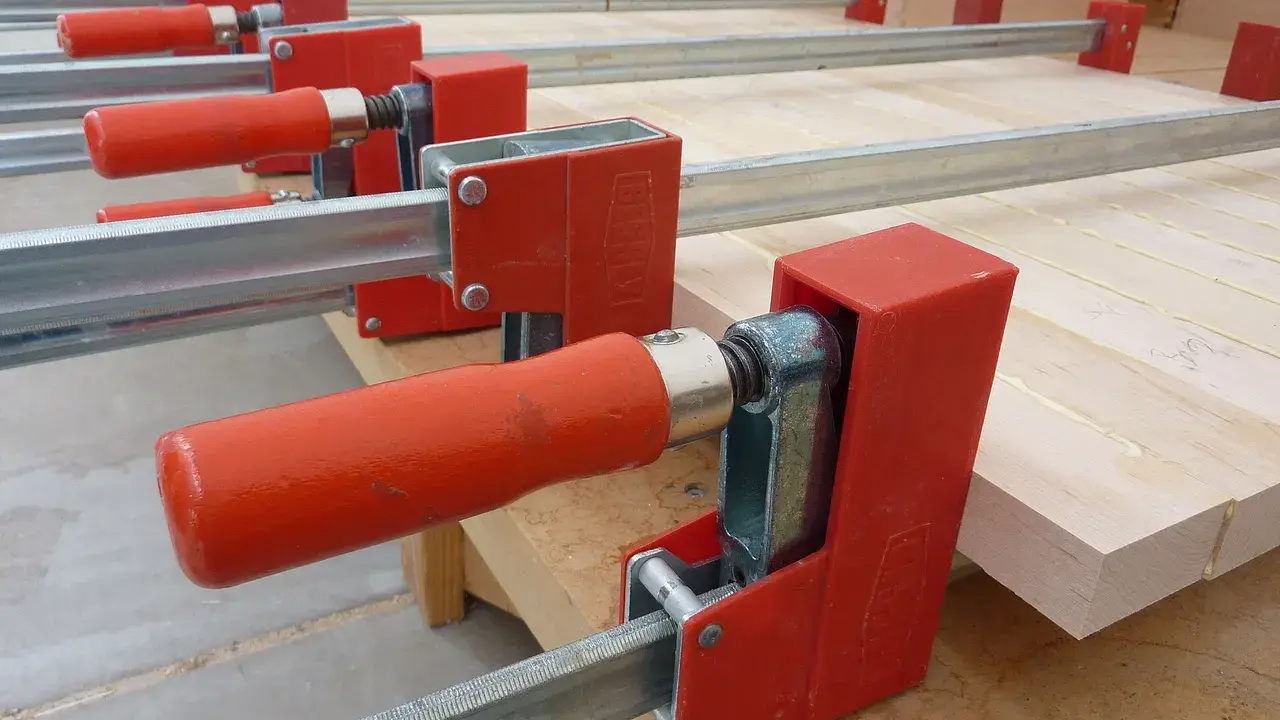
Clamps don’t fix bad joints — they hold good ones while glue sets. A short plan before the bottle opens beats adding clamps in a panic after glue starts to grab. Pair this with glue-ups without gaps.
Dry run first
Set every clamp you will use, with pads or cauls in place, and close the assembly without glue. Check:
- Joints close fully.
- The panel or frame stays flat (no cup from uneven pressure).
- Corners stay square (or panels stay aligned to your marks).
- You can reach squeeze-out and still tighten in a calm order.
Number clamps or stage them left-to-right so the real glue-up is muscle memory.
How many clamps?
Rules of thumb (adjust for stock thickness and joint quality):
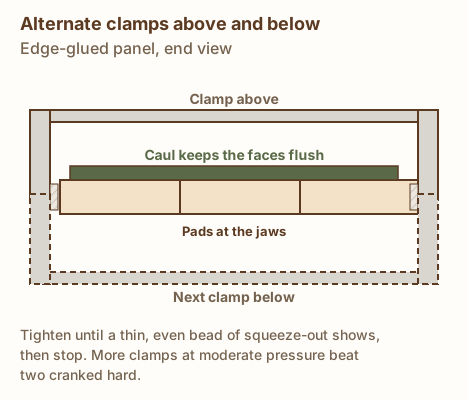
- Edge-glued panel: clamps about every 8–12 inches along the length, alternating above and below the panel when you can, to resist bow.
- Frame: at least one clamp per side in line with the joint, often two on longer rails.
- Case: clamps that pull joints home without racking — often across the width and depth in a planned sequence.
More clamps with moderate pressure beat two clamps cranked hard.
Swipe sideways to see the whole diagram, or tap it to open full size.
Pressure and pads
- Tighten until the joint closes and you see a thin, even bead of squeeze-out — then stop.
- Use cauls (straight scrap) across panel faces to keep them flush.
- Use pads (scrap wood, cork, or soft jaws) so metal jaws don’t dent the work.
- On finished surfaces, protect with painter’s tape or clean packing tape under pads.
Keep it flat and square
- Alternate clamps above and below a panel.
- Check twist with winding sticks or by sighting across the surface after snugging, before full pressure.
- On frames, measure diagonals; equal diagonals mean square. Adjust before the glue grabs.
- Stop blocks or a square clamped to the bench can register a case corner while other clamps go on.
Order of operations
- Glue only as much as you can clamp within the glue’s open time (read the bottle).
- Close joints in a sequence you practiced — often middle clamps first on a spring joint, or corners first on a frame.
- Check flat and square, then bring all clamps to final snug.
- Clean squeeze-out on your preferred schedule (wipe wet, or wait for rubbery peel — see the glue-up tip).
Odd shapes and small parts
Band clamps, vacuum bags, tape, and wedges in forms all count as clamping strategy. The goal is the same: even pressure, no creep, and a dry run.
Common mistakes
- Too few clamps, overtightened, cupping the panel.
- No dry run — discovering a short clamp after glue is on.
- Clamping on an out-of-square assembly and hoping it pulls true.
- Jaw marks from missing pads.
For tool context, see our clamps guide.
Sources & further reading
- Fine Woodworking — 3 steps to great glue-ups
- Your glue’s open time and clamp time on the label
Get new build ideas by email
Free build ideas and tips by email, about twice a month. We'll send a link to confirm. Our emails are sent by Kit, which tracks opens and clicks so we can see what's useful. Unsubscribe anytime. You must be 16 or older. Privacy policy.