
Technique
Edge Jointing for Panels
How to get board edges straight and square for gap-free panel glue-ups — with a jointer, a table-saw jointing jig, or hand planes.
Made in my shop
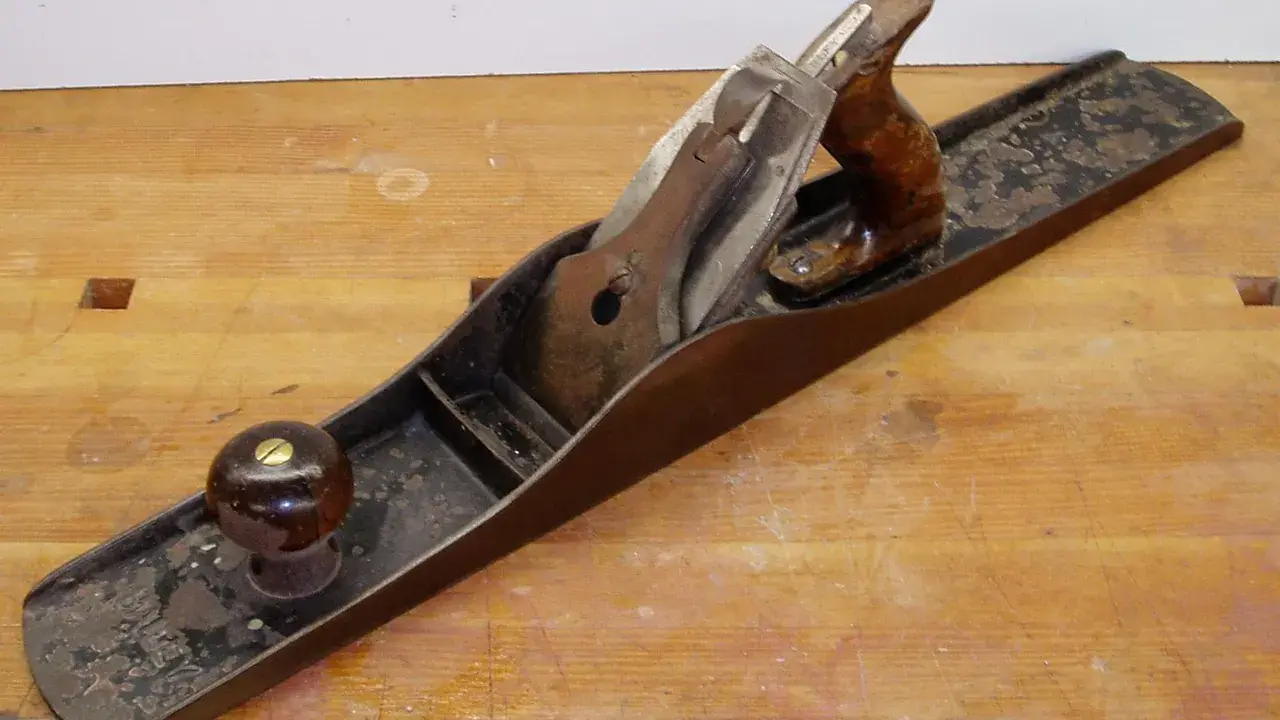
A panel only looks good if the edges meet. Glue fills nothing on a long-grain joint — it needs wood against wood. Edge jointing is the step that makes glue-ups without gaps possible.
If you use a jointer or table saw, follow the machine’s manual for guards, depth of cut, and minimum stock length. Use push blocks as directed. See shop safety essentials.
What a good edge looks like
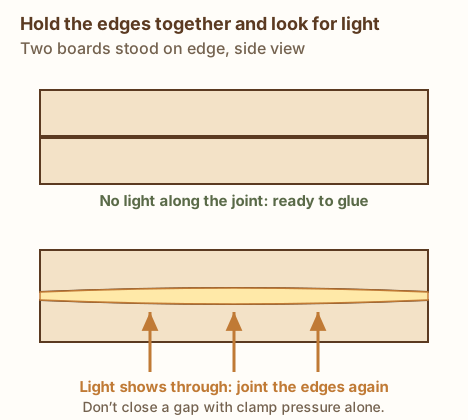
Stand two boards on the bench with the mating edges together:
- No light showing along the joint (or only a hairline that closes with light clamp pressure).
- No rocking — the edges are coplanar along their length.
- Faces that will be the panel surface line up without a step (or only a tiny one you’ll plane off later).
Some woodworkers plane a very slight hollow in the middle of long edges (a spring joint) so a center clamp closes the joint and the ends stay tight. Keep that hollow tiny; a big gap is a fitting problem, not a feature.
Swipe sideways to see the whole diagram, or tap it to open full size.
Before you joint
- Flatten a reference face first when you can — flattening and squaring stock — so the jointer fence or your plane registers off true stock.
- Rough-cut boards a bit long and wide; jointing removes material.
- Arrange boards for grain and color, mark a triangle across the faces, and note which edges mate.
With a jointer
- Set the fence square to the table (check with a reliable square).
- Put the reference face against the fence.
- Take light passes until the edge is straight and the face-to-edge angle is 90°.
- For cupped stock, take more off the high spots; don’t try to remove a huge bow in one deep cut.
Outfeed table and knife height matter — if the board tapers or you get snipe, check the machine’s setup instructions.
No jointer: table-saw jointing jig
A straight plywood carrier with a true factory edge, or a dedicated jointing sled, can run a rough edge past the blade:
- Attach the board so the rough edge hangs past the carrier’s straight edge.
- The carrier rides the fence; the blade trims the overhang square to the face (if the face is flat on the sled).
Use a riving knife / splitter and guards as your saw’s manual requires, and keep hands clear of the blade path with push blocks.
With hand planes
- Check the edge with a straightedge; mark high spots.
- Use a jointer plane (or the longest plane you have) with the reference face under your fingers as a fence, or check often with a square.
- Plane high spots until the straightedge shows even contact.
- For mating edges, plane them as a pair (boards stacked faces together in a vise) so errors cancel — a classic panelmaking trick.
Matching faces into a panel
Alternate growth-ring orientation (heart out / heart in) if you want to balance cupping, or match for appearance — both are valid. What matters for strength is long-grain fit. Dry-clamp the whole panel, check flatness with a straightedge, and only then open the glue bottle.
Common mistakes
- Jointing before faces are flat enough to register.
- Closing gaps with clamp pressure alone — the joint springs back or starves of glue.
- Skipping the dry fit under raking light.
- Planing edges after boards have equalized at shop humidity, then waiting weeks to glue so edges move out of true again.
Once edges are right, clamp with cauls and even pressure as in glue-ups without gaps.
Sources & further reading
- Woodsmith — Top jointer technique
- Fine Woodworking — Master the jointer
- Your jointer’s owner’s manual for depth of cut and push-block use
Get new build ideas by email
Free build ideas and tips by email, about twice a month. We'll send a link to confirm. Our emails are sent by Kit, which tracks opens and clicks so we can see what's useful. Unsubscribe anytime. You must be 16 or older. Privacy policy.