
Technique
Staining vs. Painting Wood
When to stain, when to paint, and how to prep for each — grain showing through color versus a solid film that hides the wood.
Made in my shop
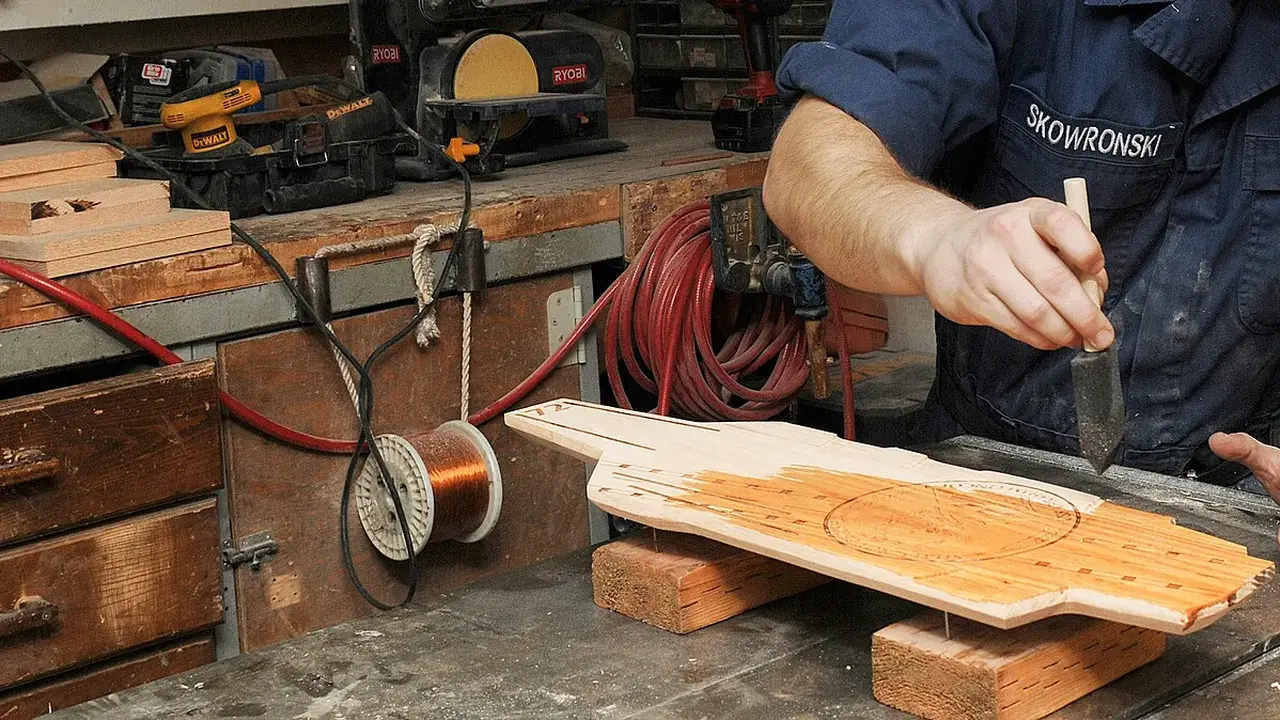
Stain colors wood while leaving grain visible. Paint builds an opaque film that hides grain (and a lot of defects). Neither is “better” — they solve different problems. Pick based on the look you want and the wood you have, then prep for that path.
Follow product labels for ventilation, dry times, and respirator guidance. A sample board of the same wood, sanded the same way, is cheaper than refinishing a whole piece.
What each one does
| Stain | Paint | |
|---|---|---|
| Look | Color in/with the grain | Solid color film |
| Shows | Figure, sapwood/heartwood contrast | Smooth, uniform color |
| Hides | Little — glue, dents, and blotches show | Many defects, mixed woods, filler |
| Prep focus | Even sanding, blotch control, glue removal | Sound surface, primer, deglossing |
| Repair | Often spot-friendly with care | Spot-prime and feather; sheen matching matters |
Gel stains and wiping stains sit more on the surface; dyes penetrate. Oil-based and water-based systems behave differently on the same board — another reason to sample.
When stain is the better fit
- You bought figured maple, walnut, cherry, or oak for the grain.
- The piece is fine furniture where wood is the point.
- You’re matching existing stained trim (still sample — “oak” in a can is not a species match by magic).
Softwoods and blotch-prone hardwoods (pine, cherry, birch, some maples) often need a pre-stain conditioner, washcoat of thinned finish, or gel stain to even uptake. Test on offcuts from the same boards.
When paint is the better fit
- Mixed species or leftover woods in one project.
- Knotty pine or repair-heavy shop furniture.
- A design that wants a solid color (cabinets, built-ins, porch décor).
- Outdoor pieces where an exterior paint system is the protection plan — use products rated for exterior use and follow their prep steps.
Paint still needs clean, dull, sound wood or primer. Glossy old finishes need scuffing; bare softwood often wants a primer to seal resins and equalize porosity.
Shared prep that people skip
- Sand to the grit your product expects — see sanding progression. Stain often wants you to stop earlier than a clear film finish.
- Remove glue squeeze-out completely. Glue under stain looks pale; under paint it can flash or peel.
- Dust — vacuum and wipe. Dust under stain becomes freckles; under paint becomes grit.
- Raise the grain (especially before water-based stain or paint): dampen lightly, dry, scuff, then proceed.
- Sample board with the full schedule: conditioner → stain → topcoat, or primer → paint → optional clear.
Stain workflow (short)
- Prep and condition if your tests say so.
- Apply stain per label (wipe on, wipe off excess for many wiping stains).
- Keep edges and end grain from going too dark — they drink more; a light sizing coat of finish or conditioner helps.
- Dry fully, then protect with a clear topcoat (finishing schedules).
Stain alone is rarely enough wear protection on a table.
Paint workflow (short)
- Prep, fill if needed, sand smooth.
- Primer suited to bare wood or to the old finish.
- Light scuff between coats.
- One or two finish coats of paint. Exterior? Use an exterior system end to end.
Common mistakes
- Staining over glue and wondering about pale spots.
- Painting over dusty, glossy, or oily wood without primer or scuffing.
- Skipping a sample on blotch-prone wood.
- Expecting stain to hide mixed woods the way paint does.
Sources & further reading
- Fine Woodworking — The hows and whys of dyes
- Fine Woodworking — Three steps to a flawless painted finish
- Your stain, conditioner, primer, and paint labels for dry times and recoat windows
Get new build ideas by email
Free build ideas and tips by email, about twice a month. We'll send a link to confirm. Our emails are sent by Kit, which tracks opens and clicks so we can see what's useful. Unsubscribe anytime. You must be 16 or older. Privacy policy.