
Shop tip
Laser Engraving Wood Ornaments: Settings to Test First
How to find engraving, scoring and cutting settings for thin wood ornaments and gift tags on a diode or CO2 laser: test on scrap of the same sheet, set up the bed and air assist, and run the jobs in order.
Made in my shop
- Reading time
- About 3 min
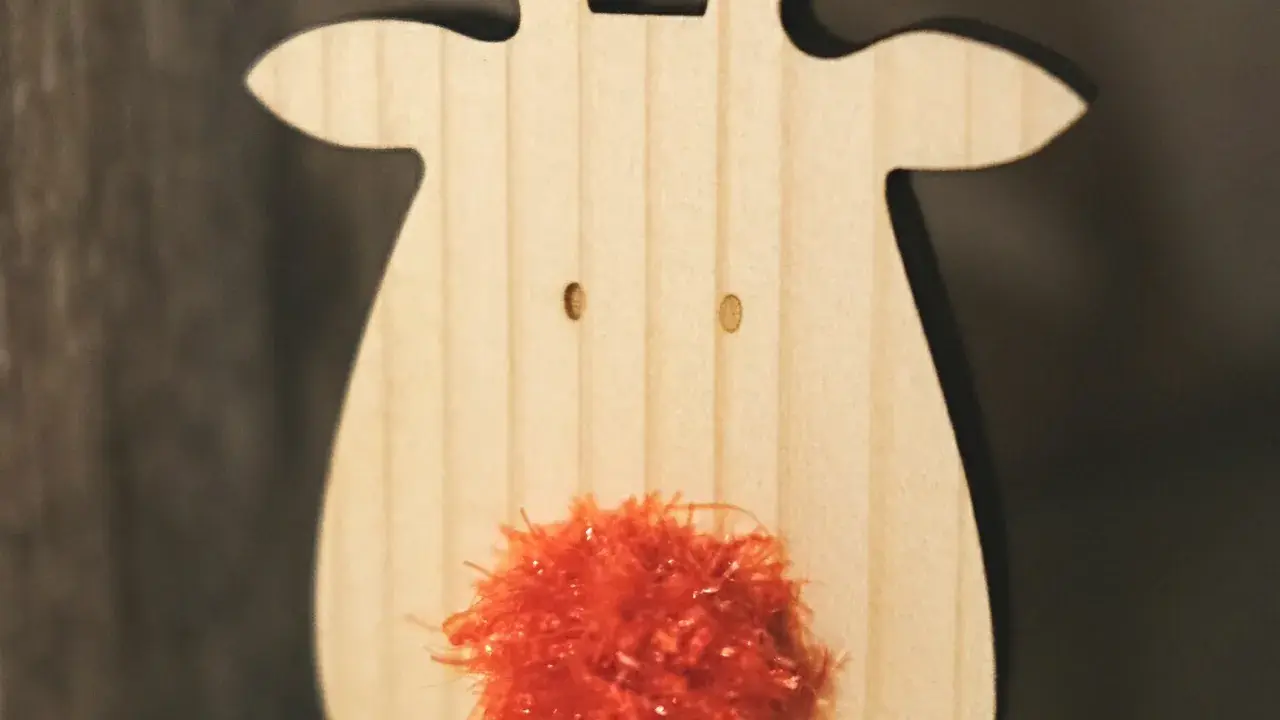
Every laser, lens and sheet of wood behaves a little differently, so there’s no single setting to copy for an ornament. What carries over is the method: test on scrap from the same sheet, write down what worked, and run the engrave, score and cut jobs in an order that keeps the parts in place. This works for the thin-wood ornaments and tags in our build ideas, like the personalized laser-engraved walnut ornaments, layered walnut and maple snowflake ornaments and laser-cut walnut gift tags.
Laser: never leave it running, keep an extinguisher in reach, and with an open-frame laser everyone in the room wears eyewear rated for its wavelength. See laser and CNC shop safety.
Start from your laser maker’s numbers
Treat any setting as a starting point, not an answer. Begin with what your laser maker or your laser software suggests for the wood you have, then adjust from there on scrap. A setting someone else posted for their machine is a place to start testing, not a value to run on a finished ornament.
Before testing, measure the sheet with calipers. Thin stock varies from sheet to sheet, and a cut setting that frees one sheet may not go through the next.
Run a small test on the same sheet
Cut a strip off the edge of the sheet you’ll use for the ornaments, or use an offcut from the same board. Walnut, maple and plywood all engrave differently, and so do two boards of the same wood.
On that scrap, run a few small squares of engraving, a short scored line and a small cut-out, changing one setting at a time. Look for:
- Engraving: an even, dark mark that shows the motif clearly without heavy charring around it.
- Scoring: a crisp line, like the border ring on the walnut ornaments, that marks the surface without cutting through.
- Cutting: a part that drops free cleanly, with as little scorching on the edges as you can get.
Write down the settings that worked, along with the wood and its thickness. Laser software that keeps color layers lets you save engrave, score and cut as separate layers; see free laser software.
Set up the bed and air for each job
Engraving doesn’t go all the way through, so the work can sit on a flat plate, which also helps keep the whole surface in focus. Cutting goes through, so lift the work on a honeycomb or pins; smoke that can’t escape underneath stains the back of the parts. Our laser bed and backing page covers both.
Air assist needs differ too. Engraving wants only a little air, enough to protect the lens without blowing smoke back across the engraving. Cutting wants strong air to clear the cut and keep flare-ups down. See laser air assist for why an air supply you can turn down helps.
Engrave, then score, then cut
Run the jobs in that order. While the sheet is whole, the ornaments can’t shift between passes, so the engraved motif and scored border stay lined up. Cut the outlines last.
For the gift tags, that means: lay out several on one sheet, engrave the motif, cut the outlines free, sand lightly, wipe on oil and tie on twine. The walnut ornaments follow the same order, with the scored border ring and the name or year engraved before the disc is cut out.
For layered pieces like the snowflake ornaments, cut each layer from its own wood, then glue the light layer onto the dark disc.
Clean up and finish
A light pass on a sanding block cleans smoke residue off the faces. Go easy, since thin stock and shallow engraving don’t leave much to sand through. Then finish as you would any small gift; see how to finish small wood gifts.
For more on choosing a machine, see diode vs. CO2 laser, and for our full set of laser tool picks, see engrave and cut with a laser. For more projects, see laser projects to make and laser engraver Christmas gift ideas.
Looking for more ideas? Browse all our build ideas.
Get new build ideas by email
Free build ideas and tips by email, about twice a month. We'll send a link to confirm. Our emails are sent by Kit, which tracks opens and clicks so we can see what's useful. Unsubscribe anytime. You must be 16 or older. Privacy policy.