
Shop tip
How to Make Templates for Repeat Holiday Shapes
Make one good template and trace it for every ornament, leaf, tree or star in a holiday batch, so the pieces match and you draw the shape only once.
Made in my shop
- Reading time
- About 3 min
Holiday pieces usually come in sets: a few mantel trees, a dozen ornaments, a run of leaf napkin rings. Drawing each one freehand gets you a dozen slightly different shapes. A template fixes that. You get the shape right once, then trace it as many times as you need. Several of our build ideas start this way, like the scrap wood mantel trees and DIY wooden sled ornaments.
Pick a template material
- Cardboard or poster board: quick to cut with a knife or scissors. Fine for a few tracings, but the edges wear down after a lot of pencil passes.
- Hardboard, MDF or thin plywood: takes longer to make but holds its edge through a big batch, and can guide a router bit if you go that way later.
If you’ll make the same piece next year, use the sturdier material and keep the template.
Draw the shape once, carefully
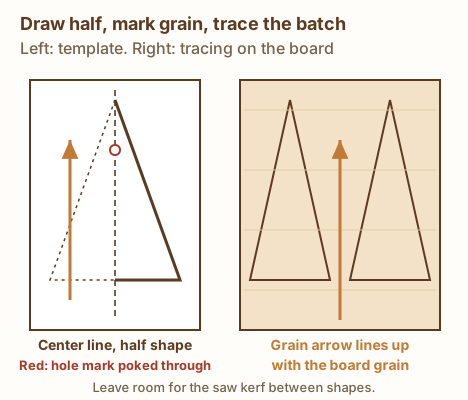
- Symmetric shapes: a tree, star, acorn or sled runner pair. Draw half the shape against a center line, then fold the paper on that line and cut both halves at once, or flip the half-pattern over to trace the other side. Both halves come out the same.
- Natural shapes: trace a real leaf, then smooth the outline where it’s ragged.
- Paper first: sketch on paper, glue it to the template stock with spray adhesive or a glue stick, and cut it out.
Make the template edge smooth
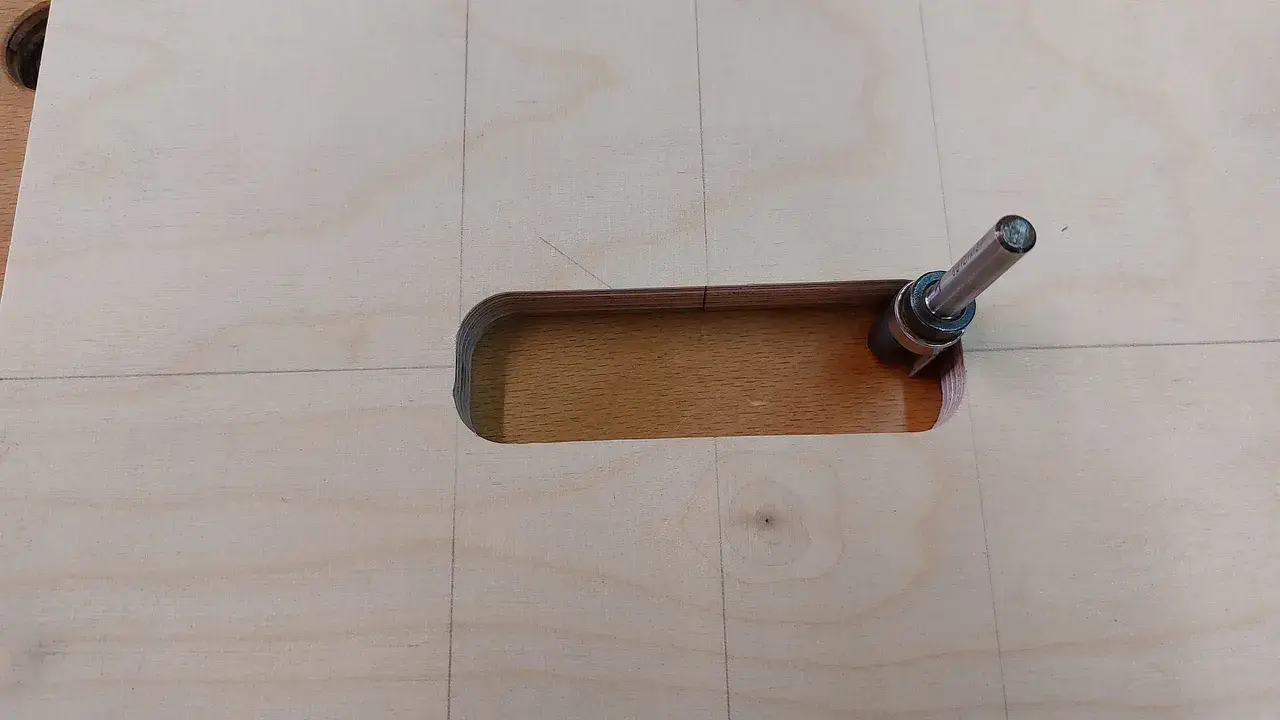
Whatever is on the template edge shows up on every piece: a bump, a flat spot or a saw mark. Cut the template slightly outside the line, then file and sand right to it. Run a finger along the edge; it should feel even all the way around. A sanding block or a dowel wrapped in sandpaper handles inside curves. Our curves and inside cutouts technique covers the cuts.
Mark grain and reference lines on it
Draw an arrow on the template for grain direction and line it up with the board’s grain each time you trace. Narrow parts, like a leaf stem, a tree tip or a sled runner, are much stronger when the grain runs along them. Add any center line, base line or hole location to the template too, and poke a small hole through it at each hole mark so you can mark it with a pencil point. Label the template with the project name.
Swipe sideways to see the whole diagram, or tap it to open full size.
Lay out and trace the batch
- Trace with a sharp pencil held at the same angle every time, so the line sits the same distance from the template on every piece.
- Nest shapes close together on the board to save wood, leaving room for the saw kerf between them.
- For thin stock, you can stack a few blanks with double-sided tape or brads in the waste and cut them all at once on a scroll saw or bandsaw. The pieces come out matched, and you sand the edges while they’re still stacked.
- Cut just outside the line and sand or file to it, the same way you made the template.
If a batch also needs matching lengths, a stop block does for straight cuts what a template does for shapes.
Get new build ideas by email
Free build ideas and tips by email, about twice a month. We'll send a link to confirm. Our emails are sent by Kit, which tracks opens and clicks so we can see what's useful. Unsubscribe anytime. You must be 16 or older. Privacy policy.