
Shop tip
How to Drill Clean Holes in Small Wood Parts
Hang holes, stem holes and screw-eye pilots on small holiday pieces: start the bit where you marked, stop tear-out on the back, and drill a whole batch in the same spot.
Made in my shop
- Reading time
- About 3 min
A lot of small holiday pieces come down to one hole in the right place: the hang hole in a sled ornament, the stem hole in stacked wood-slice pumpkins, the dowel hole joining the cap to the nut on acorn mantel sitters, or the pilot for a screw eye in compound-cut tree ornaments. On a part that small, a wandering bit or a blown-out back edge ruins the piece. Here’s how to get the hole clean and in the same place every time.
Mark the center so the bit can find it
A pencil dot gives the bit nothing to grab. Press an awl into the mark to leave a small dimple, and the bit tip drops into it instead of skating off. When the hole has to sit on a center line, mark the line from both edges with a combination square and dimple where the lines cross. Our measuring and marking tip covers getting that line right.
Pick the bit for the hole
- Brad-point bits: a sharp center spur and two cutting spurs, so they start on the mark and leave a clean rim. Use them for most small holes in wood.
- Twist bits: fine for pilot holes, but the cone-shaped point tends to wander, so dimple the mark first.
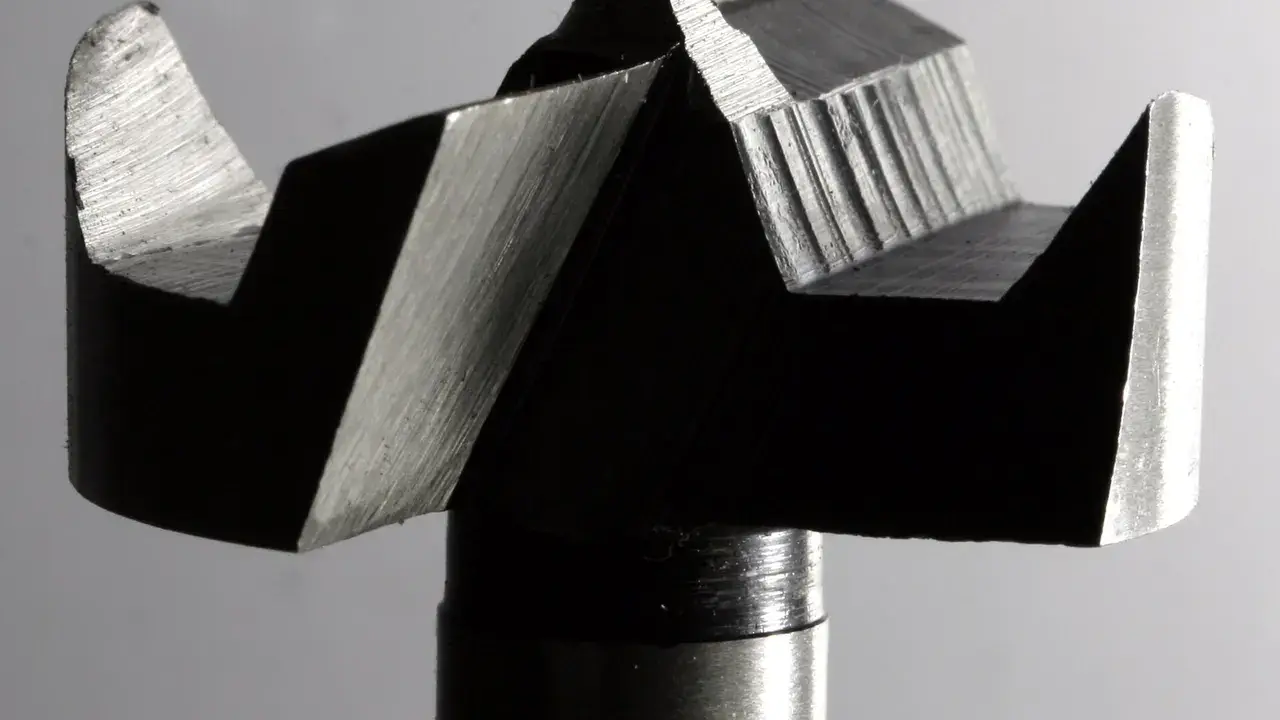
- Forstner bits: flat-bottomed holes, clean rims and partial holes at an edge. Use them for stem sockets and anything wider than about 3/8 in.
For a screw eye, drill the pilot about the size of the screw’s core, not its threads. Too small and the wood splits, too large and it pulls out. End grain is weaker, so go a little deeper there.
Back the hole to stop tear-out
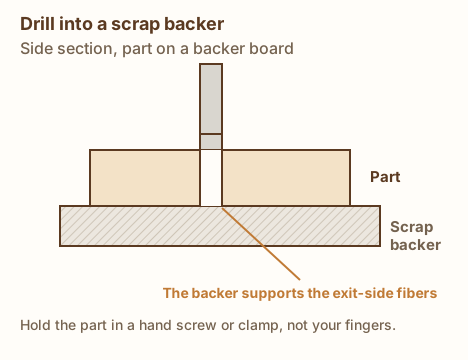
When the bit breaks through, it tears the fibers on the exit side. Put a scrap backer board tight under the part and drill into it. The backer supports those fibers, so the exit hole comes out much cleaner. For a through hole you can’t back, drill until the spur just pokes out, then flip the part and finish from the other side.
Swipe sideways to see the whole diagram, or tap it to open full size.
Hold the part, not your fingers
Clamp small parts in a hand screw or to the table against a fence; don’t hold them with your fingers at the drill press. A hand screw grips ornaments and blocks squarely and gives you something big to hold. For dowels and round stock, a scrap with a V cut along it keeps the piece from rolling.
Set the depth once
On a drill press, set the depth stop on a test scrap and every hole comes out the same. With a cordless drill, wrap a flag of masking tape around the bit at the depth you want and stop when the tape touches the wood.
Drill a batch in the same spot
Clamp a straight fence to the drill press table, then clamp a stop block to the fence. Each part goes against both and is held in a hand screw or under a hold-down clamp, so the hole lands in the same place on all twelve ornaments without remarking. It’s the same idea as a stop block for repeat cuts.
For an angled hole, tilt the table or clamp the part to a block cut at the angle, and start with a Forstner bit so it doesn’t skate on the slope. Ease the rim of each hole with a twist of sandpaper before you finish.
Get new build ideas by email
Free build ideas and tips by email, about twice a month. We'll send a link to confirm. Our emails are sent by Kit, which tracks opens and clicks so we can see what's useful. Unsubscribe anytime. You must be 16 or older. Privacy policy.