
Shop tip
How to Sign and Date Wood Gifts
Put your name, the year and the wood on every gift you make: where to sign it, pencil or pen before or after finish, a steel stamp for a batch, and testing on scrap first.
Made in my shop
- Reading time
- About 2 min
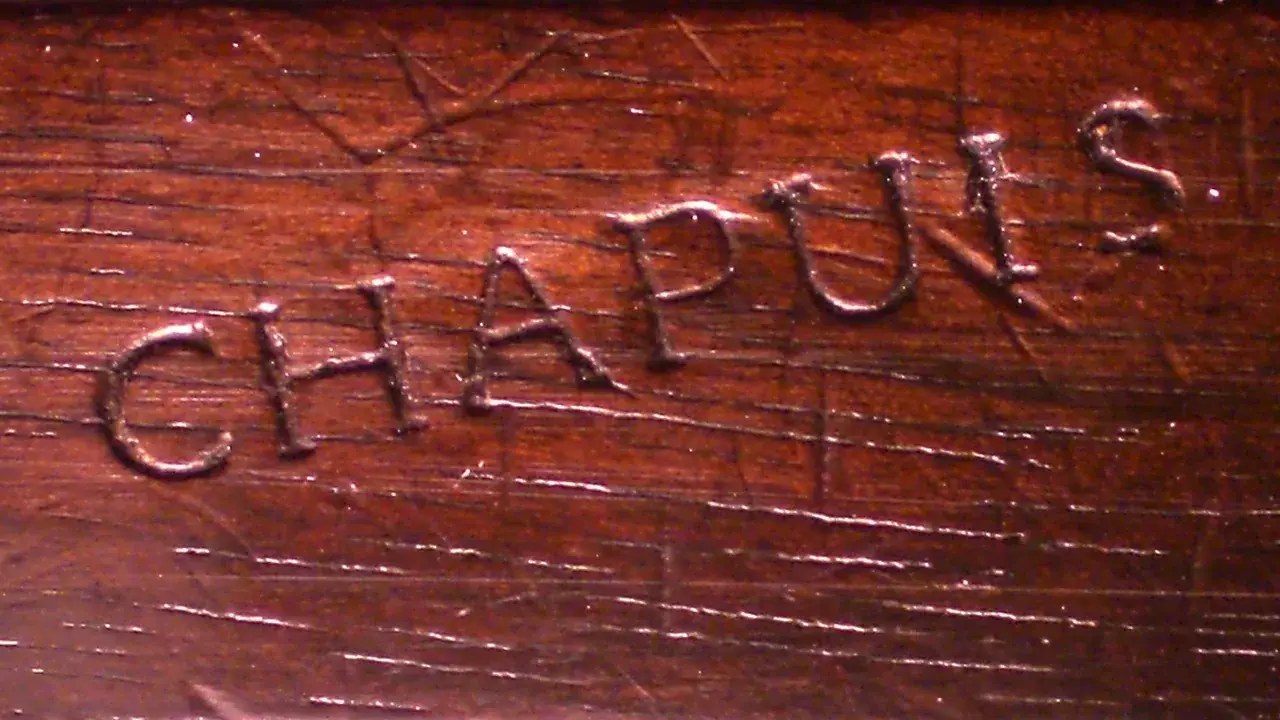
Old furniture makers stamped their names into their work, and that’s why we still know who made it. A gift you make this Christmas deserves the same. Your name, the year and the wood take a minute to add, and years from now they’ll matter to whoever has it.
Pick a spot that stays out of sight
Sign the underside, the back or the inside of a lid, where it won’t fight the look of the piece. On an ornament, the back works. On a small keepsake box, the bottom is the usual place.
Write what you’ll want to know later
- Your name or initials
- The year, or the full date
- The wood, such as “walnut and maple”
- Who it’s for, if it’s a one-off gift
Pencil or pen: before or after the finish
Sand the spot first, so the writing doesn’t skip over scratches; our sanding progression tip covers when to stop.
- Pencil: sign the bare wood after sanding, then finish over it. A soft pencil holds up well under oil or clear finish.
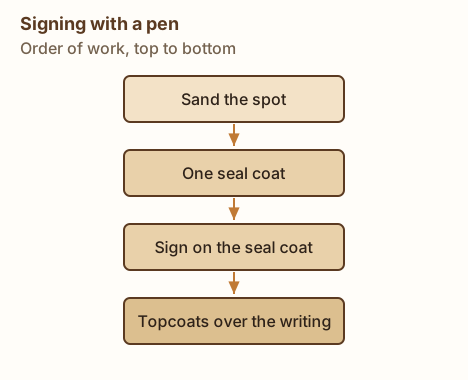
- Fine-tip permanent pen: ink can bleed into bare wood, so put on one seal coat first, sign on that, then add your topcoats over the writing.
Swipe sideways to see the whole diagram, or tap it to open full size.
Use a steel stamp for a batch
If you make a dozen of the same gift, a set of steel letter stamps or a custom maker’s mark stamp is quicker than writing each one. Clamp the part on a solid surface, wear safety glasses, hold the stamp square and give it one firm hammer blow. Stamp before you finish, so the finish seals the letters too.
Test on scrap first
Try your pencil, pen or stamp on an offcut of the same wood with the same finish. Some finishes smear ink, and soft woods take a stamp deeper than hard ones. A scrap test tells you before you mark the real gift.
Get new build ideas by email
Free build ideas and tips by email, about twice a month. We'll send a link to confirm. Our emails are sent by Kit, which tracks opens and clicks so we can see what's useful. Unsubscribe anytime. You must be 16 or older. Privacy policy.