Project plan
Simple Step Stool from One Board
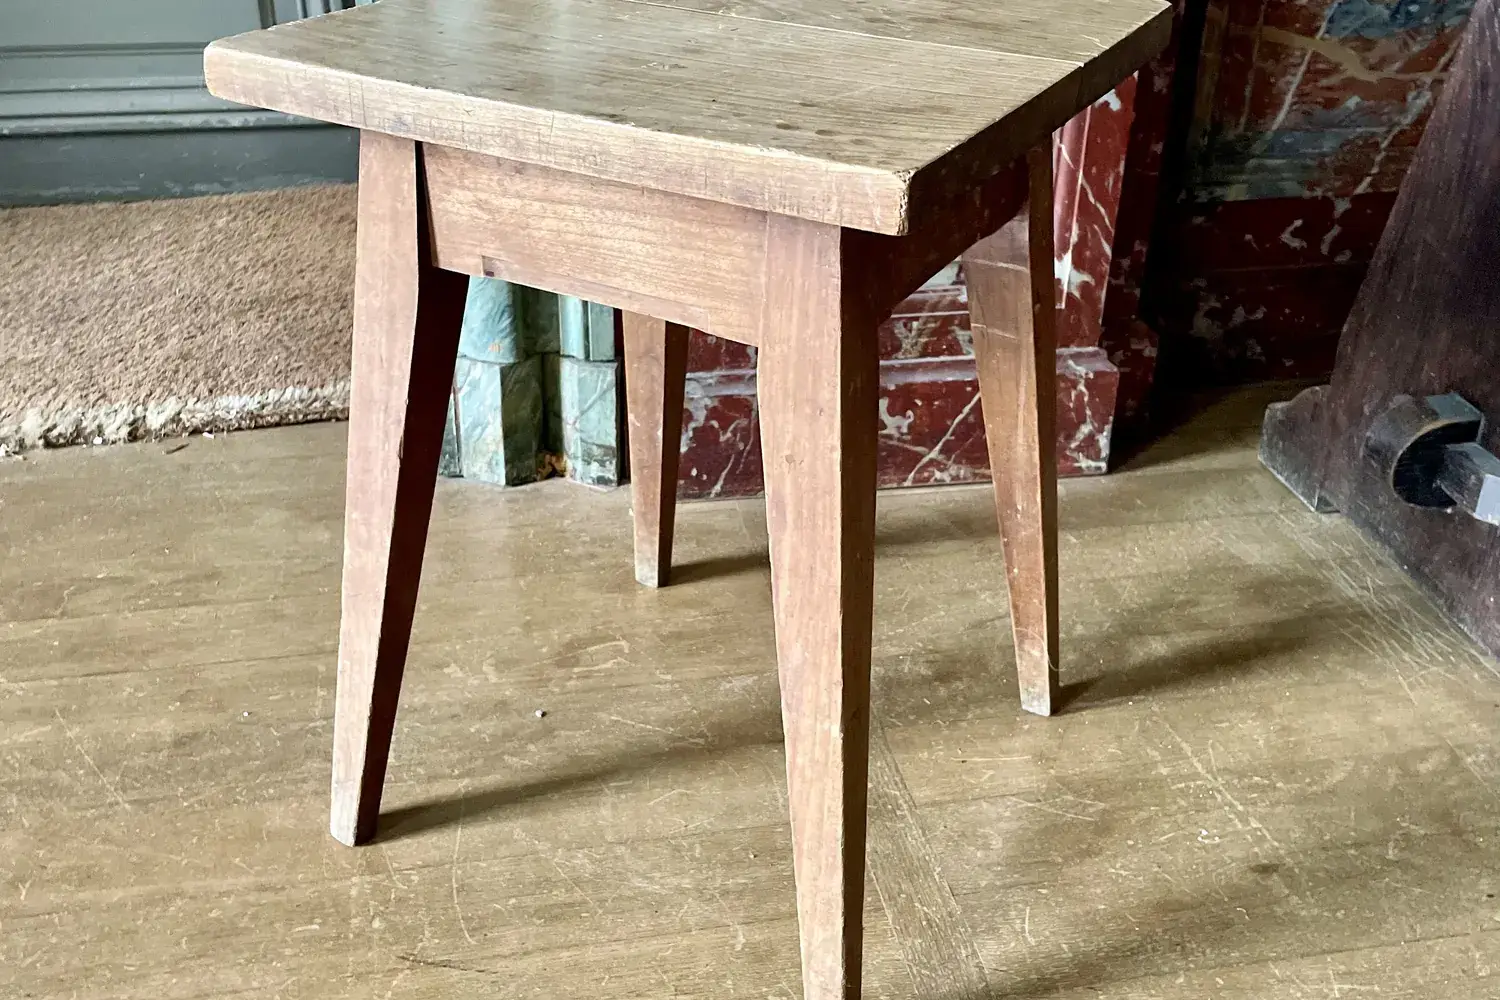
A sturdy little stool cut from a single 1x12 pine board, assembled with glue and screws. About 9" tall with a 16" × 11 1/4" top.
- Difficulty
- Beginner
- Estimated time
- 3–5 hours plus finish drying time
- Estimated cost (rough)
- $25–$60
Tools
- Circular saw with a straightedge guide, miter saw, or hand saw
- Jigsaw (for the leg cutouts and optional handhold)
- Drill/driver with a countersink pilot bit
- Clamps (2–4)
- Tape measure, combination square, pencil
- Random-orbit sander or sanding block (120 and 180 grit)
- Safety glasses and hearing protection
Materials & cut list
| Part | Qty | Dimensions | Material |
|---|---|---|---|
| Top | 1 | 3/4" × 11 1/4" × 16" | 1x12 pine (select or #2 with small, tight knots) |
| Legs (ends) With the 3/4" top, overall height is 9" | 2 | 3/4" × 11 1/4" × 8 1/4" | 1x12 pine |
| Aprons Ripped from one 13" length of the 1x12 | 2 | 3/4" × 3" × 13" | 1x12 pine |
| Wood screws Plus wood glue | 16 | #8 × 2" | — |
| Lumber to buy Parts use about 4 ft; the extra lets you cut around knots and defects | 1 | 1x12 × 6 ft | Pine |
| Finish | 1 | — | Wipe-on polyurethane, paint, or oil/varnish blend |
Where to buy: not sure where to find these tools and materials? See our guide to stores and suppliers, from home centers and hardwood dealers to used-tool sources.
This stool is a great second project. It uses one inexpensive board, simple cuts, and basic glue-and-screw joinery, and the result is genuinely useful in a kitchen, closet, or shop.
The design is a classic: two ends (legs) with an arch cut in them, two aprons that tie the legs together and keep them from racking, and a top screwed down to the whole frame.
A note on joinery: screws driven into end grain (the ends of the aprons and the top ends of the legs) don’t hold as well as screws into long grain, which is why this design uses glue plus two screws per joint and also screws the top into the long-grain edges of the aprons. The legs bear the weight directly under the top, so the screws mainly keep the parts together. If you have a pocket-hole jig, you can join the aprons to the legs with pocket screws from the inside instead — see Pocket Holes vs. Dowels vs. Biscuits.
New to choosing boards? Read Choosing Lumber at the Big-Box Store before you shop.
Cost is a rough estimate; lumber prices vary widely by region and grade.
Steps
Cut the parts to length
From the 1x12, crosscut the top at 16", two legs at 8 1/4", and one 13" piece for the aprons. Use a square to mark each cut and a stop block for the two legs so they match exactly — equal legs mean a stool that doesn't rock.
Rip the aprons
Rip two 3"-wide strips from the 13" piece. With a circular saw, clamp the board down and use a straightedge guide; keep your hands clear of the cut line and follow your saw's manual. Sand the sawn edges smooth.
Cut the leg arches
On each leg, mark an arch centered on the bottom edge, about 6" wide and 3" high (trace around a paint can or bend a thin strip to draw a smooth curve). Cut it out with a jigsaw and sand the curve smooth. The arch turns each leg into two feet so the stool sits steadily on uneven floors.
Optional: cut a handhold
Mark a 1" × 4" slot centered on the top. Drill a 1" hole at each end of the slot and cut between them with the jigsaw. Round over the edges with sandpaper so it's comfortable to grab.
Attach the aprons to the legs
Stand the legs up 13" apart. Place an apron between them along the front edges, flush with the tops of the legs and the front edges. Drill countersunk pilot holes through each leg into the apron ends, spread glue, and drive two screws per joint. Repeat for the back apron. Check that the frame is square by measuring the diagonals.
Attach the top
Center the top on the frame so it overhangs 3/4" past each leg (the legs' outside faces sit 14 1/2" apart). Drill countersunk pilot holes down through the top into the legs (three per leg) and into the aprons (one per apron, near the middle), add glue, and drive the screws.
Sand and finish
Round over all edges and corners with sandpaper. Sand through 120 and 180 grit. Apply your finish following the product label. Paint is a great choice if your pine has knots you'd rather hide; seal knots with a shellac-based primer first so they don't bleed through.
Check stability before use
Set the stool on a flat floor and check that it doesn't rock; if it does, sand the high foot. Step on it near the center of the top. This is a low step stool for everyday reaching tasks — it isn't a ladder.