Choosing Lumber at the Big-Box Store
How to pick straight, flat boards from the rack: nominal vs. actual sizes, what to look for, and what to leave behind.
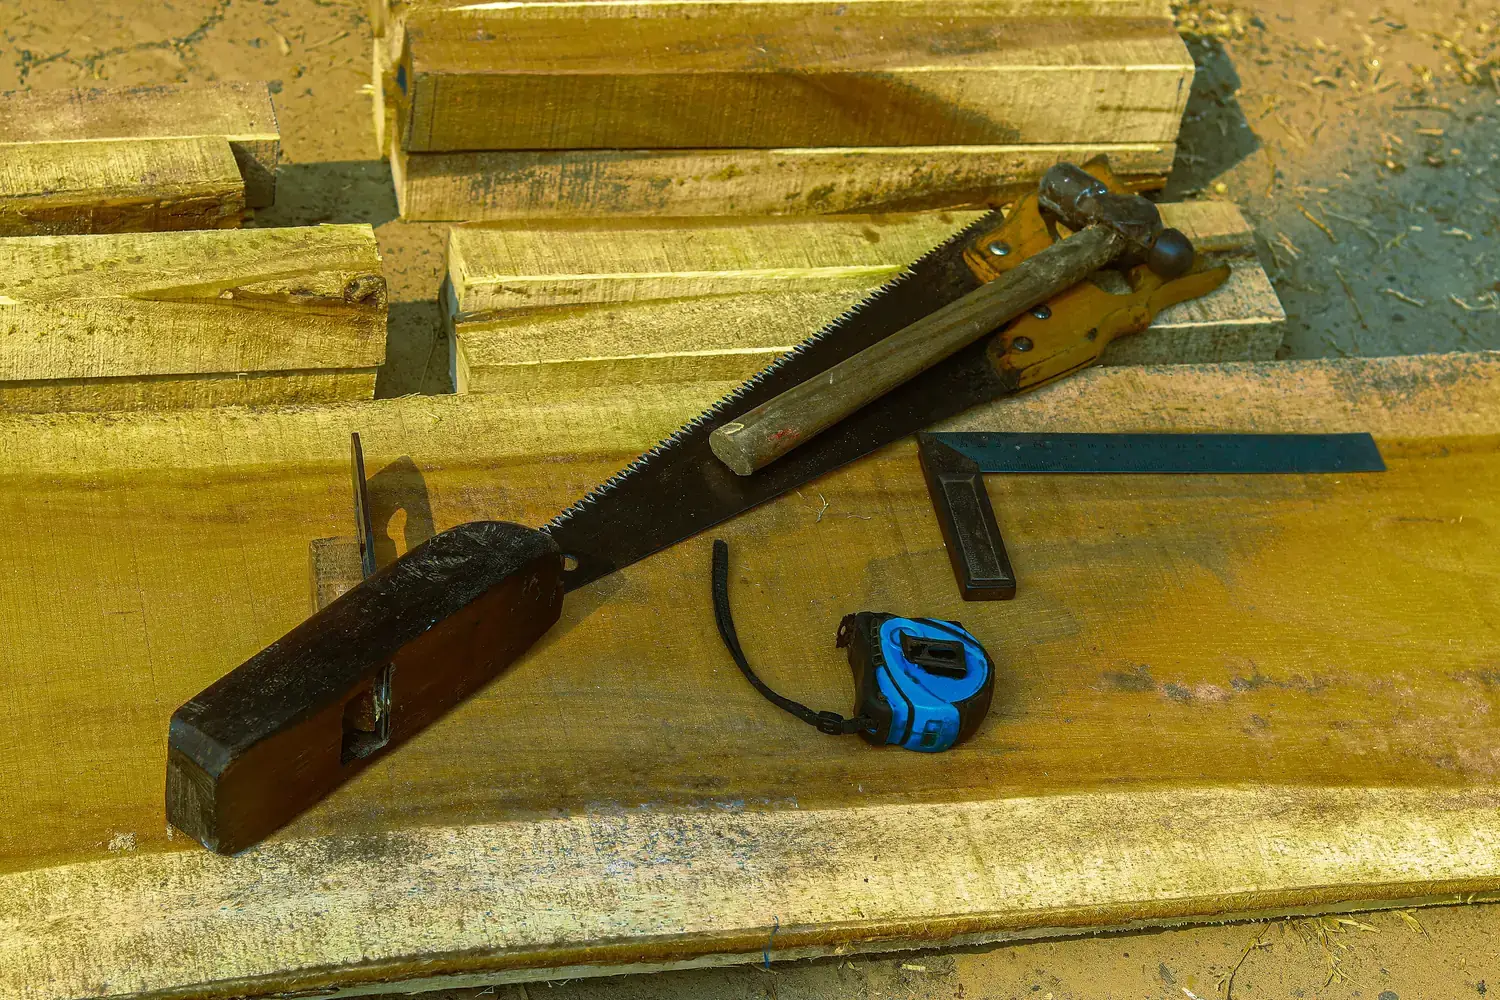
Most of us buy our first boards at a home center. You can absolutely build good projects from that rack — you just need to be choosy. Here’s how to come home with wood that’s actually straight.
Understand nominal vs. actual sizes
Dimensional lumber is sold by its nominal size, which is larger than what you actually get. Typical actual sizes in the US:
| Nominal | Actual (typical, dry) |
|---|---|
| 1x2 | 3/4” × 1 1/2” |
| 1x4 | 3/4” × 3 1/2” |
| 1x6 | 3/4” × 5 1/2” |
| 1x12 | 3/4” × 11 1/4” |
| 2x4 | 1 1/2” × 3 1/2” |
| 2x6 | 1 1/2” × 5 1/2” |
These are the standard dressed dry sizes for US softwood lumber under the American Softwood Lumber Standard (PS 20). Hardwood boards and “select” project boards can differ, and actual sizes vary slightly with moisture and the mill, so always measure the boards you buy before cutting parts.
Know the kinds of wood on offer
- Construction lumber (2x4s, 2x6s — usually pine, fir, or spruce): cheap and strong, but often still wet, with knots and rounded edges. Great for shop furniture and workbenches; it needs time to dry and settle.
- “Select” or “appearance” boards (1x pine, poplar, oak, sometimes maple): drier, straighter, fewer knots, and cost more. This is what you want for furniture and visible projects.
- Plywood and panels: stable sheet goods for cabinets and backs. Check the edges for voids and the faces for damage.
Sight down every board
Pick up a board, hold one end near your eye, and look down its length. You’re checking for:
- Bow: curves along the face, like a rocker. Mild bow in a long board can sometimes be cut away into short parts.
- Crook: curves along the edge. Hard to fix without a jointer or table saw.
- Twist: the ends aren’t in the same plane, like a propeller. Lay it on the floor and see if it rocks. Pass on twisted boards — they’re the hardest to fix.
- Cup: the face curves across its width. Most common in flatsawn boards (growth rings arching across the end), especially as they dry or when one face dries faster than the other.
Lay the board flat on the floor or a flat cart to double-check.
Look closely at the surface and ends
- Knots: Small, tight knots are fine (and can look good). Loose or black-ringed knots can fall out. Avoid knots where you’ll cut joints.
- Splits and checks at the ends: plan on cutting a few inches off, or choose a different board.
- Wane: missing wood or bark on an edge.
- Pith: the dark center of the tree, visible as a line or dot in the end grain. Boards containing the pith tend to crack and cup.
- Grain on the end: Boards whose end-grain rings run more vertically (quartersawn or riftsawn) tend to stay flatter than boards with rings arching across the end.
Bring a plan (and a few tools)
- A cut list so you know which lengths you need. Sometimes a 10-foot board yields your parts with less waste than an 8-footer.
- A tape measure to confirm dimensions.
- Buy a little extra. A common rule of thumb is 15–20% extra to allow for defects and mistakes.
Many stores will make a rough crosscut so long boards fit in your car. Ask — and leave the precise cuts for home.
Give it time at home
Wood moves as it adjusts to the humidity in your shop. Stack new boards flat with spacer sticks between them so air can get all around, and give them a few days to a couple of weeks before final cutting — longer for wet construction lumber. You’ll lose less wood to warping after you cut.
Ready to use your new boards? The simple step stool is built from a single 1x12.
For hardwood dealers, online lumber suppliers, and tips on finding a local sawmill, see Where to Buy Tools & Materials.