Using a Router Safely and Effectively
Feed direction, bit speed, light passes, and secure workholding: the fundamentals that make routing safer and give cleaner results.
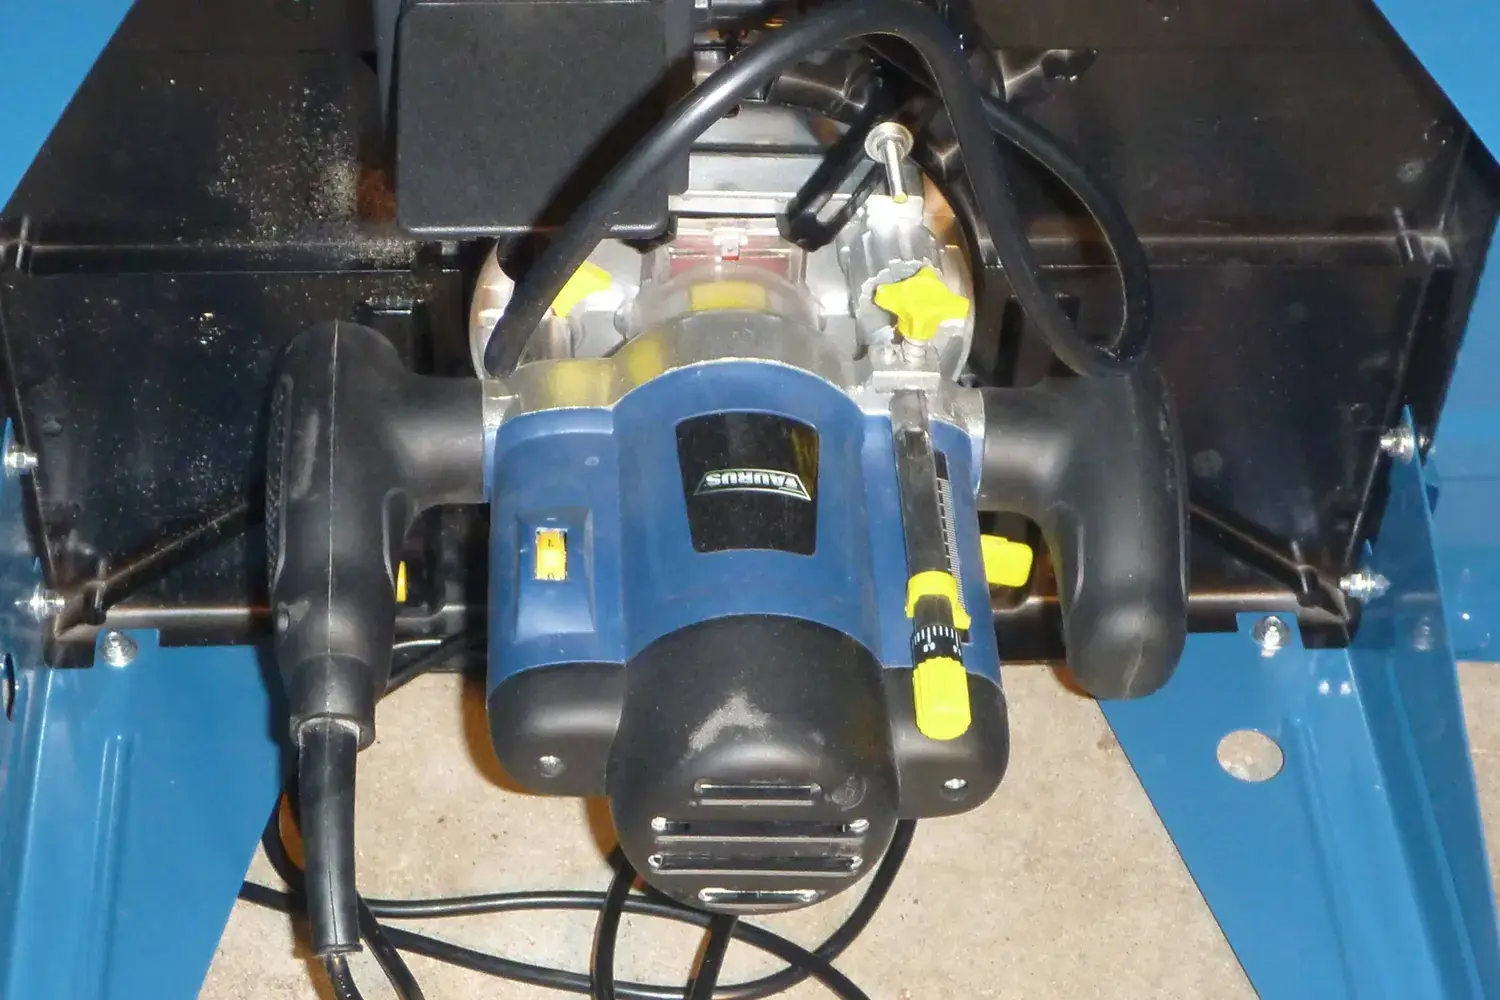
A router is one of the most versatile tools in the shop — edge profiles, dados, rabbets, grooves, template work, and joinery. It’s also a tool that spins a sharp bit at very high speed. Learning a few fundamentals makes it both safer and far more satisfying to use.
First: read your router’s manual. Speed settings, bit installation, base adjustment, and router-table mounting are specific to your model.
Bits: install them correctly
- Unplug first. Always disconnect power before changing bits.
- Insert the shank fully, then back it out slightly (many manuals suggest about 1/16” to 1/8”) so the bit isn’t bottomed out on the collet, but don’t insert it so shallow that only a small part of the shank is gripped — many manuals call for at least about 5/8” to 3/4” of shank in the collet, and the collet should close on the straight shank, not the curved transition up to the cutter. Follow your router’s specific guidance.
- Match shank and collet sizes — don’t use a 1/4” bit in a 1/2” collet without the correct adapter sleeve. When you have a choice, 1/2”-shank bits are stiffer and vibrate less.
- Keep bits clean and sharp. Burned edges and chatter often mean a dull or pitch-coated bit.
Speed: bigger bits, slower speeds
Most routers have variable speed. Larger-diameter bits (like panel raisers) must run slower because their outer edge travels faster. Bit manufacturers usually publish a maximum speed for each bit — follow it. Burn marks can mean the bit is moving too fast for the feed, or the feed is too slow; tear-out or a rough cut can mean you’re feeding too fast or taking too deep a cut.
Feed direction: the rule that matters most
Feed so the bit’s rotation pushes against your direction of travel. That’s what keeps you in control.
- Handheld router: Viewed from above, the bit spins clockwise. When routing an outside edge, move the router counterclockwise around the workpiece (left to right as you face the edge you’re cutting).
- Router table: The bit spins counterclockwise viewed from above, so feed the work from right to left across the front of the bit, against the fence.
Feeding the wrong way (“climb cutting”) lets the bit grab and pull the router or workpiece, which can be dangerous. Experienced users sometimes take a very light climb cut to reduce tear-out on difficult grain, but it’s not something to do until you understand the forces involved — and never on a router table with your hands near the bit.
Take light passes
Removing a lot of wood at once strains the router and the bit, burns the wood, and makes the cut harder to control. Make deep cuts — like a 1/2”-deep dado — in several shallower passes. Your router manual or bit maker may give guidance on depth per pass.
Secure the workpiece
- Handheld: Clamp the workpiece (or use a non-slip router mat for light work). Make sure clamps won’t get in the router’s path.
- Router table: Use a fence, featherboards, and push blocks. Use a starting pin and guard for curved work with bearing-guided bits. Avoid routing small parts by hand — rout the profile on a longer board, then cut the part off.
Good habits
- Wear eye and hearing protection, and use dust collection if your router supports it.
- Let the router reach full speed before the bit touches the wood, and let it stop fully before setting it down.
- Plan your path. Make sure the base will stay fully supported from the start to the end of the cut.
- Test on scrap. Check depth and profile before cutting your real parts.
- Rout end grain first when profiling all four edges, so long-grain passes clean up any tear-out at the corners.
With these fundamentals in hand, you’re ready to cut clean dados for the small bookcase with dado joints.
Shopping for a router or bits? See Where to Buy Tools & Materials.
Sources & further reading
- Highland Woodworking — Installing router bits (PDF)
- Woodcraft — Understanding router feed direction
- Your router’s owner’s manual and your bit maker’s maximum-speed chart